We talk about all kinds of autonomous vehicles here at Hackaday, from aerial drones to rugged rovers. A little less common are the submarine builds, likely due to their technical complexity. That said, though they perhaps benefit most from autonomy given they’re so hard to talk to while underwater. In any case, [Ayman] has built an impressive sub that uses some rudimentary techniques to navigate around while under the surface.
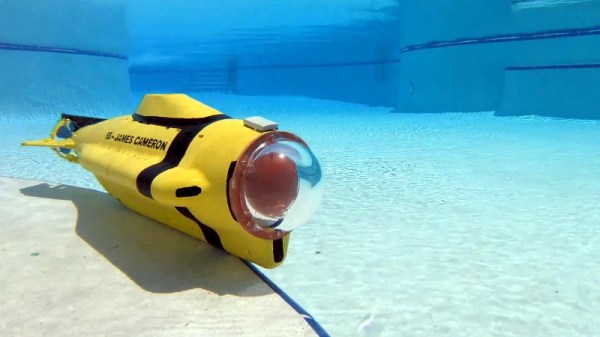
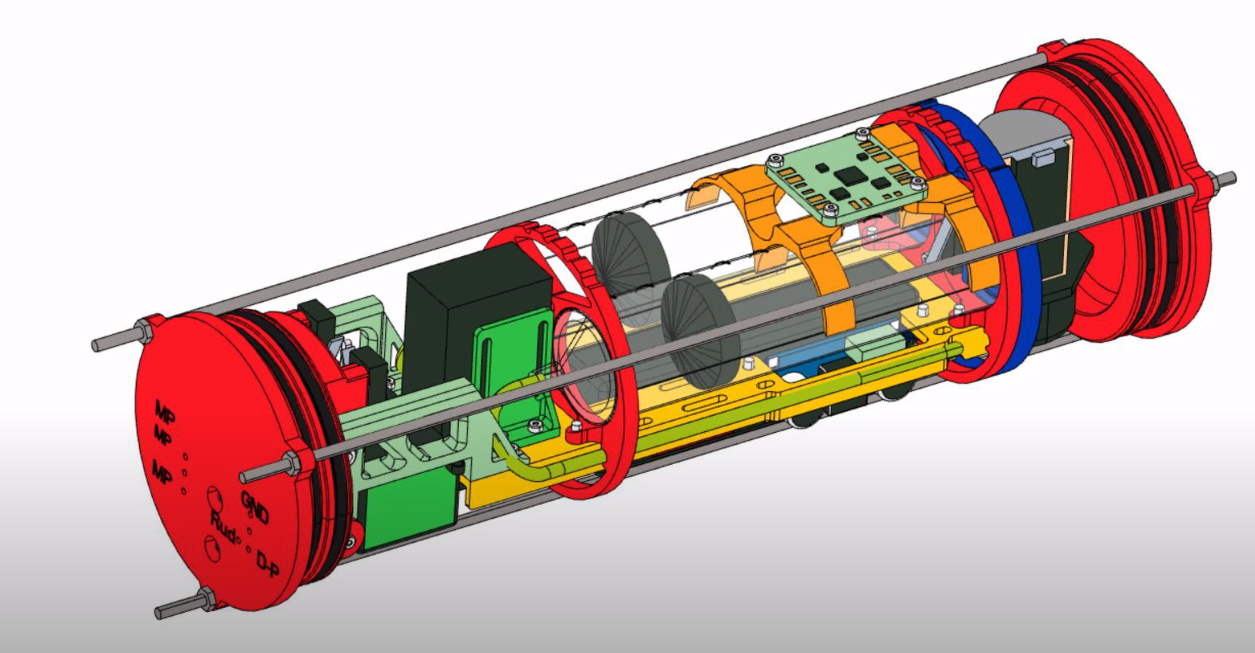
The build uses typical construction techniques for DIY subs of this size, with a clear acrylic tube serving as the body of the craft. It’s carefully sealed to ensure water ingress doesn’t send it to the bottom, using nifty tricks like a magnetic coupling for the prop. Inside, there’s a Raspberry Pi 4, kitted out with an Arducam IMX708 camera with a wide angle lens. It’s joined by a BNO085 inertial measurement unit, along with two BMP280 pressure sensors for keeping track of motion and the sub’s vital signs, while a DRV8833 motor controller runs the main drive motor.
There’s also an ESP32 which helps out with motor and servo control for steering, and ballast control. Sinking and floating the sub is handled with a pair of two ballast tanks constructed out of 5 mL syringes that are driven in and out with high-torque output gear motors. The build uses an antenna buoy so that communication can be maintained with the sub when it’s within a certain range of the surface.
A neat addition to the sub is its autonomous navigation code. [Ayman] whipped up some simple object avoidance routines, which rely on the Raspberry Pi’s camera. The code uses HSV values to track specific colored objects and avoid them, which proves more reliable than RGB as it allows tracking color in a largely brightness-independent manner.
Although we’ve featured other builds that use similar construction techniques, seeing a transparent submarine gliding through the water will always make us think of the incredible Open Source Underwater Glider that won the 2017 Hackaday Prize.
Continue reading “Autonomous Submarine Relies On Color Detection”