One of the few positives to come of this pandemic is that the restrictive nature of scarcity can be a boon to creativity. Plus, the doom and gloom of it all is causing people to loosen up and do things they never felt free enough to do before in the demanding world of the before times.
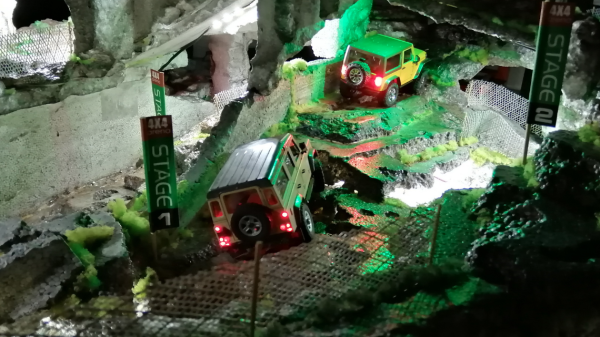
For example, [ossum] makes R/C vehicles on commission to exacting standards, but took a break from perfection to build this remote control hellscape-faring van by the seat of his pants. It’s quite a resourceful build that combines pieces from previous projects with a few standard R/C parts and a handful of clever hacks.
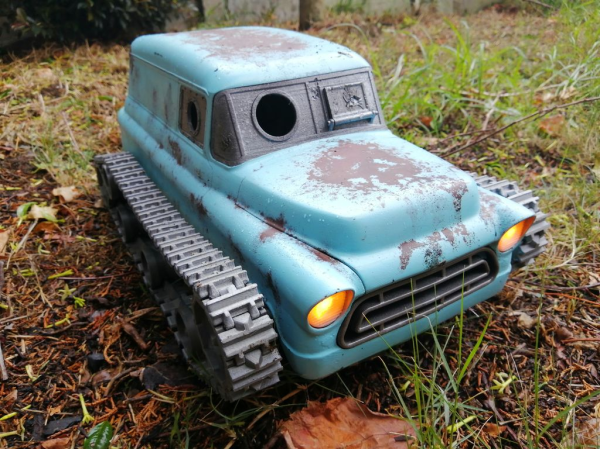
 The body is a test print of a 1957 Chevy Suburban van that [ossum] made for someone a few years back. It’s mounted on a scrap metal chassis and moves on printed tank treads designed for a different vehicle.
Since glass is a liability in an apocalypse (and because [ossum] doesn’t have a resin printer yet), the windows have fortified coverings that are printed, patina’d, and detailed with tiny rivet heads.
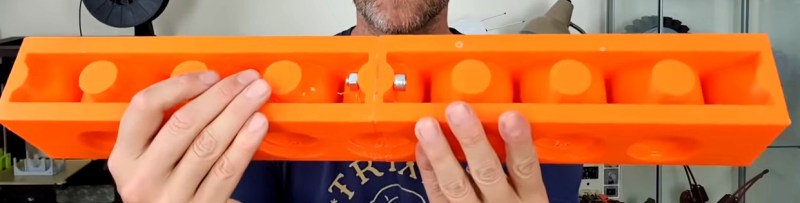
As far as hacks go, our favorite has to be the clothespin steering. [ossum] only had one electronic speed controller, so he used a servo to actuate a pair of spring-loaded clips, alternating between the two to move the tank-van. There’s a short video after the break that shows the rack and clothes-pinion steering, and it’s loaded up right after a brief demo of the van.
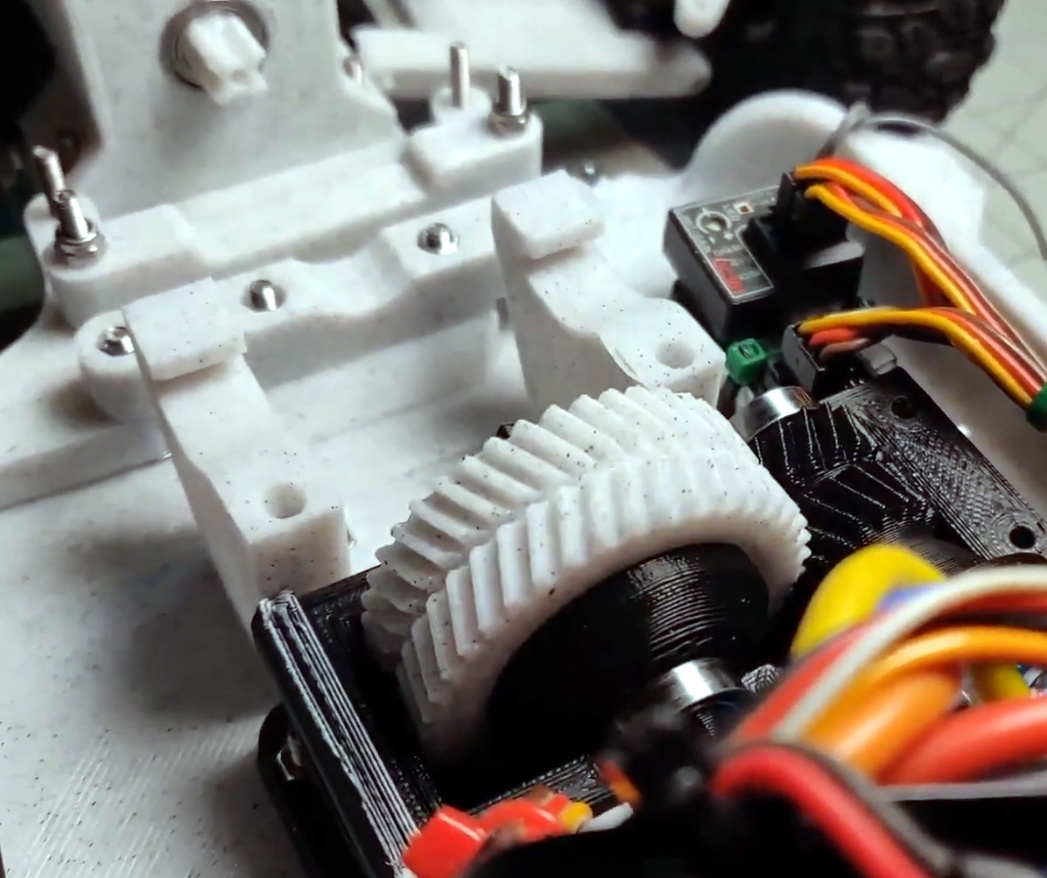
We realize that everyone’s apocalyptic needs are different, but there’s more than enough here to get you started. Don’t have access to enough R/C parts? Gear boxes and drive shafts can be printed, too.
Continue reading “Remotely Navigate The Apocalypse In Mid-Century Style”