Stop motion animation is notoriously difficult to pull off well, in large part because it’s a mind-numbingly slow process. Each frame in the final video is a separate photograph, and for each one of those, the characters and props need to be moved the appropriate amount so that the final result looks smooth. You don’t even want to know how long Ben Wyatt spent working on Requiem for a Tuesday, though to be fair, it might still get done before the next Avatar.
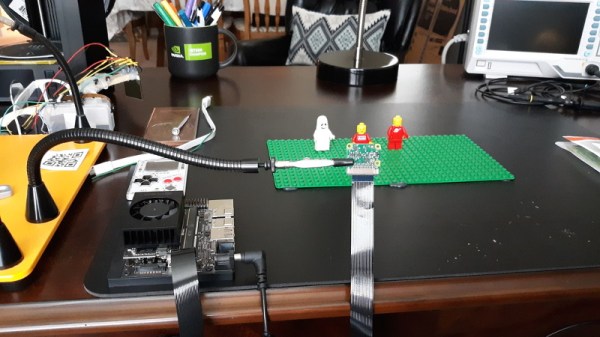
But [Nick Bild] thinks his latest project might be able to improve on the classic technique with a dash of artificial intelligence provided by a Jetson Xavier NX. Basically, the Jetson watches the live feed from the camera, and using a hand pose detection model, waits until there’s no human hand in the frame. Once the coast is clear, it takes a shot and then goes back to waiting for the next hands-free opportunity. With the photographs being taken automatically, you’re free to focus on getting your characters moving around in a convincing way.
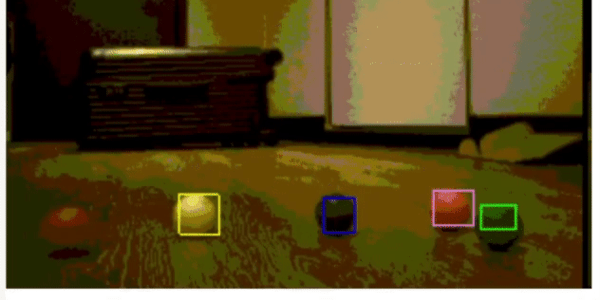
 If it’s still not clicking for you, check out the video below. [Nick] first shows the raw unedited video, which primarily consists of him moving three LEGO figures around, and then the final product produced by his system. All the images of him fiddling with the scene have been automatically trimmed, leaving behind a short animated clip of the characters moving on their own.
Now don’t be fooled, it’s still going to take awhile. By our count, it took two solid minutes of moving around Minifigs to produce just a few seconds of animation. So while we can say its a quicker pace than with traditional stop motion production, it certainly isn’t fast.
Machine learning isn’t the only modern technology that can simplify stop motion production. We’ve seen a few examples of using 3D printed objects instead of manually-adjusted figures. It still takes a long time to print, and of course it eats up a ton of filament, but the mechanical precision of the printed scenes makes for a very clean final result.
Continue reading “Mastering Stop Motion Through Machine Learning”