If you asked us for an epic tale of designing and building under a deadline, one of the last places we would think to look is a MrBeast video. Yet here we are, thanks in no small part to the epic skills of one [William Osman].
What do you do when a major YouTube celebrity asks you to handle a project with an impossible deadline? If you’re [William], you say “heck yeah” and figure out the details later. In this case, it was famed YouTuber [Jimmy Donaldson], aka MrBeast, who was planning his own version of Squid Game. In this version, no one dies, but a few players do walk away with a lot of cash.
The premise is simple — “kill” people with a motion-sensing gun turret, just like the one in the show. The problem is that the show had all the tools of movie magic – multiple takes, video editing, you name it. [William] was tasked with handling a live event, with 456 real people, and no do-overs. Oh, and the whole thing had to be ready in 3 weeks.
 The kills had to be pretty obvious too – we’re talking simulated blood squirting everywhere. So [William] decided to build his own version of a blood squib – the device Hollywood has used for decades to simulate bullet wounds. Initial work with pneumatic systems proved to be impractical. That’s when he put on his manager hat — and hired people to solve the problem for him. You might recognize a few of them — [Allen Pan] makes an appearance, as well as chemical genius [NileRed]. Even [TheBackYardScientist] shows up.
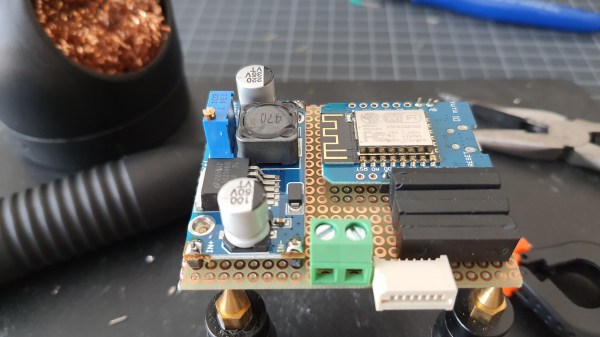
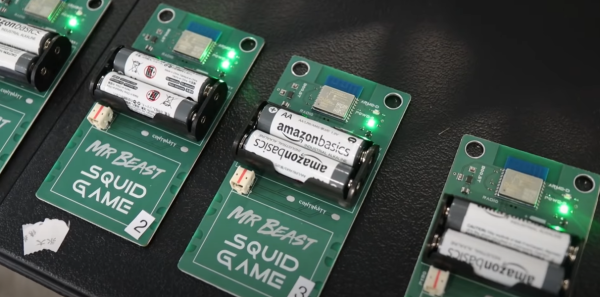
The video documents [William]’s journey, getting 500 copies of a board built and delivered on deadline. As such, there isn’t a ton of detail about the internal workings of the system. A pair of AA batteries feed into a boost converter, which powers an ESP8266 inside an ESP-WROOM-02 module. The ESP drives a few LEDs and a MOSFET. The MOSFET is connected to the star of the show – an MGJ firewire initiator – think of it as a model rocket igniter on steroids. The initiator hides behind a bag of YouTube-friendly yellow “blood”. When the system is commanded to kill, the initiator pops the bag, spraying blood everywhere.
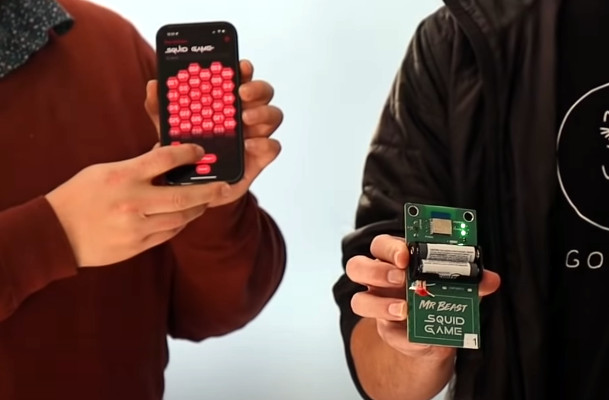
Doing this for one device isn’t so bad, but we’re following Squid Game rules – which means 456 competitors. Further, there were 100 iPhones loaded with a custom kill app for the workers. Add a central server into the mix, and you’ve got 557 devices in close quarters basting on 2.4 GHz and 5.8 GHz. Did we mention that [William] had never done a test with more than a handful of devices?
Want to find out what happens? Check out the video below!