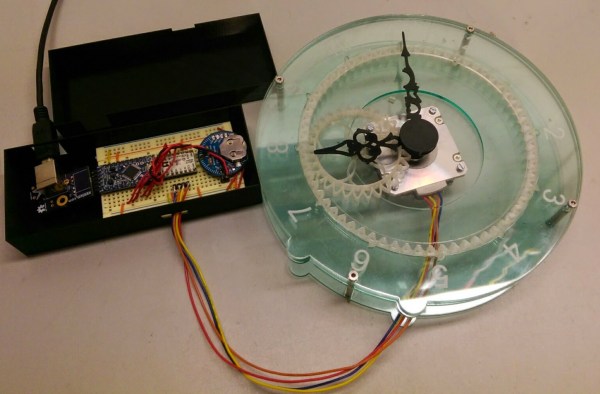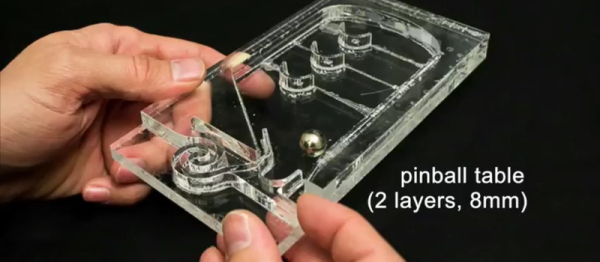
Everybody likes 3D printing, right? But it’s slow compared to 2D laser cutting. If only there were a way to combine multiple 2D slices into a 3D model. OK, we know that you’re already doing it by hand with glue and/or joints. But where’s the fun in that?
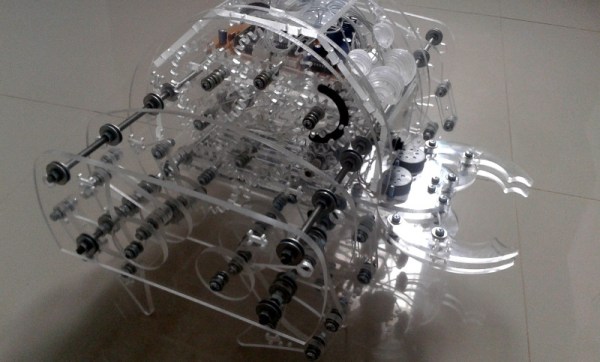
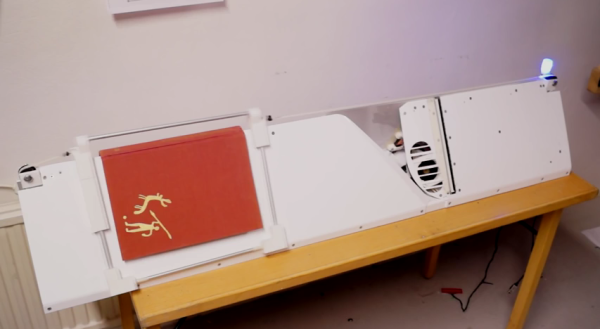
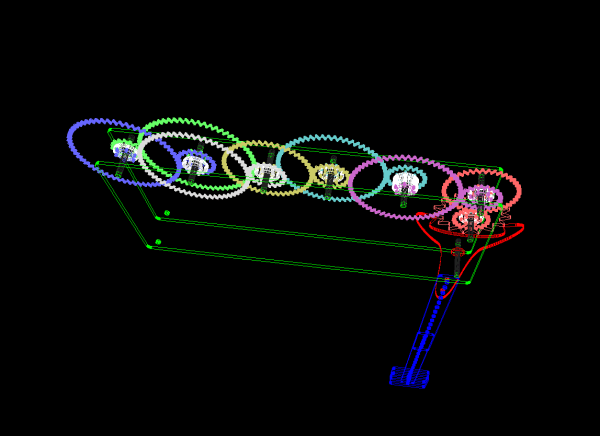
LaserStacker automates the whole procedure for you. They’ve tweaked their laser cutter settings to allow not just cutting but also welding of acrylic. This lets them build up 3D objects out of acrylic slices with no human intervention by first making a cutting pass at one depth and then selectively re-welding together at another. And they’ve also built up some software, along with a library of functional elements, that makes designing these sort of parts easier.
There’s hardly any detail on their website about how it works, so you’ll have to watch the video below the break and make some educated guesses. It looks like they raise the cutter head upwards to make the welding passes, probably spreading the beam out a bit. Do they also run it at lower power, or slower? We demand details!
Anyway, check out the demo video at 3:30 where they run through the slice-to-depth and heal modes through their paces. It’s pretty impressive.