It’s really quite unfortunate that Hackaday/Supplyframe employees and their families are not allowed to place in the 2023 Halloween Hackfest, because our own [Tom Nardi] has thrown down a costume gauntlet with his kids’ proton pack conversion.
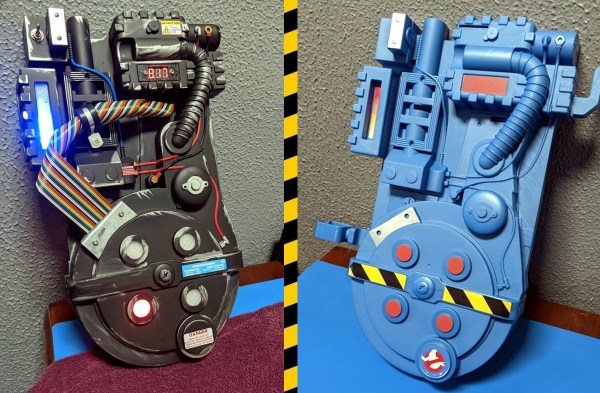
 Starting with an inert off-the-shelf toy from 2021, [Tom] set out to make the thing more awesome in every way possible. For one thing, it’s blue, and outside of the short-lived animated series The Real Ghostbusters, who ever heard of a blue proton pack? So one major change was to paint it matte black and age it with the old silver rub ‘n buff technique. And of course, add all the necessary stickers.
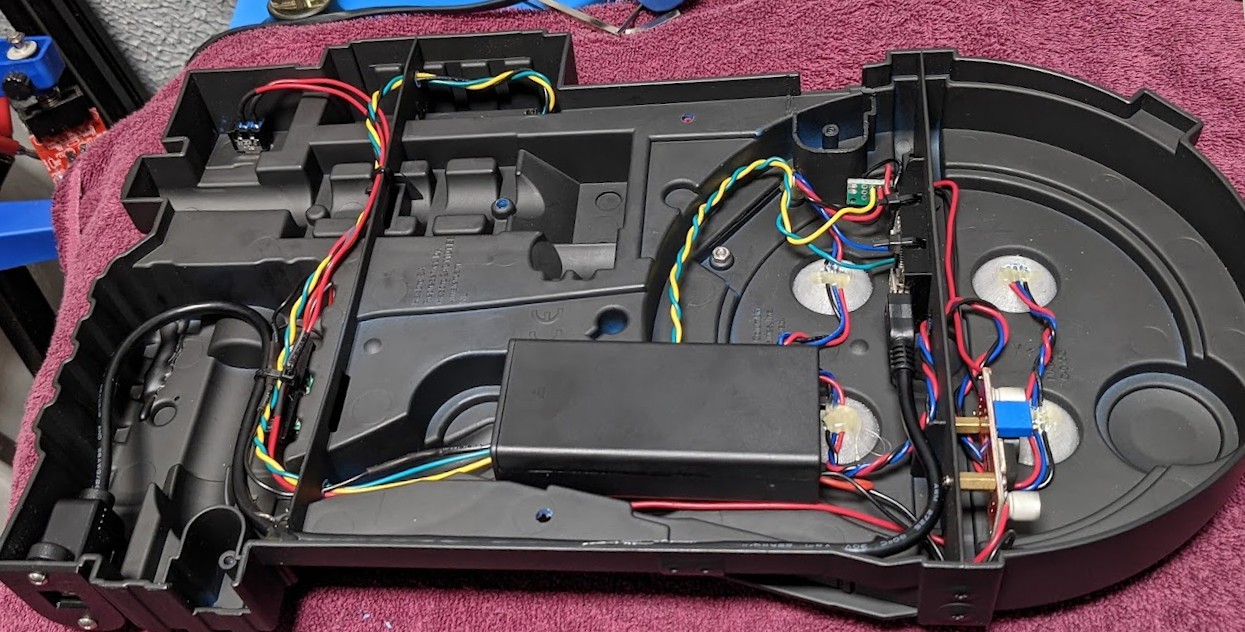
[Tom] added plenty of blinkenlights, all running off of an Arduino Nano clone and a pair of 18650s. He got lucky with the whole power cell thing, because an 8 x 5050 RGB LED stick fits there perfectly and looks great behind a PETG diffusing lens. He also drilled out and lit up the cyclotron, because what’s a proton pack without that? There’s even a 7-segment LED voltmeter so Dad can check the power level throughout the night.
Finally, he had to do a bit of engineering to make the thing actually wearable by his daughter. A frame made of square aluminium tubing adds strength, and a new pair of padded straps make it comfortable. Be sure to check it out in action after the break.
What’s a Ghostbusters costume without a PKE meter? Continue reading “2023 Halloween Hackfest: Converted Proton Pack Lights Up The Night”