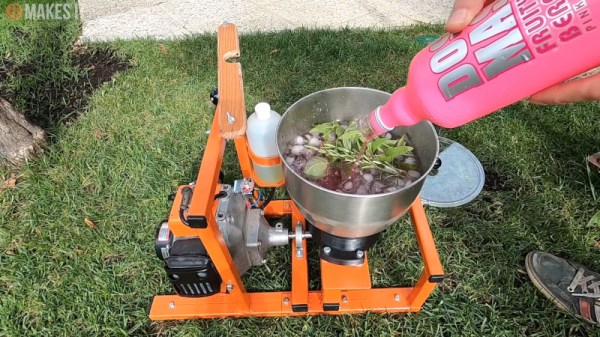
Whether you’re into fruit smoothies or icy blended cocktails, a blender comes in handy when preparing these beverages in the kitchen. But, if a small electric motor can do the job well, a noisy combustion engine can certainly do it louder. This is demonstrated ably by this project from [JT Makes It].
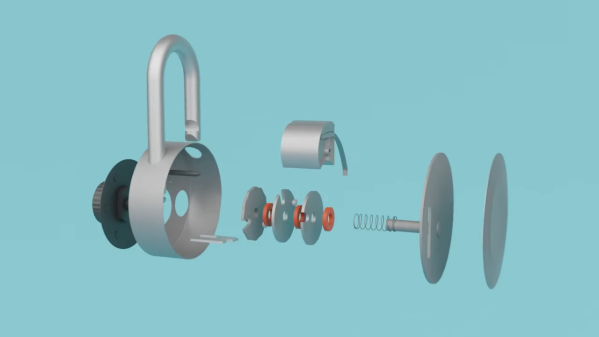
The build is a steel-framed contraption, mounting a small gas engine of the type you’d typically find in a weed trimmer or other garden tool. It’s attached to a shaft allowing it to spin a blender blade at up to 41,000 rpm when unloaded. A stout metal container is mounted on top, along with a plexiglass lid to ensure the contents of the bowl don’t escape when the blender is in action.
It’s a fun build, and one that has no trouble turning a bucket of apples into mush in under 60 seconds. More realistically, [JT] is able to whip up several litres of blended cocktail without major effort, which would be great for parties. Though, we do imagine the burning oil and gas fumes does somewhat spoil the taste sensation. We’ve seen similar hacks before, like this nitro-fuelled pencil sharpener. Video after the break.

 Inspired by the picture of a commercially available word clock, [Yasa] remembered the fun he had back in 2012 when he made


 Light painting is the process of moving a light while taking a long-exposure photograph, which creates a sort of drawing from the path of the light source. It’s been done in one way or another since at least the early-to-mid 1900s, but modern hardware and methods have allowed for all kinds of new spins on this old idea. [Josh Sheldon]
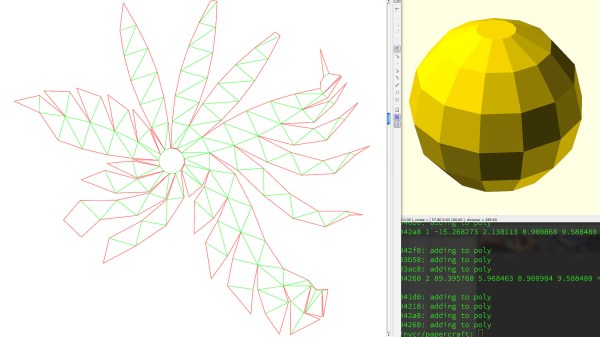
 There are of course other and more full-featured tools for unfolding 3D models:


