There’s not much time left now. If you’re going to put something together to give the youngsters some night terrors in exchange for all that sweet candy, you better do it quick. This late to the game you might not have time to do anything too elaborate, but luckily we’ve come across a few quick Halloween hacks that can get you some pretty cool effects even if it’s only a few hours before the big night.
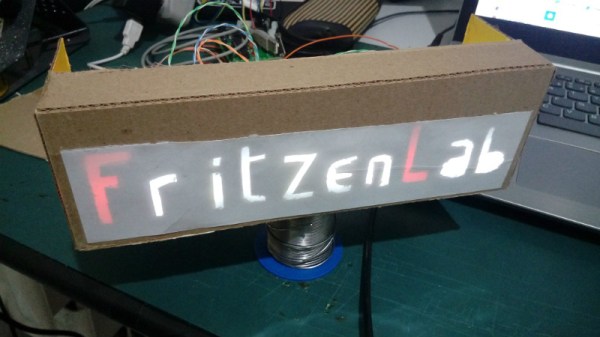
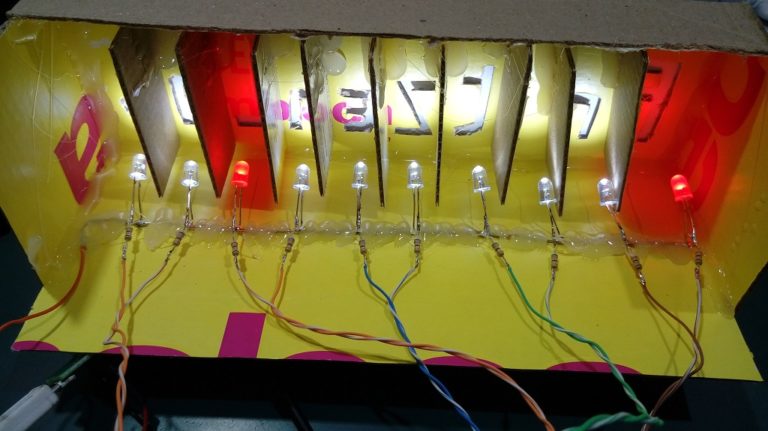
 As a perfect example, these LED “blinking eyes” were created by [Will Moser]. Using nothing more exotic than some bare LEDs, an Arduino, and a cardboard box, these little gadgets can quickly and easily be deployed in your windows or bushes to produce an unsettling effect after the sun goes down. Thanks to the pseudorandom number generator in the Arduino code, the “eyes” even have a bit of variability to them, which helps sell the idea that your Halloween visitors are being watched by proper creatures of the night.
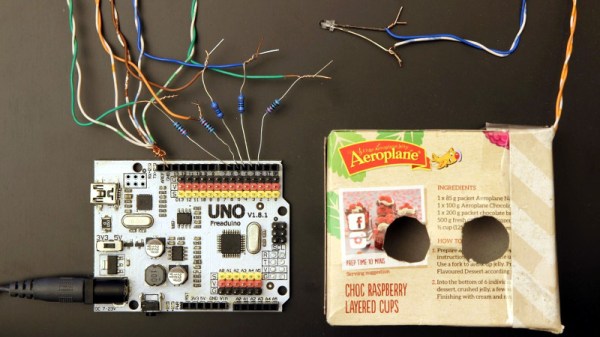
The hardware side of this project is very simple. [Will] takes a container such as a small cardboard box and cuts two holes in it to serve as the eyes. He notes that containers which are white or reflective on the inside work best. You’ll want to get a little artistic here and come up with a few different shaped sets of eyes, which is demonstrated in the video after the break. Inside each box goes a colored LED, wired back to the Arduino.
For the software, [Will] is using a floating analog pin as a source of random noise, and from there comes up with how often each LED will blink on and off, and for how long. Both the hardware and software sides of this project are perfect for beginners, so it might be a good way to get the Little Hackers involved in the festivities this year; if you’re the type of person who enjoys replicating small humans in addition to creeping them out.
LEDs seem to be the hacker’s decoration of choice come Halloween, from wearable LED eyes to remote controlled illuminated pumpkins.

 That’s where [Andy Forest] comes in with the


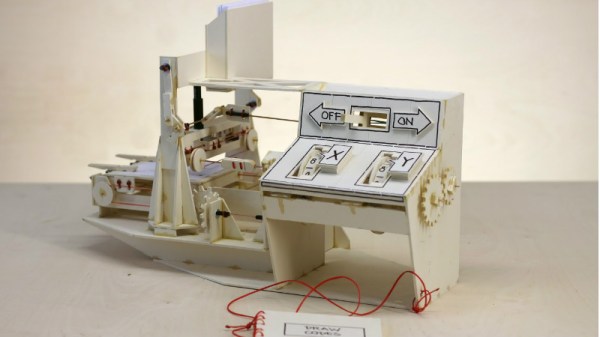


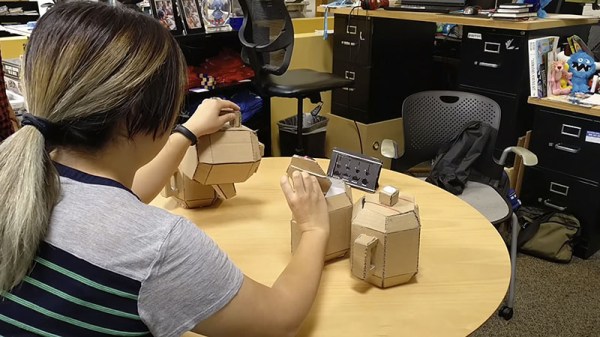
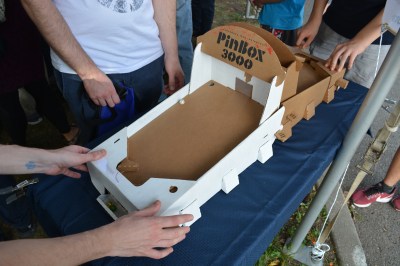 When first assembled the playfield is blank. That didn’t stop the fun for this set of kits stacked back to back for player vs. player action. There’s a hole at the top of playfields which makes this feel a bit like playing Pong in real life. However, where the kit really shines is in customizing your own game. In effect you’re setting up the most creative marble run you can imagine. This task was well demonstrated with cardboard, molded plastic packaging (which is normally landfill) cleverly placed, plus some noisemakers and lighting effects. The company has been working to gather up inspiration and examples for building out the machines. We love the multiple layers of engagement rolled into Pinbox, from building the stock kit, to fleshing out a playfield, and even to adding your own electronics for things like audio effects.