Kids – they’re such a treasure. One minute you’re having a nice chat, the next minutes they’re testing your knowledge of the natural world with a question like, “Why can we see the Moon during the day?” And before you know it, you’re building a CNC Earth-Moon orbital model.
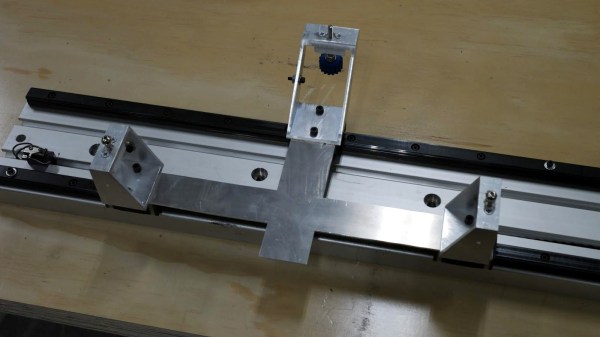
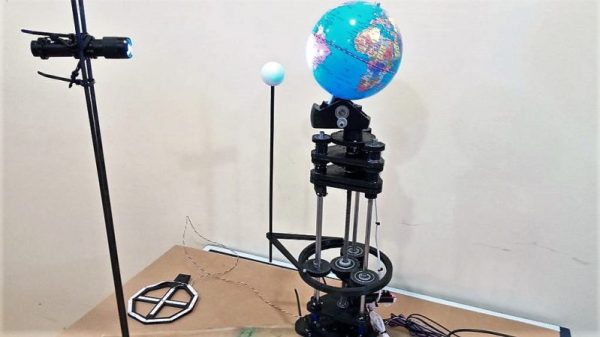
We’ve got to applaud [sniderj]’s commitment to answering his grandson’s innocent question. What could perhaps have been demonstrated adequately with a couple of balls and a flashlight instead became an intricate tellurion that can be easily driven to show the relative position of the Earth and Moon at any date; kudos for anticipating the inevitable, “Where was the moon when I was born, Grampa?” question. The mechanism is based on the guts of a defunct 3D-printer, with the X-, Y-, and Z-axis steppers now controlling the Earth’s rotation and tilt and the Moon’s orbit respectively, with the former extruder drive controlling the tilt of the Moon’s orbital plane. A complex planetary gear train with herringbone gears, as well as a crossed-shaft helical gear set, were 3D-printed from PLA. The Earth model is a simple globe and the Moon is a ping-pong ball; [sniderj] is thinking about replacing the Moon with a 3D-printed bump-map model, a move which we strongly endorse. The video below shows the tellurion going through a couple of hundred years of the saros at warp speed.
There’s just something about machines that show the music of the spheres, whether they be ancient or more modern. And this one would be a great entry into our 3D-Printed Gears, Pulleys, and Cams contest too.
Continue reading “CNC Tellurion Lets You See The Earth And Moon Dance”