Fans of the Guitar Hero etc. franchise may be interested to hear about Spin Rhythm XD, a similar rhythm game which uses a jog wheel for much of the chase-down-the-notes action. Although it can be played with a keyboard and mouse, the ideal input is a professional DJ MIDI controller — imagine two capacitive “turntables” the size of 45s, and a lot of buttons, knobs, and sliders.
 Like most of us, [Dave] doesn’t have one of those. But what he does have is an old DJ Hero controller made for the Wii. It’s a lot like the big boy version of a DJ MIDI controller as far as the inputs go, except that the turntable isn’t capacitive.
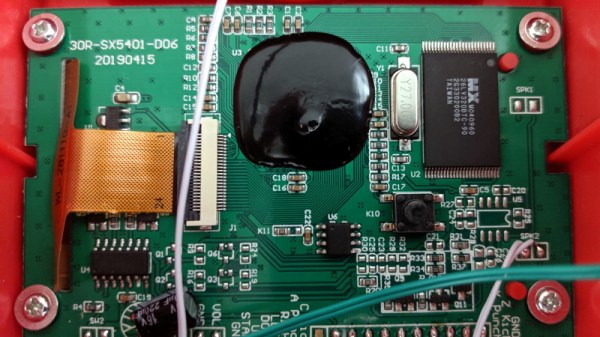
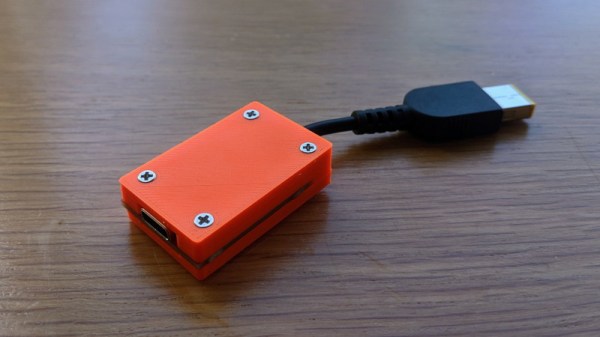
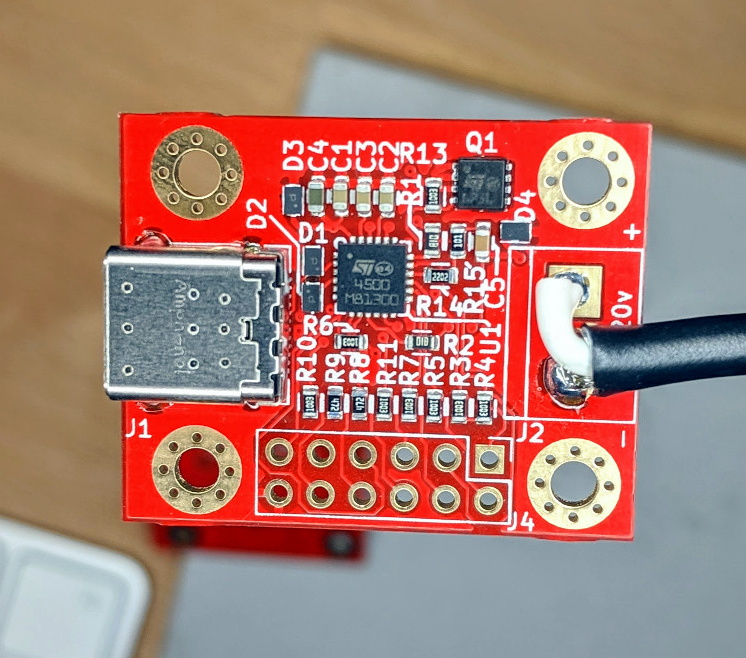
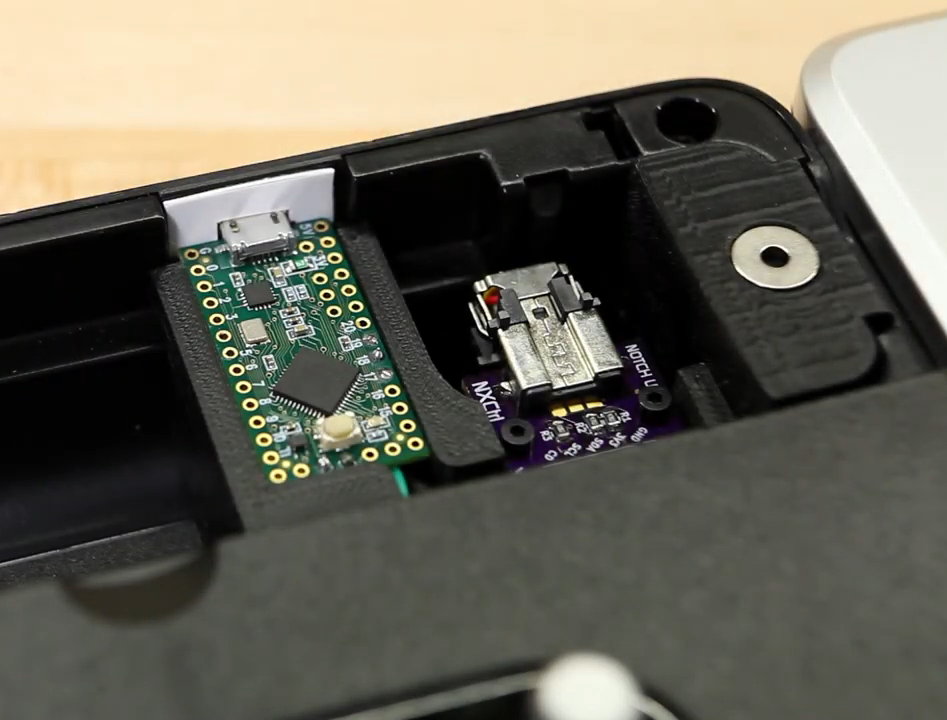
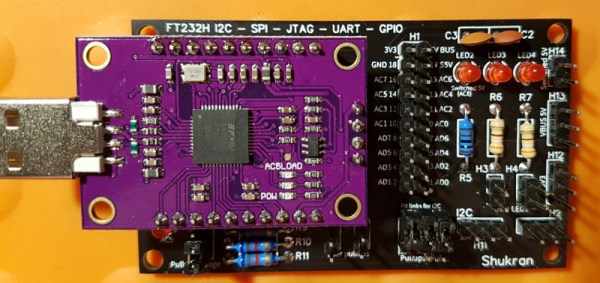
Since the Wii brain is just sending I²C over a funny-looking connector, [Dave] was able to replace the Wiimote with a Teensy LC, and write new firmware for the controller inputs using a breakout board built for another project.
[Dave] tried to use as many of the DJ Hero controller’s inputs as he could, so in addition to mapping the wheel and wheel buttons to the main game controls, he wired up the joystick, effects knob, and buttons to navigate through the game menus. The game’s designers had the forethought to map these to keyboard keys, so it was pretty easy to do. He can even use dual turntables and mix or isolate them with the crossfader. Slide past the break to check out the build video, and stick around for a full-length song demo.
Are these games a little too frantic for you? Turn those ‘tables into an Etch-A-Sketch instead.
 The
The