If there’s one thing that continues to impress us about the Hackaday community as the years roll by, it’s the willingness to share what we’ve learned with each other. Not every discovery will be news to everyone, and everything won’t be helpful or even interesting to everyone, but the mere act of sharing on the off chance that it’ll help someone else is really what sets the hardware hacking world apart.
Case in point: this in-depth analysis of laser cutter air-assist methods. Undertaken by [David Tucker], this project reads more like a lab writeup than a build log, because well, that’s pretty much what it is. For those not into laser cutters, an air assist is just a steady flow of air to blow smoke and cutting residue away from the beam path and optics of a laser cutter. It’s simple, but critical; without it, smoke can obscure and reflect the laser beam, foul lenses and mirrors, and severely degrade cut quality.
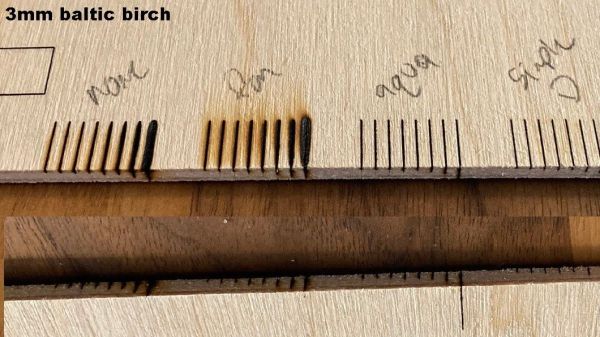
To see what air-assist methods work best, [David] looked at four different air pumps and compressors, along with a simple fan. Each of these methods was compared to a control of cuts made without air assist. The test was simple: a series of parallel lines cut into particle board with the beam focused on the surface at 80% power, with the cut speed slowly decreasing. It turned out that any air-assist was better than nothing, with the conspicuous exception of using just a fan, which made things worse. Helpfully, [David] included measurements of the noise levels of the compressors he tested, and found there’s no advantage to using an ear-splitting shop compressor over a quieter aquarium air pump. Plus, the aquarium pumps are cheap — always a bonus.
Not sure how to get up to speed with lasers? Laser Cutting 101 might be a great place to start.