The 1960s were, in Western culture, a time of great social and political upheaval, and the dawning of the psychedelia subculture. This resulted in an art style consisting of bright colours in wild, shifting designs. [Afraser-kruck] has built a device capable of generating beautiful rainbow light patterns, which he calls Mesmer-Eyes.
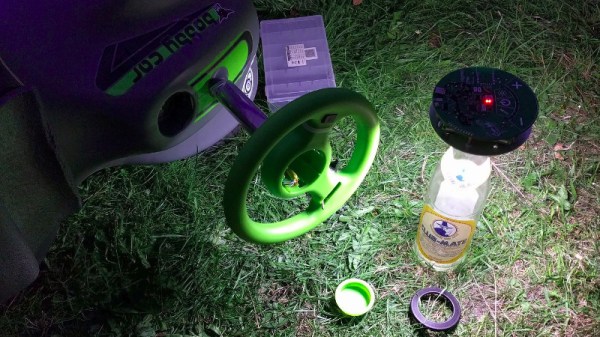
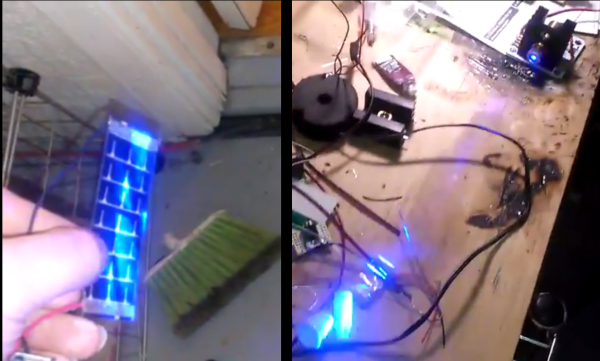
The device uses two CDs, stripped of their reflective coating. This leaves the plastic layer behind, which appears to be acting as a circular diffraction grating. By passing light from a flashlight through a CD, a dazzling rainbow vortex is created, and the effect is even further improved by adding a second disc. The patterns can be moved and shifted by changing the distance between the discs themselves, as well as the flashlight. This is achieved through the use of a sled that slides on PVC pipes, holding each individual element.
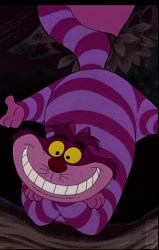
It’s a build of a kind we haven’t seen before, and is put to good use as a creepy Halloween decoration, imitating the famous Cheshire Cat. It’s one we can’t wait to tackle ourselves, and we wonder how difficult it would be to turn it into a projection, or a larger scale design.
Creepy eyes remain a Halloween staple; we’ve featured them before. Video after the break.