Real sunlight is a beautiful thing, but due to the vagaries of Earth’s orbit and local weather systems, it’s not available all the time. [Matt] decided this wasn’t good enough, and set about building a rig to replicate the sun’s rays as closely as possible.
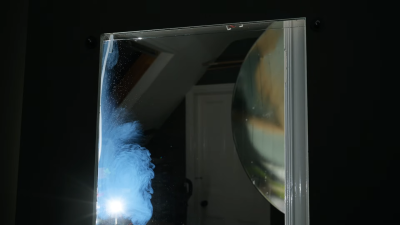
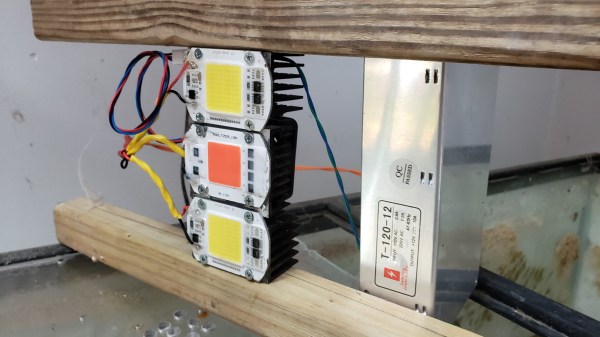
The great distance between the Sun and the Earth means that the sun’s rays are essentially parallel from our local vantage point. Replicating this, and the soothing nature of a blue sky, were [Matt]’s primary goals with the project. To achieve this, an old satellite dish was pressed into service as a parabolic reflector, coated with mirror-finish vinyl strips. A 500W white LED with a good color rendering index was fitted at the focal point, outfitted with a water cooling system to shed heat. With a point source at its focal point, the parabolic reflector bounces the light such that it the rays are parallel, giving the sense that the light source is coming from an effectivelyl infinite distance away. To then achieve the blue sky effect, the light was then passed through a glass chamber filled with soapy water, which scatters the light using the Tyndall effect. This mimics the Rayleigh scattering in Earth’s atmosphere.
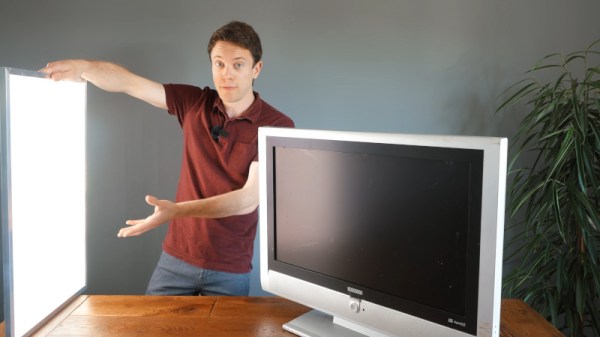
The final result is amazing, with [Matt] shooting footage that appears to be filmed in genuine daylight – despite being shot at night or on rainy days. He also features a cutdown build that can be achieved in a far cheaper and compact form, using Fresnel lenses and blue film. We’ve featured [Matt]’s daylight experiments before, though we’re amazed at the new level reached. Video after the break.
Continue reading ““Artificial Sun” Lighting Via Old Satellite Dishes”