Repairing A Wounded Mantis

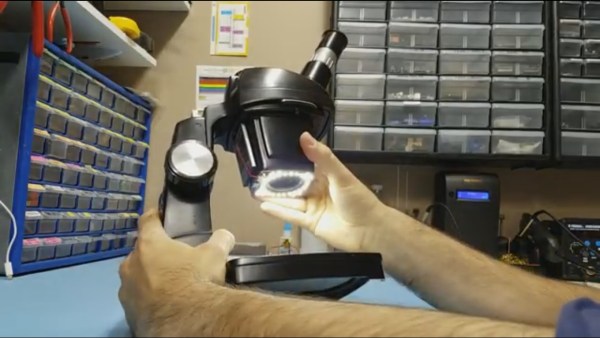
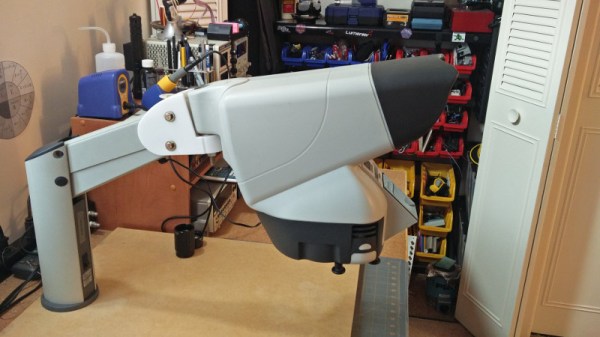
While it’s true that we didn’t specifically say making Hackaday staff exceedingly jealous of your good fortune would deduct points from your entry into our ongoing “Repairs You Can Print Contest”, we feel like [Sam Perry] really should have known better. During a recent dumpster dive he found an older, slightly damaged, but still ridiculously awesome Mantis stereo inspection microscope. Seriously, who’s throwing stuff like this away?

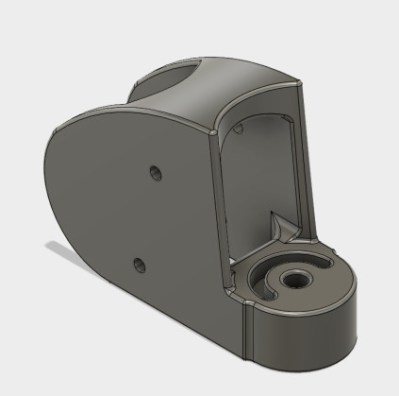
Rendered replacement mount in Fusion 360

Apparently, the microscope itself worked fine, and beyond some scratches and dings that accumulated over the years, the only serious issue was a completely shattered mount. Luckily he still had the pieces and could get a pretty good idea of what it was supposed to look like. After what we imagine was not an insignificant amount of time in Fusion 360, he was able to model and then print a replacement.

The replacement part was printed on a Tronxy P802M in PLA. Even at 0.3mm layer height, it still took over 10 hours to print such a large and complex component. A few standard nuts and bolts later, and he had a drop-in replacement for the original mount.

Whether it’s due to how big and heavy the Mantis is, or a slight miscalculation in his model, [Sam] does mention that the scope doesn’t sit perfectly level; he estimates it’s off by about 5 degrees.

We’re somewhat suspicious that mentioning an error of only 5 degrees is a stealth-brag on the same level as telling everyone you found a Mantis in the trash. But if [Sam] gives us the GPS coordinates of the dumpster in which people are throwing away high-end lab equipment, all will be forgiven.

There’s still plenty of time to get your entry into the “Repairs You Can Print” contest! The top twenty projects will receive $100 in Tindie store credit, and the top entries in the Student and Organization categories will each receive a Prusa i3 MK3 with the Quad Material upgrade kit: arguably one of the best 3D printers currently on the market. If you were considering going back to school, or finally leaving your basement and joining a hackerspace, now would definitely be the time.

Not So Simple LED Upgrade For Microscope

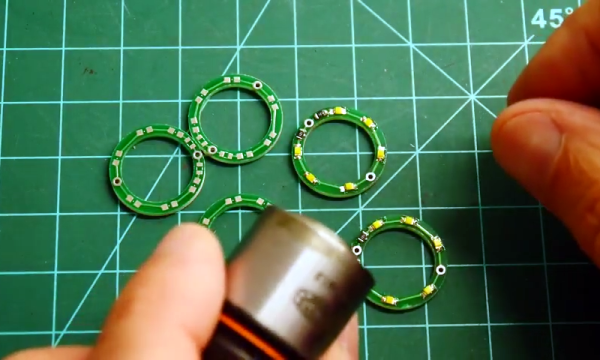
[Amen] obtained a microscope whose light source was an incandescent bulb, but the light from it seemed awfully dim even at its brightest setting. Rather than hunt down a replacement, he decided to replace the bulb with a 1W LED mounted on a metal cylinder. The retrofit was successful, but there were numerous constraints on his work that complicated things. The original bulb and the LED replacement differed not just in shape and size, but also in electrical requirements. The bulb was also part of an assembly that used a two-pronged plug off to the side for power. In the end, [Amen] used 3D printing, a bit of metal work, and a bridge rectifier on some stripboard to successfully replace his microscope’s incandescent bulb assembly with an LED. He even used a lathe to make connector pins that mated properly with the microscope’s proprietary power connector, so that the LED unit could be a drop-in module.

Working on existing equipment always puts constraints on one’s work, usually due to space limitations, but sometimes also proprietary signals. For example, a common issue when refitting a projector with an LED is to discover that the projector expects a stock bulb, and refuses to boot up without one. Happily, the microscope didn’t care much about the bulb itself, and with the LED positioned in roughly the same position as the original bulb’s filament [Amen] obtained smooth and even lighting across the field of view with no changes made to the microscope itself.

Tricked-Out Tablet Becomes Workbench Tool

The workbench of the typical electronics hobbyist today would probably be largely recognizable by Heathkit builders back in the 60s and 70s. But where the techs and tinkerers of yesteryear would have had a real dead-tree SAMS Photofact schematic spread out on the bench, today you’ll get more use out of a flat-screen display for data sheets and schematics, and this handy shop Frankentablet might be just the thing to build.

Tablets like the older Nexus 9 that [enginoor] used as the basis for this build have a little bit of a form-factor problem because unlike a laptop, a tablet isn’t very good at standing up on its own. To fix that, they found a suitable silicone skin for the Nexus, and with some silicone adhesive began bedazzling the back of the tablet. A bendy tripod intended for phones was added, and with the tablet able to stand on its own they maximized the USB port with a right angle adapter and a hub. Now the tablet has a USB drive, a mouse, and a keyboard, ready for perusing data sheets online. And hackers of a certain age will appreciate the eyeball-enhancing potential of the attached USB microscope.

[enginoor]’s bench tablet is great, but we’ve seen full-fledged bench PCs before too. Take your pick — wall mounted and floating, or built right into the workbench.

Thanks to [ccvi] for the tip.

If You Want To Spend On A Microscope

A quick check of the usual Chinese websites will yield USB microscopes for a very low price. However, many of these are little more than webcams with some cheap optics. Not that they can’t be useful, but they probably won’t compete with an expensive instrument like a Dino-Lite. [Shahriar] looks at the latest offerings from Dino-Lite and shows how they can be useful when examining electronics. You can see the video below, but be warned: these little microscopes are not cheap. The entry-level model starts at about $100 and they go up  — way up — from there.

Still, many of us spend as much or more on necessary gear and these days a microscope for inspecting tiny circuits is pretty handy. In addition to the optical instruments, [Shahriar] also looks at a stepper motor-driven microscope stage, which is interesting.

Continue reading “If You Want To Spend On A Microscope”

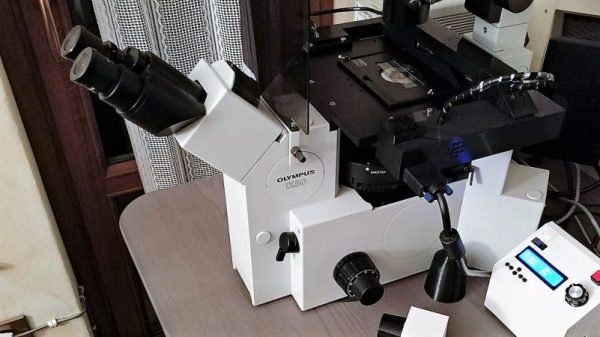
Hacking A Metallurgical Microscope

[Amen] wanted to inspect ICs on the PCBs for suitability for reuse, so he bought a metallurgical microscope that illuminates from above rather than below, since it normally looks at opaque things. It has a working distance of 0.5 mm and 10 mm, which isn’t a lot of room to solder.

The microscope didn’t come with a slide tray, so [amen] found a cheap one on eBay. Needing a connector block, he melted down some food trays into an ingot, which he then milled down into a block shape, drilled, and used to attach the slide tray to the microscope.

The thing came with a manual XY table, which the operator adjusts by turning knobs. It’s fine for most basic applications but it’s also a pain for more complicated projects, like tiling together a huge photo of a die. [amen]’s currently working on a powered XY based on a DVD drive’s stepper assemblies.

If you’re looking for more microscope projects, read up on the hacked inspection microscope and a Pi Zero ‘scope we previously published.

Microorganisms Can’t Hide From DropoScope

The DropoScope is a water-drop projector that works by projecting a laser through a drop of water, ideally dirty water crawling with microorganisms. With the right adjustments, a bright spot of light is projected onto a nearby wall, revealing a magnified image of the tiny animals within. Single celled organisms show up only as dark spots, but larger creatures like mosquito larvae exhibit definite structure and detail.

While simple in concept and requiring nothing more high-tech than a syringe and a laser pointer, getting useful results can require a lot of fiddly adjustment. But all that is a thing of the past for anyone with access to a laser cutter, thanks to [ingggis].  His design for a laser-cut a fixture lets anyone make and effortlessly adjust their own water-drop projector.

If you’d like to see some microorganisms in action, embedded below is video from a different water-drop projector (one identical in operation, but not lucky enough to benefit from [ingggis]’s design.)

Continue reading “Microorganisms Can’t Hide From DropoScope”

Hacking An Inspection Microscope

Sometimes I need to be able to take photographs of very small things, and the so-called macro mode on my point-and-shoot camera just won’t cut it. And it never hurts to have an inspection scope on hand for tiny soldering jobs, either, though I prefer a simple jeweler’s loupe in one eye for most tasks. So I sent just over $40 off to my close friend Alibaba, and a few weeks later was the proud owner of a halfway usable inspection scope that records stills or video to an SD card.

Unfortunately, it’s only halfway useable because of chintzy interface design and a wobbly mount. So I spent an afternoon, took the microscope apart, and got it under microcontroller control, complete with WiFi and a scripting language. Much better! Now I can make microscope time-lapses, but much more importantly I can take blur-free photos without touching the wiggly rig. It was a fun hack, so I thought I’d share. Read on!

Continue reading “Hacking An Inspection Microscope”