Dad Scores Big With DIY Indoor Hockey Game

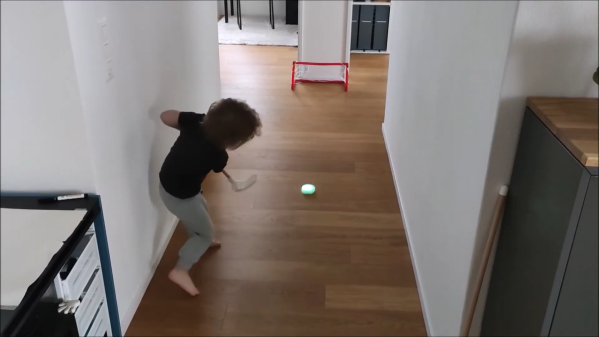
We suppose it’s a bit early to call it just yet, but we definitely have a solid contender for Father of the Year. [DIY_Maxwell] made a light-up hockey game for his young son that looks like fun for all ages. Whenever the puck is hit with the accompanying DIY hockey stick (or anything else), it lights up and produces different sounds based on its acceleration.

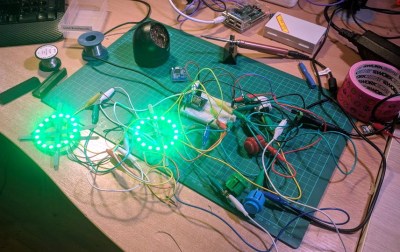
Inside the printed puck is an Arduino Nano running an MPU6050 accelerometer, a 12-NeoPixel ring, and a piezo buzzer. [DIY_Maxell] reused a power bank charging circuit to charge up the small LiPo battery.

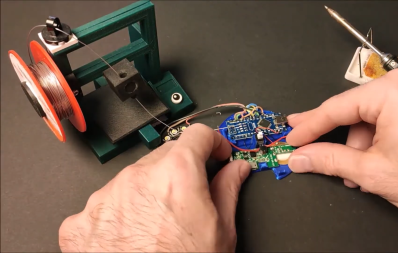
The original circuit used a pair of coin cells, but the Arduino was randomly freezing up, probably because of the LEDs’ current draw. Be sure to check out the video after the break, which begins with a little stop motion and features a solder stand in the shape of a 3D printer.

Got a house full of carpet or breakables? You could always build an air hockey table instead.

Continue reading “Dad Scores Big With DIY Indoor Hockey Game”

A Levitating Lamp Without Magnets

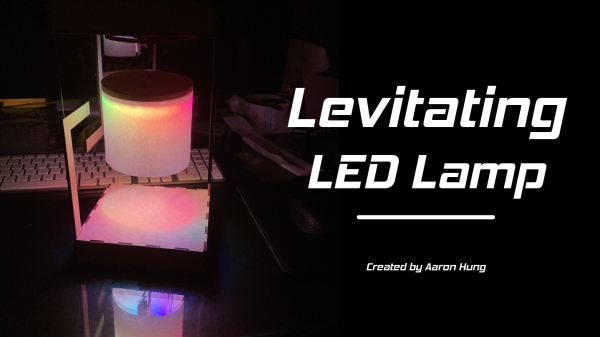
If you think of levitating objects you probably think about magnets but this is not what [Aaron Hung] used to build his levitating LED lamp. To be fair, his lamp is not really levitating but merely generates the illusion through the principles of tensegrity. We have featured a number of tensegrity structures over the last months but this is maybe the first time somebody has used it to build a daily-use item.

In his instructable [Aaron Hung] points out that according to Earnshaw’s theorem magnetic levitation using static magnetic fields like those of permanent magnets is actually impossible. If you are interested, the Wikipedia article also explains why floating superconductors and the Levitron toy do not contradict this theorem. (TL;DR: they’re dynamic.)

Coming back to [Aaron Hung]’s tensegrity lamp, the construction is rather simple and only requires an Arduino Nano, a Neopixel ring, a 9 V battery some wood or cardboard, and fishing line. The tensegrity part of the lamp consists of two similar pieces of laser-cut wood which are held together by fishing line so that the top part seems to float in mid-air. Normally, tensegrity structures are very fragile so [Aaron Hung] added some extra lines for stability which allowed him to hang the lamp from the top section without collapsing the whole structure. After coding some animations for the Neopixel ring and adding a paper lampshade the project was finished.

We would like to see more tensegrity versions of classic DIY projects and it was fun to see that similar objects were already built from Lego.

[Video after the break].

Continue reading “A Levitating Lamp Without Magnets”

Open Laser Blaster Shells Out More Bang For The Buck

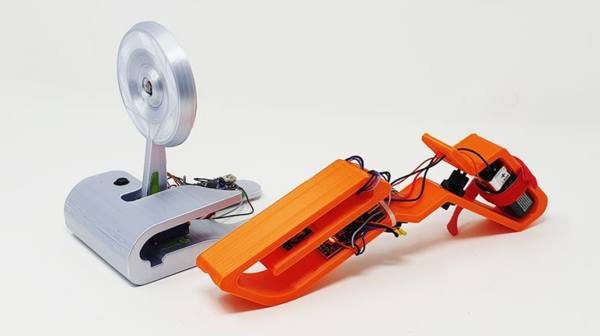
[a-RN-au-D] was looking for something fun to do with his son and dreamed up a laser blaster game that ought to put him in the running for father of the year. It was originally just going to be made of cardboard, but you know how these things go. We’re happy the design went this far, because that blaster looks fantastic.

Both the blaster and the target run on Arduino Nanos. There’s a 5mW laser module in the blaster, and a speaker for playing the pew pew-related sounds of your choice. Fire away on the blaster button, and the laser hits a light-dependent resistor mounted in the middle of the target. When the target registers a hit, it swings backward on a 9g servo and then returns quickly to vertical for the next shot.

There are some less obvious features that really make this game a hit. The blaster can run in 10-shooter mode (or 6, or whatever you change it to in the code) with a built-in reload delay, or it can be set to fully automatic. If you’re short on space or just get sick of moving the target to different flat surfaces, it can be mounted on the wall instead — the target moves forward when hit and then resets back to flat. Check out the demo video we loaded up after the break.

No printer? No problem — here’s a Node-RED shooting gallery that uses simple wooden targets.

Continue reading “Open Laser Blaster Shells Out More Bang For The Buck”

Break Time Is Calling On The Rainbow Connection

Like some of us, [Mister M] is prone to staying glued to his seat too long in this new era of working from home. And you know what they say about a body at desk — it tends to stay at desk until it absolutely must rise up to find food or use the restroom.

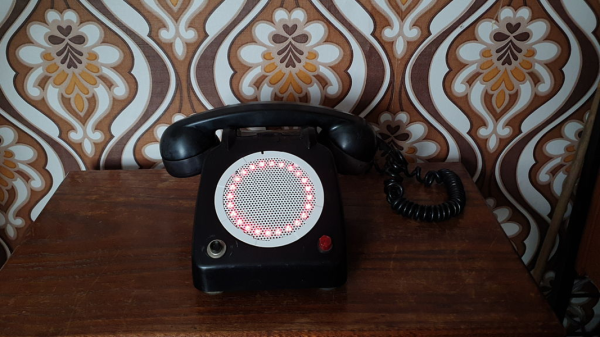
Thanks to this nifty new break time reminder, [Mister M] has a third call to answer that demands he get up. Every hour, the NeoPixel ring in this old dial-deficient phone fills up completely and switches over to an attention-getting rainbow animation. If [Mister M] stays seated, playtime is over. All the lights start flashing red, and the phone starts beeping incessantly until he walks across the room and either pushes the momentary button or lifts the handset to reset the timer.

We love that [Mister M] incorporated all of the phone’s original inputs and outputs into this project, because it’s such a cool old dog and bone. No need to drop a dime, just whistle at the break button to check out the build video.

This grille-faced phone was probably part of an intercom system. Incidentally, you can make an intercom system with two standard-style phones of this vintage.

Continue reading “Break Time Is Calling On The Rainbow Connection”

3D Printer Emission Monitor Quantifies The Stench

While we don’t yet know the long-term effects of hanging out around 3D printers, it doesn’t take a in-depth study to figure out that their emissions aren’t healthy. What smells toxic usually is toxic. Still, it’s oh-so-fun to linger and watch prints grow into existence, even when we have hundreds or thousands of hours of printing under our belts.

Most of us would agree that ABS stinks worse than PLA, and that’s probably because it releases formaldehyde when melted. PLA could be viewed as slightly less harmful because it has a lower melting point, and more volatile organic compounds (VOCs) are released at higher temperatures. Though we should probably always open a window when printing, human nature is a strong force. We need something to save us from our stubbornness, and [Gary Peng] has the answer: a smart 3D printer emission monitor.

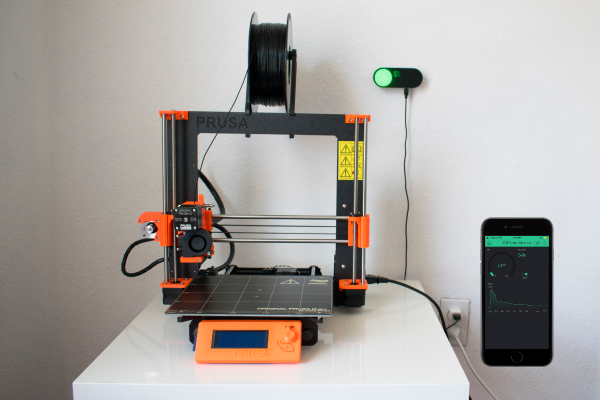
The monitor continually checks the air quality and collects data about VOC emissions. As the VOCs become elevated during printing, the user is notified with visual, audio, and phone notifications. Green means you’re good, yellow means open a window, red means GTFO. There’s a brief demo after the break that also shows the phone interface.

The heart of this monitor is a CCS811 gas sensor, which provides VOC data to a Particle Photon. [Gary] built a simple Blynk interface to handle the alerts and graph historical VOC readings. He’s got the code and STLs available, so let this be the last time you watch something print in blissful semi-ignorance.

Concerned about air quality in general? Here’s a standalone portable monitor designed to quantify the soul-crushing stuffiness of meetings.

Continue reading “3D Printer Emission Monitor Quantifies The Stench”

Getting MIDI Under Control

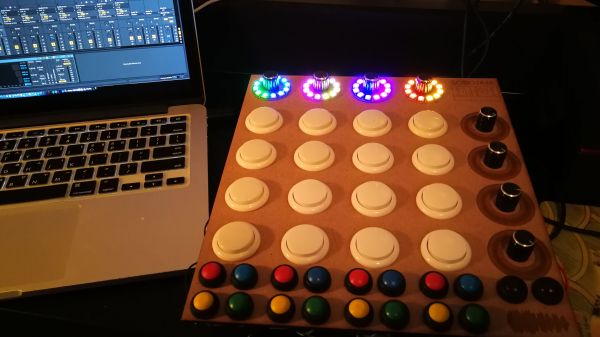
When [Mr. Sobolak] started his DIY Midi Fighter he already had experience with the MIDI protocol, and because it is only natural once you have mastered something to expand on the success and build something more impressive, more useful, and more button-y. He is far from rare in this regard. More buttons mean more than extra mounting holes, for example an Arduino’s I/O will fill up quickly as potentiometers hog precious analog inputs and button arrays take digital ones. Multiplexing came to the rescue, a logic-based way to monitor or control more devices, in contrast to the serial protocols used by an IO expander.

Multiplexing was not in [Mr. Sobolak]’s repertoire, but it was a fitting time to learn and who doesn’t love acquiring a new skill by improving upon a past project? All the buttons were easy enough to mount but keeping the wires tidy was not in the scope of this project, so if you have a weak stomach when it comes to a “bird’s nest” on the underside you may want to look away and think of something neat. Regardless of how well-groomed the wires are, the system works and you can listen to a demo after the break. Perhaps the tangle of copper beneath serves a purpose as it buoys the board up in lieu of an enclosure.

We are looking forward to the exciting new versions where more solutions are exercised, but sometimes, you just have to tackle a problem with the tools you have, like when the code won’t compile with the MIDI and NeoPixel libraries together so he adds an Uno to take care of the LEDs. Is it the most elegant? No. Did it get the job done? Yes, and if you don’t flip over the board, you would not even know.

Continue reading “Getting MIDI Under Control”

Bringing A Child’s Play Kitchen To Life

Given how many adults will go out of their way to avoid spending any extended amount of time in the kitchen, it’s pretty amazing how much children love playing in their miniature versions. Especially since they tend to be pretty simple: usually they’re little more than different sized boxes made out of MDF to represent the refrigerator, oven, and microwave. Of course, some kids are fortunate enough to have hackers and makers for parents.
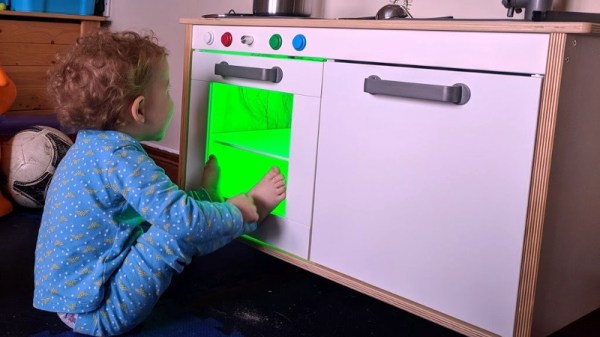
[Brian Lough] wanted to get his two year old daughter her own play kitchen, but wasn’t terribly impressed with anything on the market. So he decided to start with the IKEA Duktig and add in his own personal touches to turn the stark white playset into something that would really get his daughter’s imagination going. With the liberal application of RGB LEDs and microcontrollers, her kitchen is sure to be envy of the sandbox.

Being the class act that he is, [Brian] starts his write-up acknowledging the various IKEA Duktig hacks and modifications that served as inspiration for his own build. Most of the prior art out there relates to making the microwave and oven a bit more exciting with the addition of lights and sounds, which ultimately ended up being the way he approached his daughter’s version as well.

For the oven, [Brian] decided to add some big arcade buttons over the door which would change the color of the RGB LEDs inside. He thought this association would be a good way to help his daughter learn her colors, since she’ll be able to see the oven change color when she presses the corresponding button. He also added a knob to control the intensity of the light, meant to be analogous to the temperature control in a real oven.

The modifications to the microwave are a bit more extensive, including a “timer” made out of a TM1637 LED display in a 3D printed panel complete with a buzzer to indicate when the plastic food has been thoroughly illuminated. [Brian] even made it so the LEDs in the NeoPixel ring light up in a spinning pattern to cast some shadows and simulate movement. He notes that the microwave was actually a bit overwhelming to his daughter at first, but after a couple months of getting used to the functions, she enjoys it as much as the oven.

While hacking a play kitchen might be new territory for him, [Brian] is no stranger to building awesome stuff. We’ve previously seen him put together a YouTube subscriber counter in the style of Tetris, and he even managed to create a gorgeous looking display out of shoelaces of all things.