The only question we have about [mitxela]’s DIY vector graphics game console is: Why did he wait five years to tell the world about it?
Judging by the projects we’ve seen before, from his tiny LED earrings to cramming a MIDI synthesizer into both a DIN plug and later a USB plug, [mitxela] likes a challenge. And while those projects were underway, the game console you’ll see in the video below was sitting on the shelf, hidden away from the world. That’s a shame, because this is quite a build.
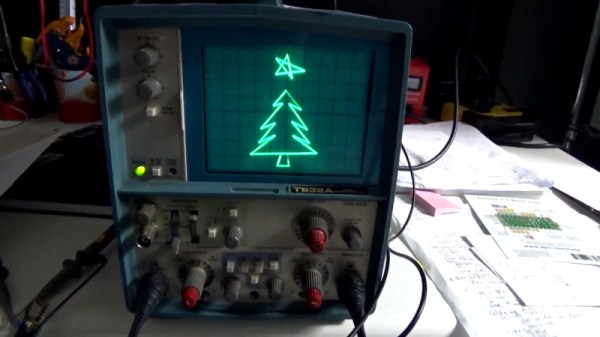
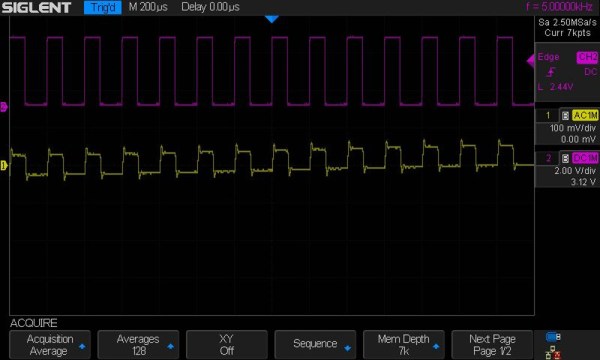
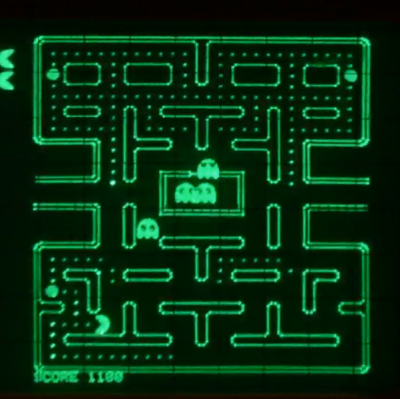 Using a CRT oscilloscope in X-Y mode as a vector display, the console faithfully reproduces some classic games, most of which, curiously enough, were not originally vector games. There are implementations of the Anaconda, RetroRacer, and AstroLander minigames from Timesplitter 2. There are also versions of Pac-Man, Tetris, and even Super Mario Brothers. Most of the games were prototyped in JavaScript before being translated into assembly and placed onto EEPROM external cartridges, to be read by the ATMega128 inside the console. Sound and music are generated using the ATMega’s hardware timers, with a little help from a reverse-biased transistor for white noise and a few op-amps.
From someone who claims to have known little about electronics at the beginning of the project, this is pretty impressive stuff. Our only quibbles are the delay in telling us about it, and the lack of an Asteroids implementation. The former is forgivable, though, because the documentation is so thorough and the project is so cool. The latter? Well, one can hope.
Continue reading “Delicious Vector Game Console Runs Pac-Man, Tetris, And Mario”