Cloned Memory Module Fixes Broken Scopemeter

Finding broken test gear and fixing it up to work again is a time-honored tradition among hackers. If you’re lucky, that eBay buy will end up being DOA because of a popped fuse or a few bad capacitors, and a little work with snips and a soldering iron will earn you a nice piece of test gear and bragging rights to boot.

Some repairs, though, are in a class by themselves, like this memory module transplant for a digital scopemeter. The story began some time ago when [FeedbackLoop] picked up a small lot of broken Fluke 199C scopemeters from eBay. They were listed as “parts only”, which is never a good sign, and indeed the meters were in various states of disassembly and incompleteness.

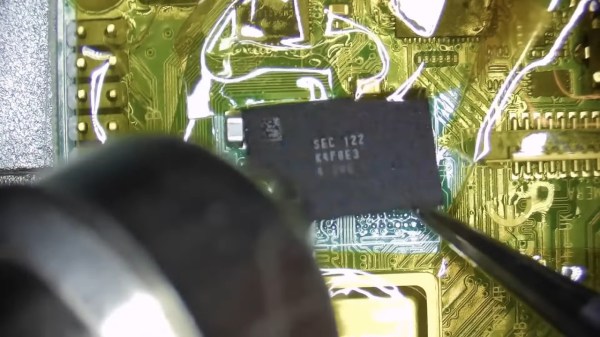
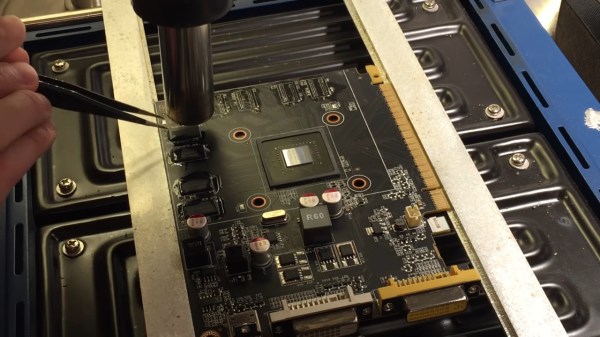
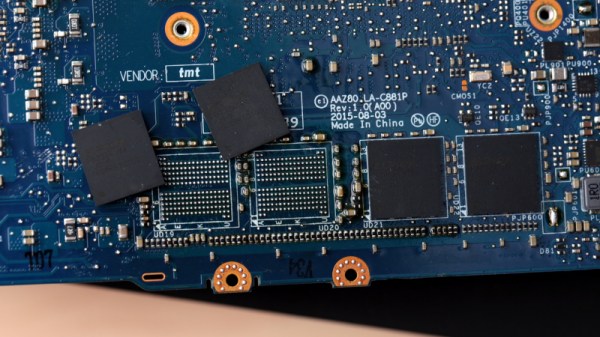
The subject of the video below was missing several important bits, like a battery and a power connector, but most critically, its memory module. Luckily, the other meter had a good module, making reverse engineering possible. That effort started with liberating the two RAM chips and two flash chips, all of which were in BGA packages, from the PCB. From there each chip went into a memory programmer to read its image, which was then written to new chips. The chip-free board was duplicated — a non-trivial task for a six-layer PCB — and new ones ordered. After soldering on the programmed chips and a few passives, the module was plugged in, making the meter as good as new.

While we love them all, it’s clear that there are many camps of test gear collectors. You’ve got your Fluke fans, your H-P aficionados, the deep-pocketed Keithley crowd — but everyone loves Tektronix.

Continue reading “Cloned Memory Module Fixes Broken Scopemeter”

8-Bit Computer Addresses LEDs

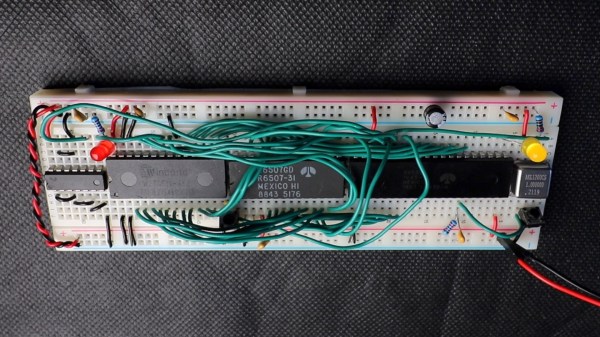
Homebrew 8-bit computers tend to have fairly limited displays, often one or more seven-segment displays and an array of LEDs to show the values of RAM or perhaps some other states of the computer. [Duncan] is in the process of building just such an computer, but wondered if there was a way to create a more visually appealing display while still keeping the computer true to its 8-bit roots. With some interesting TTL logic he was able to create this addressable RGB LED display to some remarkable results.

The array works by controlling the WS2812B LED strips with a specific timing cycle which was pioneered by [Tim] for a different project. [Tim] was able to perform this timing cycle with some simple Assembly code, which means that [Duncan] could convert that code into TTL gate logic relatively easily. Using 74LS02 NOR chips gets the job done as far as timing goes, and the pulses are then fed into a shift register and support logic which then creates the signal for the LED strips.

When everything is said and done, [Duncan] has a fully addressable 16×16 RGB LED array as a display for his 8-bit computer without violating any of his design principles and keeping everything to discrete TTL logic chips and a stick of RAM. It’s a unique method of display that might go along really well with any other homebrew computer like this one that’s also built with 74LS chips.

Correlated Electron Memory… Coming Soon?

We often see press releases and announcements about the next big technology in batteries, memory, displays, capacitors, or any of a number of other things. Usually we are suspicious since we typically don’t see any of this new technology in the marketplace over any reasonable timescale. So when we read about correlated-electron memory Cerfe Labs, we had to wonder if it would be more of the same. IOur suspicions may be justified of course, but it is telling that the company is a spin-off from ARM, so that gives them some real-world credibility.

Correlated-electron RAM or CeRAM is the usual press release material. Nonvolatile, smaller than SRAM, and fast. It sounds as though it could replace the SRAM in PC caches, for example, and take up less die space on the CPU chip. The principle is a bit odd. When electrons are forced together in certain materials, the properties of the material can change. This Mott transition (named after the inventor [Neville Mott]) can take carbon-doped nickel oxide and switch it from its natural electrical insulating state to a conducting state and back again.

Continue reading “Correlated Electron Memory… Coming Soon?”

Retro Computer Trainer Gets A Raspberry Pi Refit

We know what you’re thinking: this is yet another one of those “Gut the retro gear for its cool old case and then fill it up with IoT junk” projects. Well, rest assured that extending and enhancing this 1970s computer trainer is very much an exercise in respecting the original design, and while there’s a Pi inside,  it doesn’t come close to spoiling the retro goodness.

Like many of a similar vintage as [Scott M. Baker], the Heathkit catalog was perhaps only leafed through marginally less than the annual Radio Shack catalog. One particularly desirable Heathkit item was the ET-3400 microcomputer learning system, which was basically a 6800-based computer surrounded by a breadboarding area for experimentation. [Scott] got a hold of one of these, but without the optional expansion accessory that would allow it to do interesting things such as running BASIC or even supporting a serial port. So [Scott] decided to roll his own expansion board.

The expansion card that [Scott] designed is not strictly a faithful reproduction, at least in terms of the original BOM. He turned to more modern — and more readily available — components, but still managed to provide the serial port, cassette interface, and RAM/ROM expansion of the original unit. The Raspberry Pi is an optional add-on, which just allows him to connect wirelessly if he wants. The card fits into a 3D-printed case that sits below the ET-3400 and maintains the original trainer’s look and feel. The longish video below shows the build and gives a tour of the ET-3400, both before and after the mods.

It looks as though trainers like these and other artifacts from the early days of the PC revolution are getting quite collectible. Makes us wish we hadn’t thrown some things out.

Continue reading “Retro Computer Trainer Gets A Raspberry Pi Refit”

Under Pressure: How Aluminum Extrusions Are Made

At any given time I’m likely to have multiple projects in-flight, by which of course I mean in various stages of neglect. My current big project is one where I finally feel like I have a chance to use some materials with real hacker street cred, like T-slot extruded aluminum profiles. We’ve all seen the stuff, the “Industrial Erector Set” as 80/20 likes to call their version of it. And we’ve all seen the cool projects made with it, from CNC machines to trade show displays, and in these pandemic times, even occasionally as sneeze guards in retail shops.

Aluminum T-slot profiles are wonderful to work with — strong, lightweight, easily connected with a wide range of fasteners, and infinitely configurable and reconfigurable as needs change. It’s not cheap by any means, but when you factor in the fabrication time saved, it may well be a net benefit to spec the stuff for a project. Still, with the projected hit to my wallet, I’ve been looking for more affordable alternatives.

My exploration led me into the bewilderingly rich world of aluminum extrusions. Even excluding mundane items like beer and soda cans, you’re probably surrounded by extruded aluminum products right now. Everything from computer heatsinks to window frames to the parts that make up screen doors are made from extruded aluminum. So how exactly is this ubiquitous stuff made?

Continue reading “Under Pressure: How Aluminum Extrusions Are Made”

Upgrading The RAM In A 25 Year Old Oscilloscope

From reading his extensive write-ups on the subject, there’s one thing we know for sure: [Tom Verbeure] loves his Tektronix TDS 420A oscilloscope. While it might be older than some of the people reading this, it’s still an impressive piece of hardware with more than enough bells and whistles to keep the average hacker occupied. Especially if you’re willing to perform some hardware modifications.

Note the battery to retain calibration data.

[Tom] already knew how to tickle the scope into unlocking software features, a process not unlike what we’ve seen done on more modern scopes. But there’s only so far you can get by toggling software flags.

Some of the more advanced features that are turned off in the firmware actually need additional hardware to function. Simply bumping the sample points to 120,000 in software wasn’t enough, the scope actually needs the memory to hold them in.

Now logically, if there’s a software option to increase the number of samples, there must be a hardware upgrade that goes along with it. Sure enough, [Tom] found there were 6 open spots next to the scope’s existing M5M51008 static RAM ICs.

As luck would have it the chips are still available, albeit from a different manufacturer and a bit faster than the original parts. Digikey wouldn’t sell fewer than 100 of them, but UTSource was happy to sell him 10. In this case, the parts were cheaper than the shipping cost. Installation was about as straightforward as it gets, though [Tom] does note that he had to keep the board powered up during the operation or else the scope would have lost its calibration data.

Squeezing more features out of modern scopes like the Rigol DS2072A just takes a USB cable and some software. Sometimes it’s only a matter of tapping in a code. But we certainly appreciate [Tom] putting in a little extra effort to get the most out of this classic piece of hardware.

Double The RAM Of A Dreamcast Console For A Cool 32 MB

The Sega Dreamcast is the forgotten orphan of the console wars, an extremely capable machine never able to escape the shadow of its PlayStation rivals and because it marked the end of Sega’s console line, never redeemed in reputation by a more popular successor. It retains a significant following a couple of decades after its heyday though, and still sees hardware hacks such as [Tsowell]’s doubling of its available RAM to 32 MB.

The console shipped with 16 MB of memory in two banks, but while the SH4 processor can address twice that figure the designers at Sega never brought the required address line out from under the BGA. So it should be impossible to give it a memory expansion, but when hardware hackers are at work nothing should be ruled out. The hack involves manipulation of the bank switching addressing, and took several careful readings for us to fully understand. The new RAM chips have two address lines tied together and wired to another, a job for some fine but ultimately not impossible soldering. To take advantage of the extra RAM there are a set of patched BIOS images.

So, if you either have a spare Dreamcast you care little enough about to risk, or you consider your console hacking skills to be so advanced that it will be a piece of cake, you can now double the platform’s RAM. Extra points if you also make it portable.

Thanks [John Little] for the tip.

Header: Evan-Amos / CC BY-SA 3.0