While the 2022 Hackaday Prize as a whole winds its way through a good chunk of the year, each individual challenge that makes up the competition only sticks around for a limited time. As hard as it might be to believe, our time with theHack it Back challenge is nearly at a close, with just a few days left to enter your project before the July 24th deadline.
Each challenge in this year’s Hackaday Prize has been designed around the core themes of sustainability, resiliency, and circularity — and for the Hack it Back phase of the competition we asked hackers to essentially keep as much hardware out of the landfill as possible. That could mean making a simple fix that puts a piece of equipment back into service, or it might be a be complete rebuild of an older device to bring it up to modern standards. These are the kind of projects Hackaday was built on, so turning it into an official challenge this year made perfect sense. Continue reading “Don’t Miss Your Last Chance To Enter The Hack It Back Challenge”→
As mentioned, the keyboard was missing a 9 VDC power supply (rated 800 mA) with a center-negative barrel connector. Slightly oddball, but nothing an enterprising hacker can’t deal with. After supplying power with a bench supply, not only did the keyboard not come to life, but the power supply clamped the current draw at 1.5 A! Something was definitely not right.
This shorted glass-bodied diode might look normal to the naked eye, but thermal imaging makes it clear something’s amiss.
Inside, there was no visible (or olfactory) sign of damage, but looking closer revealed that a little SMT capacitor by the power connector was cracked in two. Fixing that didn’t bring the keyboard to life, so it was time to break out the thermal imager. Something was soaking up all that current, and it’s a fair bet that something is getting hot in the process.
The culprit? The reverse polarity protection diode was shorted, probably as a result of damage by an inappropriate power supply or a surge of some kind. Replacing it resulted in a working keyboard! Not bad at all for $5, a diode, an SMT cap, and a little workbench time. The finishing touch was replacing a missing slider knob, which took some work in OpenSCAD and a 3D printer. Overall, not bad!
The 2022 Hackaday Prize continues to hurtle along, with two of the five Challenges already in the rear-view mirror. While we’re naturally excited about every phase of this year’s contest, we’ve got particularly high hopes for what the community can do with this third Challenge: Hack it Back.
It’s a simple formula: find some outdated and disused piece of gear, spruce it up, and keep it out of the landfill. But extending the lifetime of consumer hardware is only one side of the coin, by upgrading and modifying something instead of buying an off-the-shelf replacement, you also turn the mundane into something unique and personal. But of course, we hardly have to explain the benefits to you fine folk — this is the sort of bespoke engineering we see on a nearly daily basis here at Hackaday. The difference now is that there’s cash prizes on the line.
What’s that you say? You aren’t the type to be seduced by shiny new features? Happy to keep things local while others ship it all off to the cloud? You’ll get no complaints from us, and that’s why the Hack it Back Challenge also recognizes repairs that simply put a piece of gear back into service. But don’t be fooled, as fixing something can often be harder than rebuilding it from scratch.
Ready to put your hardware-reviving skills on display? Just head over to Hackaday.io, make a new project page, and get hacking. But don’t wait too long, you’ve only got until July 24th to enter the Hack it Back Challenge and stake your claim on one of the ten $500 awards up for grabs.
Buying broken gear for cheap is time honored hacker tradition, and while we might not always be successful in reviving it, rarely do we come away empty handed. There’s always parts to salvage, and you can’t put a price on the knowledge to be gained when poking around inside an interesting piece of hardware. So we’re not surprised at all to hear that [Tomas Pavlovic] jumped at the chance to grab this faulty HP-48S calculator for a couple bucks.
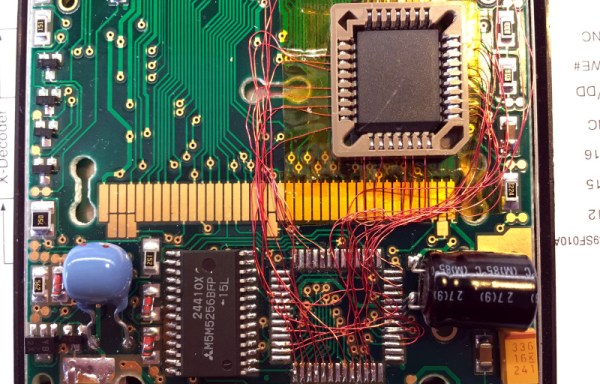
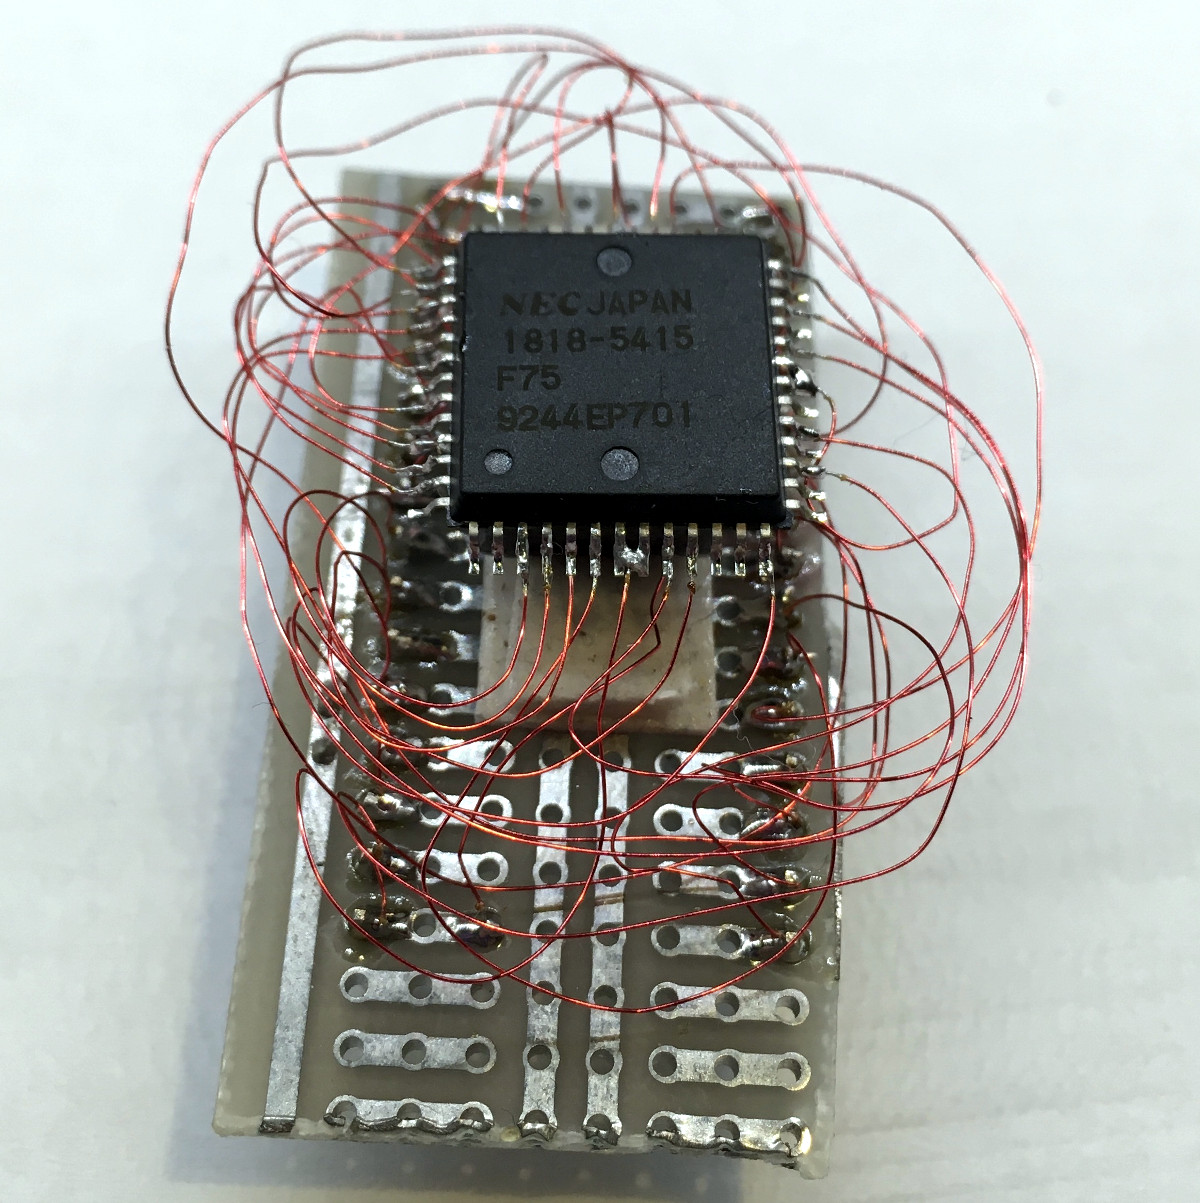
Luckily for us, the story doesn’t end at the bottom of his parts bin. When he got the HP-48S back home, he immediately set out to see if it could be repaired. After changing out a few choice components and not seeing any result in the device’s behavior, he became suspicious that the problem may be with the firmware; specifically, the soldered-on chip that holds it.
Dumping the original ROM.
After carefully lifting the NEC uPD23C2000GC from its resting place for the last 30 years or so, he wired up an adapter that let him connect the chip to his programmer so its contents could be dumped. Rather than trying to find another ROM chip, he decided to wire in a socket and found a re-writable SST39SF040 that could stand in as a replacement. Flashing a fresh copy of the firmware to the new socketed chip got the calculator up and running again, with the added bonus of allowing [Tomas] to pull the chip and flash a different firmware version should he care to experiment a bit.
Now, we know what you’re thinking. Where was the fix? What exactly brought this piece of 1990s gear back to life? That part, unfortunately, isn’t very clear. You’d think if the original ROM chip was somehow faulty, [Tomas] wouldn’t have been able to so easily pull a valid firmware image from it. That leaves us with some pretty mundane possibilities, such as a bad solder joint on the chip’s pins. If that was indeed the case, this fix could have been as simple as running a hot iron over the pins…but of course, where’s the fun in that?
Update: We heard back from [Tomas], and it turns out that when compared to a known good copy, the dumped firmware did have a few swapped bits. His theory is that the NEC chip is in some weird failure mode where the calculator wouldn’t run, but it was still functional enough to get most of the content off of it. What do you think? Let us know in the comments.
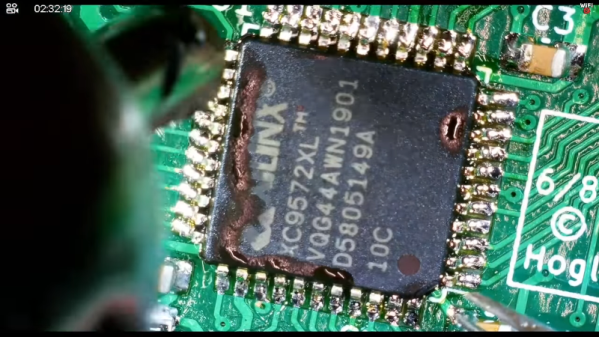
[Adrian] has a lot of retrocomputers, so he uses an RGB to HDMI converter to drive modern monitors. In particular, he has a box that uses a programmable logic chip to read various RGB signals and ships them to a Raspberry Pi Zero to drive the HDMI output. Sounds great until, of course, something goes wrong.
A converter that had worked stopped working due to a bad board with the programmable logic chip on it. Unlike the retrocomputers, this board has little tiny surface mount components. A little analysis suggested that some of the chip pins were not accepting inputs.
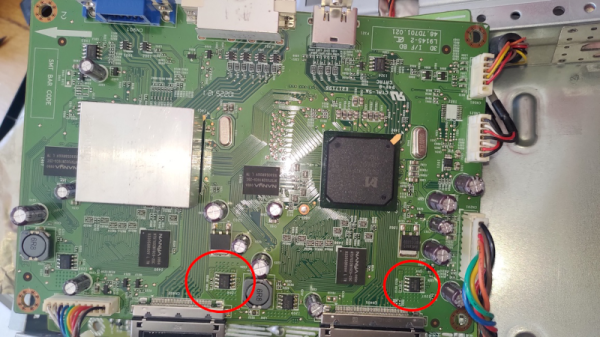
[Johnny] had a monitor that he was particularly fond of. The whole monitor appeared dead, and he decided to open it up and find out what could be wrong. He wound up fixing it — sort of — using a hairdryer. While we think his explanation of the problem is unlikely, we hate to armchair quarterback, and we applaud that he opened it up and got it working.
When something is dead, it is always a good idea to check the power and power supply, but that didn’t pan out in this case. In fact, the power supply board inside had what looked like reasonable voltage values throughout. The problem had to be something more subtle.
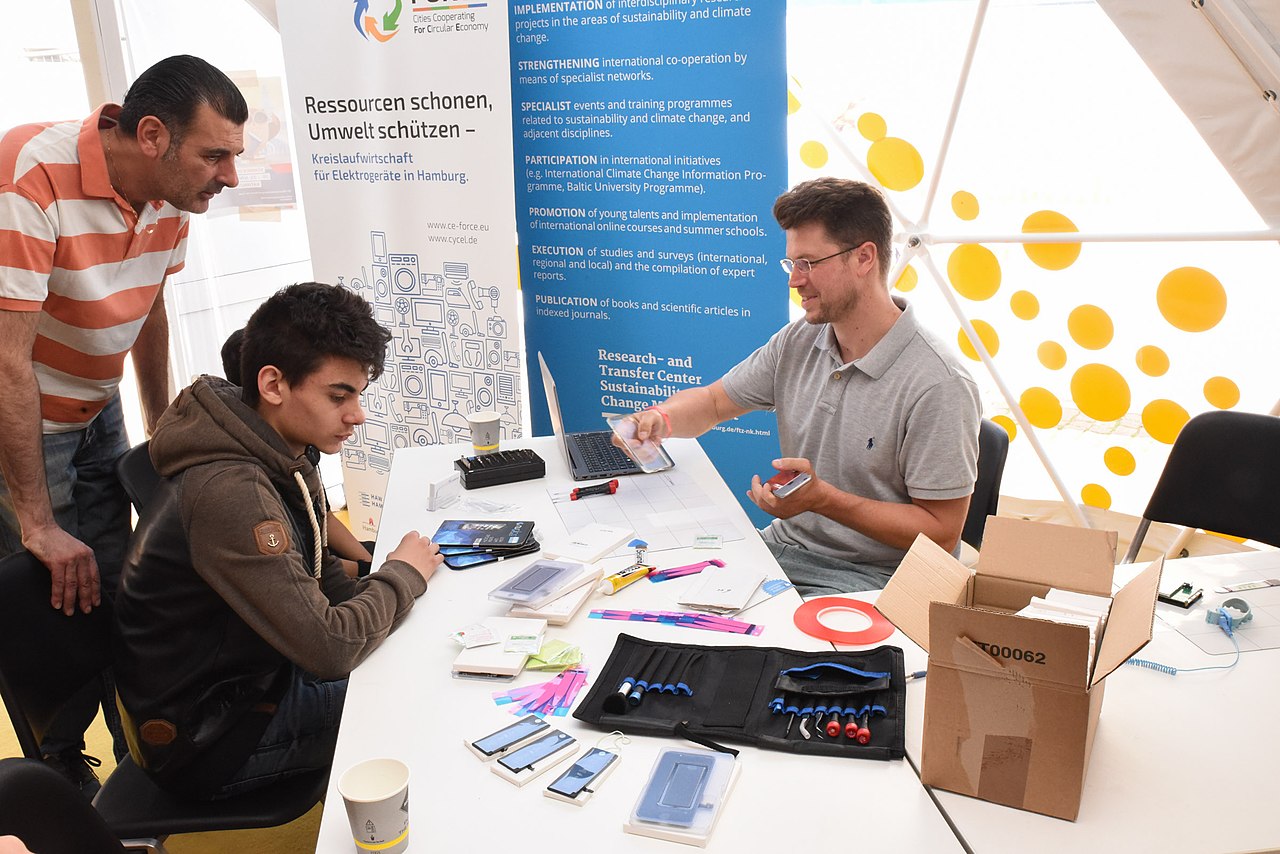
A huge part of the work our community does, aside from making things and doing a lot of talking about the things we’d like to make, involves repair. We have the skills to fix our own stuff when it breaks, we can fix broken stuff that other people throw out when it breaks, and we can fix broken stuff belonging to other people. As our consumer society has evolved around products designed to frustrate repairs and facilitate instead the sale of new replacements for broken items this is an essential skill to keep alive; both to escape having to incessantly replace our possessions at the whim of corporate overlords, and to fight the never-ending tide of waste.
So we repair things that are broken, for example on my bench in front of me is a formerly-broken camera I’ve given a new life, on the wall in one of my hackerspaces is a large screen TV saved from a dumpster where it lay with a broken PSU, and in another hackerspace a capsule coffee machine serves drinks through a plastic manifold held together with cable ties.
We do it for ourselves, we do it within our communities, and increasingly, we do it for the wider community at large. The Repair Café movement is one of local groups who host sessions at which they repair broken items brought in by members of the public, for free. Their work encompasses almost anything you’d find in a home, from textiles and furniture to electronics, and they are an extremely good cause that should be encouraged at all costs.
For all my admiration for the Repair Café movement though, I have chosen not to involve myself in my local one. Not because they aren’t a fine bunch of people or because they don’t do an exceptionally good job, but for a different reason. And it symbolically comes back to an afternoon over thirty years ago, when sitting in a university lab in Hull, I was taught how to wire a British mains plug. Continue reading “Ask Hackaday: Repair Café Or Not?”→