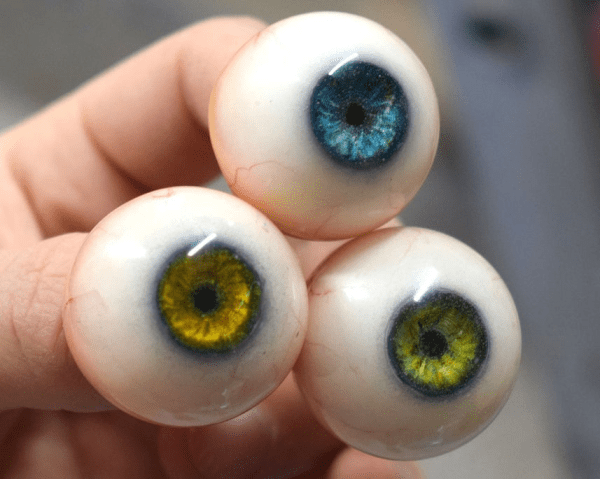
For humans, life is in the eyes. Same deal with automatons. The more realistic the eyes, the more lifelike (and potentially disturbing) the automaton is. [lkkalebob] knows this. [lkkalebob] is so dedicated to ocular realism in his ultra-real eyeballs that he’s perfected a way to make the minuscule veins from a whisper of cotton thread.
First he prints an eyeball blank out of ABS. Why ABS, you ask? It has a semi-translucence that makes it look that much more real. Also, it’s easier to sand than PLA. After vigorous sanding, it’s time to paint the iris and the apply the veins. [lkkalebob] shaves strands of lint from red cotton thread and applies it with tweezers to smears of super glue.
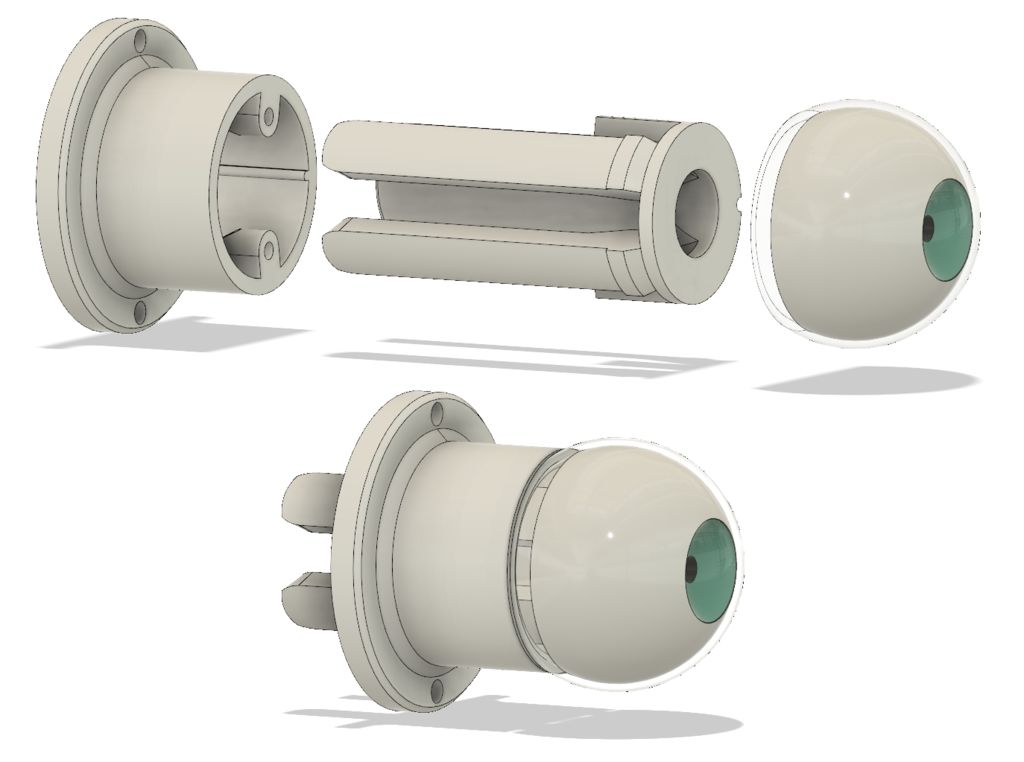 Here comes our favorite part. To make the whole process easier, [lkkalebob] designed a jig system that takes the eyeballs all the way through the stages of fabrication and into the sockets of the automaton. The hollow eye cups pressure fit on to prongs that hold it in place. This also gives the eyeball a shaft that can be chucked into a drill for easy airbrushing. In the build video after the break, he uses the eye-jig to cast a silicone mold, which he then uses to seal the eyes in resin.
Don’t have a printer or any desire to make human automata? It doesn’t take much to make mesmerizing mechanisms.
Continue reading “Peep These Ultra-Real 3D-Printed Eyeballs”

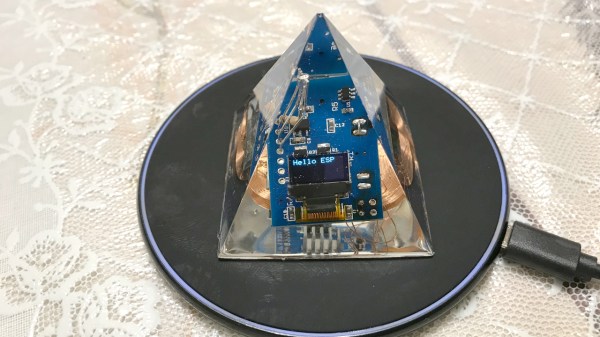
 His first works of electronic art were a couple of transistors and some ICs, including an 80386, encased in epoxy. But then he realized that he wanted the electronics to do something interesting. However, once encased in epoxy, how do you keep the electronics powered forever?