There are at least two kinds of 3D printer operators: those who work hard to make their prints look better after they come off the bed and those who settle for whatever comes off the printer. If you are in the latter camp, you probably envy people who have smooth prints with no visible layer lines. But the sanding and priming and multiple coats of paint can put you off.
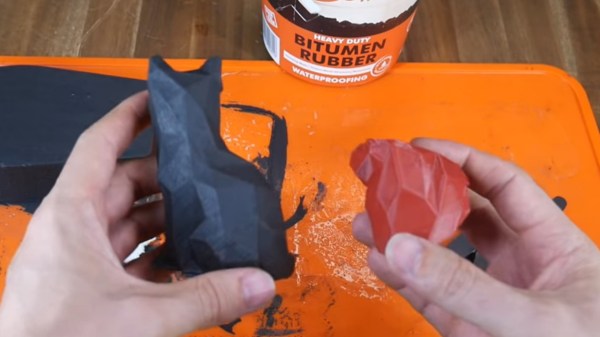
[Teaching Tech] has a few tricks that might change your mind. He shares his technique for using different coatings for 3D prints that provide good quality with a lot less effort. The coatings in question are polyurethane used for coating pickup truck beds and bitumen rubber used for waterproofing. In the United States, bitumen is known as asphalt, and both materials are relatively cheap, available, and safe to use.
According to the video you can see below, there’s no need to sand or prime the print. In addition to covering imperfections and sealing gaps, it produces watertight prints that have UV resistance and some measure of protection against heating.