[TJ] is a surfer, and drives his car to get to the beach. But when he gets there he’s faced with a dilemma that most surfers have: either put his key in your baggies (shorts) or wetsuit and hope it doesn’t get lost during a wipeout, or stash it on the rear wheel of his car. Hiding the keyfob by the car isn’t an option because it can open the car doors just by being in proximity to the car. He didn’t want to risk losing it to the ocean either, so he built a waveguide of sorts for his key out of aluminum foil that lets him lock the key in the car without locking himself out.
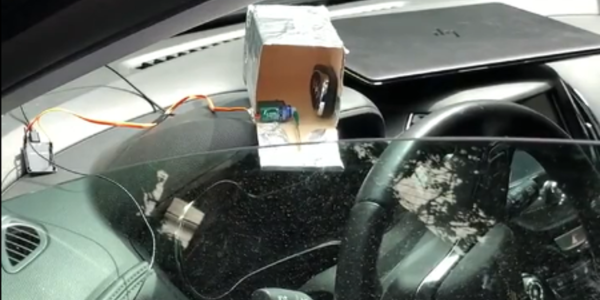
Over a series of trials, [TJ] found out that his car, a 2017 Chevy Cruze, has a series of sensors in it which can determine the location of the keyfob based on triangulation. If it thinks the keyfob is outside of the car, it allows the door to be locked or unlocked with a button on the door handle. If the keyfob is inside the car, though, it prevents the car from locking via the door handles so you don’t accidentally lock yourself out. He found out that he could “focus” the signals of the specific sensors that make the car think the keyfob is outside by building an open Faraday cage.
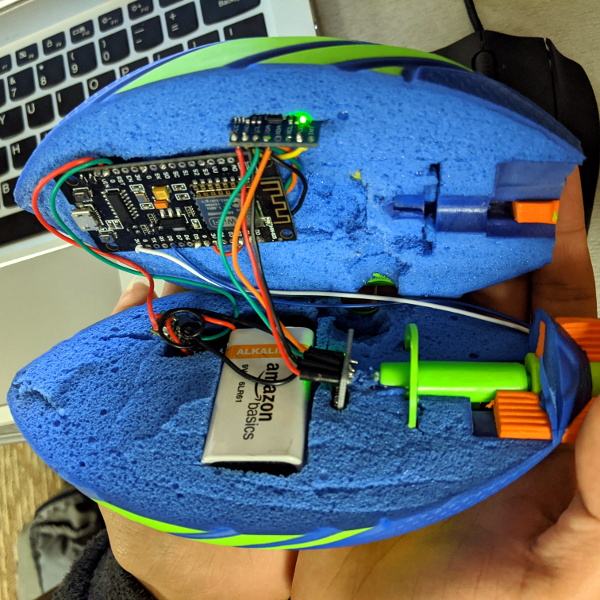
The only problem now is that while the doors can be locked, they could also can be unlocked. To solve that problem he rigged up an ESP32 to a servo to open and close the opening in the Faraday cage. This still means there’s a hidden device used to activate the ESP32, but odds are that it’s a cheaper device to replace than a modern car key and improves security “through obscurity“. If you have any ideas for improving [TJ]’s build, though, leave them in the comments below. Surfers across the world from [TJ] to the author would be appreciative.