Medium Machine Mediates Microcontroller Messages

Connecting computers to human brains is currently limited to the scope of science fiction and a few cutting-edge laboratories. Tapping into some nerves farther from our central wetware is possible and [Peter Buczkowski] shows us his stylish machine for implanting a pattern into our brains without actively having to memorize anything.

His Medium Machine leverages a TENS unit to activate forearm muscles in a pattern programmed into an Arduino. Users place their forearm across two aluminum electrodes mounted on a tasteful wooden platform and extend a single finger over a button. Electrical impulses trigger the muscles which press the button. That’s all. After repeating the pattern a few times, the users should be able to recite it back on command even if they aren’t aware of what it means. If this sounds like some [Johnny Mnemonic] memory cache, you are absolutely correct. This project draws inspiration from the [William Gibson] novel which became a [Keanu Reeves] movie.

Users can be programmed with a Morse code message or the secret knock to open an attic library or play a little tune. How about learning a piano song?

Continue reading “Medium Machine Mediates Microcontroller Messages”

What’s The Best Way To Learn Electronics?

What’s the best way to learn electronics? It’s a pithy question to ask a Hackaday audience, most of whom are at least conversant in the field already. Those who already have learned often have just their own perspective to draw upon—how they themselves learned. Some of you may have taught others. I want to explore what works and what doesn’t.

Hobbyists Learn Differently Than Students

One thing I can say straight off is that students learn differently than people who learn at home. Hobbyists have the advantage of actually being interested, which is a quality a student may not enjoy. People have been teaching themselves electronics since the beginning, with analog projects–Heathkit models, BEAM robots, and ham radio sets–evolving into purely digital projects.

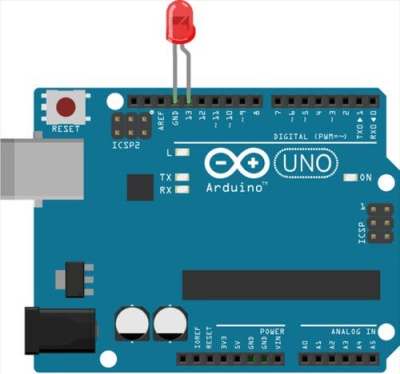
Let’s face it, Arduinos lower the bar like nothing else. There’s a reason why the Blink sketch has become the equivalent to “Hello World”. Dirt cheap and easily configured microcontrollers combined with breakout boards make it easy for anyone to participate.

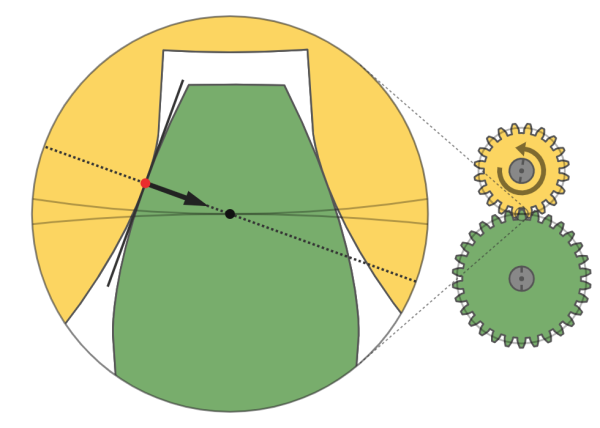
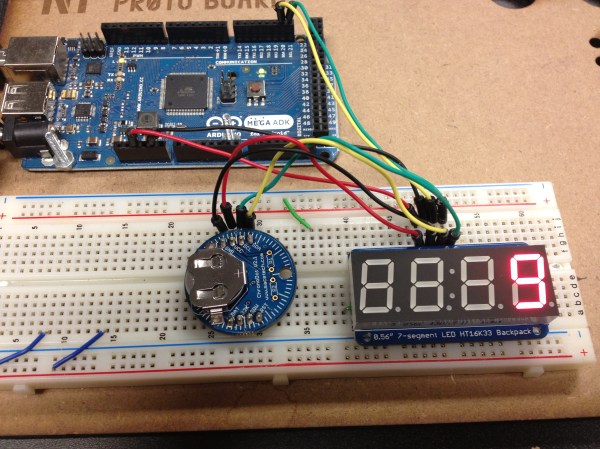
However, ask any true EE and that person will tell you that following wiring diagrams and plugging in sensor boards from Sparkfun only teaches so much. You don’t bone up on terms like hysteresis or bias by building something from uCs and breakout boards. But do you need to? If you are truly interested in electronics and learn by making those Adafruit or Sparkfun projects, sooner or later you’ll want to make your own breakout boards. You’ll learn how to design your own circuit boards and figure out why things work and why they don’t. I don’t need to tell you the Internet has all the answers a neophyte needs–but the interest has to be there in the first place.

What’s the Best Way to Learn in the Classroom?

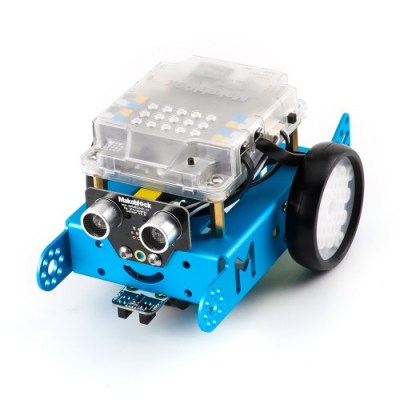
There is a product category within robotics kits that consists of “educational rovers” designed to be purchased in group lots by teachers so that each student or small group gets one. These rovers are either pre-built or mostly built—sure, you get to screw in motor mounts, but all the circuit boards are already soldered up for you, surface mount, no less. They come pre-configured for a variety of simple tasks like line following and obstacle avoidance. The Makeblock mBot is an example.

I think it’s part of that whole “learn coding” initiative, where the idea is to minimize the assembly in order to maximize the coding time. Insofar as soldering together a kit of through-hole components teaches about electronics, these bots mostly don’t do it. By all appearances, if there is a best way to learn electronics, this an’t it. However, regardless of what kind of project the teacher puts in front of the student, it still has to generate some sort of passion. What those robots provide is a moment of coolness that ignites the firestorm of interest.

I once led a soldering class that used Blinky Grids by Wayne and Layne as the focus. This is a fantastic kit that guides you through building a small LED matrix. It’s particularly cool because it can be programmed over a computer monitor with light sensors interacting with white and black squares on the company’s web site. When my students finished their grids, they all worked and had unique messages scrolling through. Now, that is a payoff. I’m not saying that any of those folks became hardware hackers as a result of my class, but it beat the hell out of a Christmas tree, am I right?

Getting back to that rover, what must be acknowledged is that the rover itself is the payoff, and that’s only as far as it goes if everyone loses interest. However, a lot of those rovers have expansion possibilities like bolting on another sensor or changing the method of programming–for instance, the mBot has both a graphic programming interface and can also be reflashed with a regular old Arduino bootloader.

Readers, share in comments your own perspective. How did you learn? How would you teach others?

The Science Behind Boost Converters

[Ludic Science] shows us the basic principles that lie behind the humble boost converter. We all take them for granted, especially when you can make your own boost converter or buy one for only a few dollars, but sometimes it’s good to get back to basics and understand exactly how things work.

The circuit in question is probably as simple as it gets when it comes to a boost converter, and is not really a practical design. However it helps visualize what is going on, and exactly how a boost converter works, using just a few parts, a screw, enameled wire, diode, capacitor and a push button installed on a board.

The video goes on to show us the science behind a boost converter, starting with adding a battery from which the inductor stores a charge in the form of an electromagnetic field. When the button is released, the magnetic field collapses, and this causes a voltage in the circuit which is then fed through a diode and charges the capacitor a little bit. If you toggle the switch fast enough the capacitor will continue to charge, and its voltage will start to rise. This then creates a larger voltage on the output than the input voltage, depending on the value of the inductor. If you were to use this design in a real life application, of course you would use a transistor to do the switching rather than a push button, it’s so much faster and you won’t get a sore finger.

This is very basic stuff,  but the video gives us a great explanation of what is happening in the circuit and why. If you liked this article, we’re sure you’ll love Hackaday’s own [Jenny List] explain everything you need to know about inductors.

(updated thanks to [Unferium] – I made a mistake about the magnetic field collapsing when the button is pressed , When in reality it’s when the button is released that this happens. Apologies for confusion.)

Continue reading “The Science Behind Boost Converters”

“You Sank My Dysprosium!”: Periodic Table Battleship

Kids these days, they have it so easy. Back in the old days, we learned our elements the hard way, by listening to “The Elements” by Tom Lehrer over and over until the vinyl wore out on the LP. Now, thanks to [Karyn], kids can learn the elements by playing “Battleship” – no tongue-twisting lyrics required.

For anyone familiar with the classic “Battleship” game, you’ll wonder why no one thought of this before. [Karyn]’s version of the game is decidedly low-tech, but gets the job done. She printed out four copies of the periodic table, added letters to label the rows, and laminated them. A pair of tables goes into a manila file folder, the tops get clipped together, and dry-erase markers are used to mark out blocks of two to five elements to represent the ships of the Elemental Navy on the lower table. Guesses at the location of the enemy ships can be made by row and series labels for the elementally challenged, or better yet by element name. Hits and misses are marked with Xs and Os on the upper table, and play proceeds until that carrier hiding in the Actinide Archipelago is finally destroyed.

This is pure genius in its simplicity and practicality, but of course there’s room for improvement. The action-packed video after the break reveals some structural problems with the file folders, so that’s an obvious version 2.0 upgrade. And you can easily see how this could be used for other tabular material – Multiplication Table Battleship? Sounds good to us. And if your nippers catch the chemistry bug from this, be sure to take a deeper dive into the structure of the periodic table with them.

Now, if you’ll excuse me: “There’s antimony, arsenic, aluminum, selenium, and hydrogen and oxygen and nitrogen and rhenium….”

Continue reading ““You Sank My Dysprosium!”: Periodic Table Battleship”

Kids And Hacking: Electromagnetic Eggs

One of my favorite things to do is visit with school kids who are interested in engineering or science. However, realistically, there is a limit to what you can do in a single class that might last 30 to 90 minutes. I recently had the chance to work with a former colleague, a schoolteacher, and The Teaching Channel to create an engineering unit for classroom use that lasts two weeks.

This new unit focuses on an egg drop. That’s not an original idea, but we did add an interesting twist: the project develops a “space capsule” to protect the egg, but also an electromagnetic drop system to test the capsules. The drop system allows for a consistent test with the egg capsule releasing cleanly from a fixed height. So in addition to the classic egg drop capsule, the kids have to build an electromagnet, a safe switching circuit, and a test structure. Better still, teams of kids can do different parts and integrate them into a final product, closely mimicking how real engineering projects work.

There are a few reasons for the complexity. First, given ten class sessions, you can do a lot more than you can in a single day. Second, I always think it is good if you can find exercises that will appeal to lots of different interests. In the past, I’ve used robots and 3D printers for that reason. Some students will be interested in the electronics, others in the mechanics, and still others will be interested in the programming. Some kids will engage in 3D modeling (robot simulation or 3D objects). The point is there is something for everyone.

Continue reading “Kids And Hacking: Electromagnetic Eggs”

CARDIAC Cardboard Computer

A Clever Cardboard Computer

Back in the 70’s when computers were fairly expensive and out of reach for most people, [David Hagelbarger] of Bell Laboratories designed CARDIAC: CARDboard Illustrative Aid to Computation. CARDIAC was designed as an educational tool to give people without access to computers the ability to learn how computers work.

The CARDIAC computer is a single-accumulator single-address machine, which means that instructions operate on the accumulator alone, or on the accumulator and a memory location. The machine implements 10 instructions, each of which is assigned a 3-digit decimal opcode. The instruction set architecture includes instructions common to simple Von Neumann processors, such as load, store, add/subtract, and conditional branch.

Operating the computer is fairly simple–the cardboard slides guide you through the operation of the ALU and instruction decoder, and the flow chart shows you which stage to go to next. The program counter is represented by a cardboard ladybug which is manually moved through the program memory after each instruction completes.

Even though the CARDIAC is dated and very simplistic, it is still a useful tool to teach how microprocessors work. Although modern processors include multi-stage pipelines, finely-tuned branch predictors, and numerous other improvements, the basic principles of operation remain the same.

Feeling adventurous? Print out your own CARDIAC clone and try writing your first cardboard computer program.

[via Reddit]

From 0 To C: Teaching Programming Without A Computer

It’s no secret that learning how to program is very hard, and teaching it doubly so, requiring the student to wrap their head around very unorthodox concepts. [Ubi de Feo] over at the Amsterdam tech collective Hello, Savants! has a unique solution for taking someone who knows nothing of programming and turning them into a computer aficionado capable of deftly wielding semicolons and parens. It’s called From 0 to C, and aims to teach students programming in an environment without computers.

For his class, [Ubi] made up a lot of wooden boxes with eight subdivisions representing the bits in a byte. By putting ping-pong balls in each slot, [Ubi]’s students can grasp the concept of counting by powers of two and quickly move on to hexidecimal and more advanced concepts like bit shifting.

After learning the ins and outs of how stupid computers actually are, [Ubi]’s students then learn the syntax of a language of their choice (C, JavaScript, or Python, for example), and write a few programs.

Although we’re sure most of our readers are far past the ‘learning programming from a blank slate’ portion of their hacker and maker career, anything that gets more people solving their own problems is okay in our book. [Ubi] has a pretty neat take on the pedagogy of teaching programming, and we’d really like to see his work expand outside his Amsterdam collective.