San Francisco: Let’s Learn To Build Some Robots!

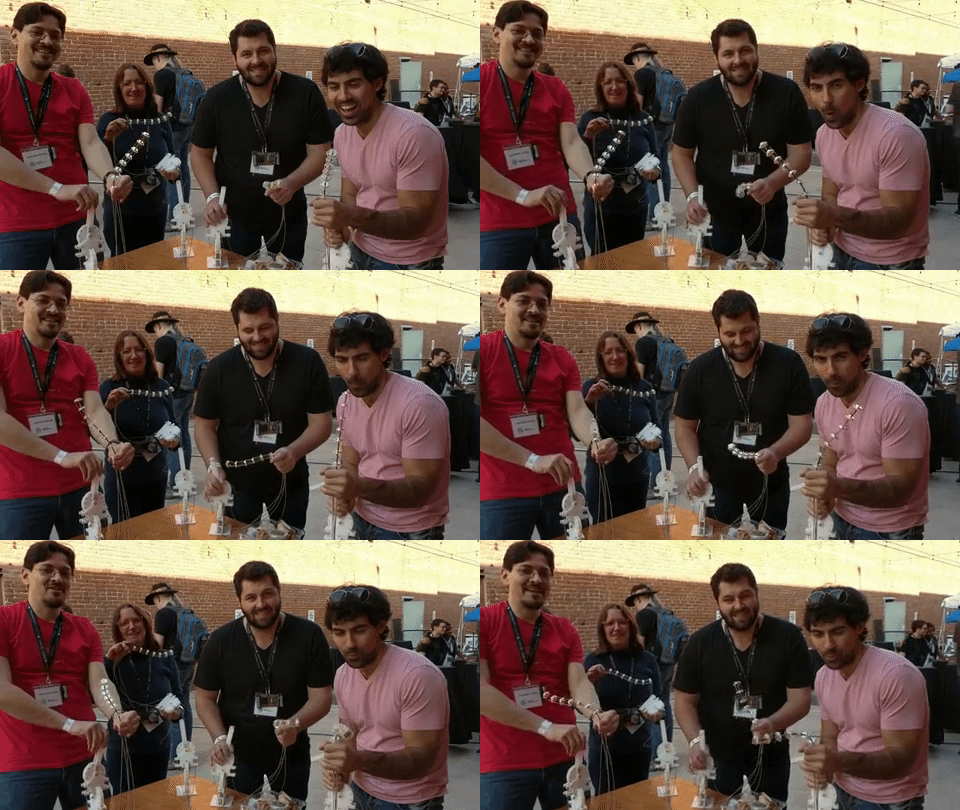
Hone your skills at basic robot building. You’re invited to join Hackaday for a Beginner Robotics Workshop on Saturday, May 12.

For this workshop we’re pairing up with FIRST robotics mentors and students from the Bay Area. FIRST is an international high school robotics competition and you won’t believe what these teams can do. The workshop will start with an overview of the three major parts that go into a robot project: mechanical design, electronic design, and programming. From there, choose one of the three you want to focus on for the afternoon and let the hands-on fun begin as we break out into small groups to tackle some robotics problems!

The mechanical group will explore robot building using OnShape CAD software. The electronic group will work hands-on with Arduino-based prototyping and breakout boards. The programming group will utilize the Arduino IDE. Workshops will wrap up with a group discussion of how these three concepts are integrated in a single robotics effort.

Right now the Robotics Module Challenge of the 2018 Hackaday Prize is in full swing. We’re excited to see more roboticists in the world and are happy to bring you a workshop that is both technical and accessible. Come build some ‘bots and take home some new knowledge to pour into your project, and your Hackaday Prize entries!

This Dust Collector Will Blow You Away.

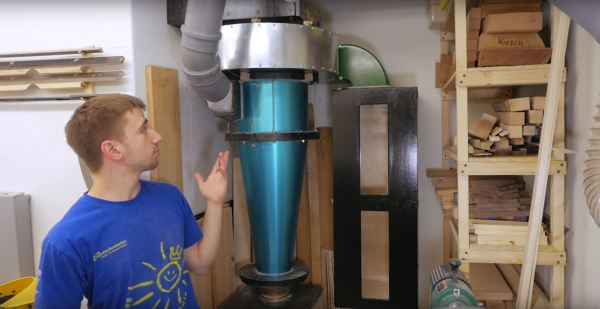
As [Marius Hornberger] was working in his woodshop, a thunderous bang suddenly rocked the space. A brief search revealed the blower for the dust collector had shifted several inches despite being stoutly fastened down. Turns out, the blower had blown itself up when one of the impeller fins came loose. Time to revise and build a bigger, better dust collector!

[Hornberger] is thorough in describing his process, the video series chronicles where he went astray in his original design and how he’s gone about improving on those elements. For instance, the original impeller had six fins which meant fewer points to bear the operating stresses as well as producing an occasionally uncomfortable drone. MDF wasn’t an ideal material choice here either, contributing to the failure of the part.

Continue reading “This Dust Collector Will Blow You Away.”

You Can Learn A Lot From A Blinkenrocket

At this year’s Chaos Communication Congress, we caught up with [muzy] and [overflo], who were there with a badge and soldering project they designed to teach young folks how to solder and program. Blinkenrocket is a basically a 64-LED matrix display and just enough support hardware to store and display animations, and judging by the number of blinking rockets we saw around the necks of attendees, it was a success.

Their talk at 34C3 mostly concerns the production details, design refinements, and the pitfalls of producing thousands of a thing. If you’re thinking of building a hardware kit or badge on this scale, you should really check it out and crib some of their production optimization tricks.

For instance, instead of labelling the parts “C2” or “R: 220 Ohms”, they used a simple color-coding scheme. This not only makes it easier for kids to assemble, but it also means that they didn’t have to stick 1,000 part labels on every component. Coupled with [overflo]’s Zerhacker, SMD parts in strips were cut to the right length and color-coded in one step, done by machine.

The coolest feature of the Blinkenrocket itself is the audio programming interface. It’s like in the bad old days of software stored on cassette tapes, but it’s a phenomenal interface for getting a simple animation out of a web app and straight into a piece of minimal hardware — just plug it into a laptop or cell phone’s audio out and press “play” in the browser. The original design tried to encode the data in the pulse-length of square waves, but this turned out to be very hardware dependent. The final design used frequency-shift keying. What’s old is new again.

Everything you could want to know about the design, its code, and even the website itself are up on the project’s GitHub page, so go check it out. If you’d like to arrange a Blinkenrocket workshop yourself, shoot [muzy] or [overflo] an e-mail. Full disclosure: [overflo] gave us a kit, the “hard-mode” SMD one with 0805 1206 parts, and it was fun to assemble and program.

Give Workshop Pencils A Flush-Mounted Home

Pencils and pens are apt to go wandering in a busy workshop if they don’t have a handy storage spot. For most of us a soup can or an old coffee mug does the trick, but for a prettier and more useful holder [Stuff I Made] has a short video demonstrating a storage unit made from an elbow fitting and a scrap piece of plywood. He cuts a plywood disk that is friction-fit into one end of the elbow, then it gets screwed into a wall making an attractively flush-mounted holder in a convenient spot.

With the right joint the bottom of the holder remains accessible, as a 90 degree bend would be no good. With a shallower joint angle, a regular screwdriver can still reach the mounting screw and it’s possible to access the bottom of the holder just in case it needs cleaning or something small falls inside. You can see the process and results in the video embedded below. Not bad for one screw, a spare joint, and a scrap piece of plywood.

Continue reading “Give Workshop Pencils A Flush-Mounted Home”

Tricked-Out Tablet Becomes Workbench Tool

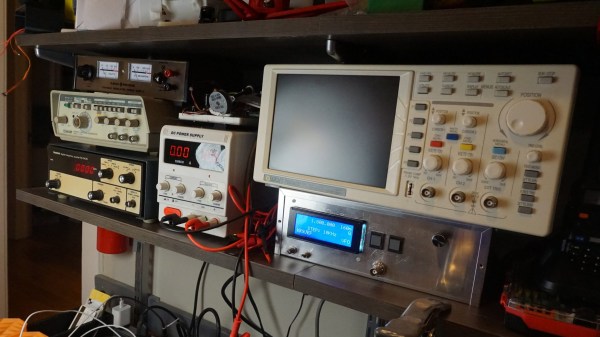
The workbench of the typical electronics hobbyist today would probably be largely recognizable by Heathkit builders back in the 60s and 70s. But where the techs and tinkerers of yesteryear would have had a real dead-tree SAMS Photofact schematic spread out on the bench, today you’ll get more use out of a flat-screen display for data sheets and schematics, and this handy shop Frankentablet might be just the thing to build.

Tablets like the older Nexus 9 that [enginoor] used as the basis for this build have a little bit of a form-factor problem because unlike a laptop, a tablet isn’t very good at standing up on its own. To fix that, they found a suitable silicone skin for the Nexus, and with some silicone adhesive began bedazzling the back of the tablet. A bendy tripod intended for phones was added, and with the tablet able to stand on its own they maximized the USB port with a right angle adapter and a hub. Now the tablet has a USB drive, a mouse, and a keyboard, ready for perusing data sheets online. And hackers of a certain age will appreciate the eyeball-enhancing potential of the attached USB microscope.

[enginoor]’s bench tablet is great, but we’ve seen full-fledged bench PCs before too. Take your pick — wall mounted and floating, or built right into the workbench.

Thanks to [ccvi] for the tip.

The Clutter Manifesto

My basement workshop is so crammed full of stuff I literally can’t use it. My workbench, a sturdy hardwood library table, is covered in junk to the point that I couldn’t find a square foot that didn’t have two layers of detritus on it — the top layer is big things like old projects that no longer work, boxes of stuff, fragile but light things perched on top. Underneath is the magma of bent resistors, snippets of LED strip, #4 screws, mystery fasteners I’ll never use, purple circuit boards from old versions of projects, and a surprising number of SparkFun and Adafruit breakouts that have filtered down from higher up in the heap.

When work on something I bring the parts up to the dining room and work on the table, which is great for many reasons — more space, better light, and superior noms access top the list. The down side is that I don’t devote any time to making my real shop into a viable working place, and it becomes a cluttered store room by default.

I am therefore focusing on a four-part plan to reclaim my work space from heaps of junk.

Continue reading “The Clutter Manifesto”

Mike Harrison’s Reverse Engineering Workshop

Hardware teardowns are awesome when guided by experts. One of our favorites over the years has been [Mike Harrison], who has conquered teardowns of some incredibly rare and exquisitely engineered gear, sharing the adventure on his YouTube channel: mikeselectricstuff. Now he’s putting on a workshop to walk through some of the techniques he uses when looking at equipment for the first time.

[Mike] will be in Pasadena a few days early for the Hackaday Superconference and floated the idea of hosting a workshop. We ordered up some interesting gear which he hasn’t had a chance to look at yet. A dozen lucky workshop attendees will walk through the process [Mike] uses to explore the manufacturing and design choices — skills that will translate to examining any piece of unknown gear. He may even delve into the functionality of the equipment if time allows. Get your ticket right now!

To keep things interesting we’re not going to reveal the equipment until after the fact. But follow the event page where we’ll publish the details of his reverse engineering work after the workshop.

[Mike] is the badge designer for this year’s Hackaday Superconference badge. Unfortunately Supercon is completely sold out (we tried to warn you) but you can check out the badge details he already published. And we will be live streaming the Supercon this year — more details on that next week!