Home automation – the idea of a smart home that monitors and controls the inside environment, takes commands from occupants, and generally makes living easier. Hackers, makers, and engineers have been building their own vision of the smart home for decades. Thanks to cell phones and the revolution of the “internet of things”, home automation is now in the public eye. The hackers haven’t stopped though. They’re still building dreams, one circuit and one line of code at a time. This week’s Hacklet is dedicated to some of the best home automation projects on Hackaday.io!
 We start at the top – [IamTeknik’s] Project Jarvis has been in the top five skulled and viewed projects on Hackaday.io for as long as we’ve been keeping records. Just like the fictional Tony Stark design which inspired its name, Jarvis is based on artificial intelligence. [IamTeknik] has created a system using the BeagleBone Black running his own custom software. He’s also creating Jarvis from the ground up – even the relay modules have been designed and built by [IamTeknik]. So far Jarvis has a great 3D printed door lock unit, and a really nice wall mounted tablet. We’re watching to see what modules [IamTeknik] adds next!
 [Morrisonpiano] is no home automation noob. He’s been running his own system for two decades. HCS_IV Home Automation System is a project to update his HCS_C home automation system. For the uninitiated, the original HCS was created by [Steve Ciarcia] of Byte and Circuit Cellar fame. There have been several generations of the hardware and software since then, with plenty hackers adding their own custom features. [Morrisonpiano] is updating his system with an NXP Arm Cortex M4 CPU, three big Altera Cyclone FPGAs, and plenty of flash storage. Why use a FPGA on a home automation system? I/O of course! HCS uses a ton of I/O. There are 16 RS485 ports and 10 RS232 serial ports. Going with an FPGA makes things flexible as well. Want to add CAN bus? Just drop in some CAN HDL code and you’re golden!
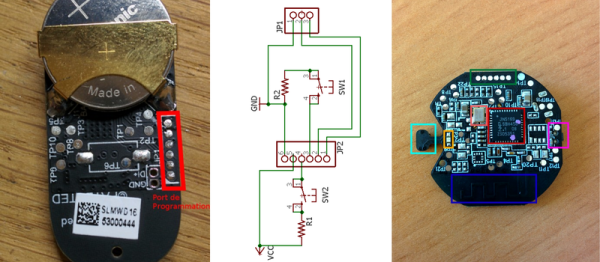
[S teven] is giving the smart home more senses with Squirco Smart Home System – Sensor Network. Rather than just have a temperature sensor at the thermostat, or a motion detector in the front foyer, [Steven] wants a network of unobtrusive sensors to blanket the home. He’s doing this by replacing the common light switch with a smart module that has sensors for temperature, humidity, and human presence. [Steven] has spent quite a bit of time researching and experimenting microwave tomography as a means to detect humans. Going with microwaves means no obvious PIR windows.
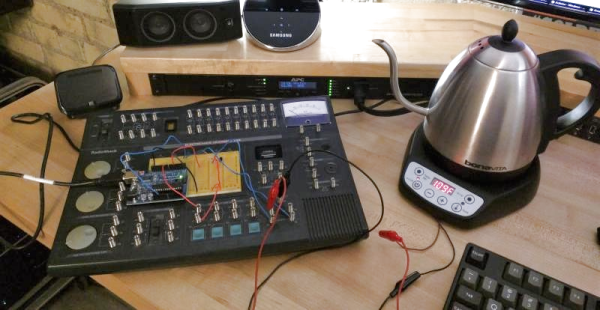
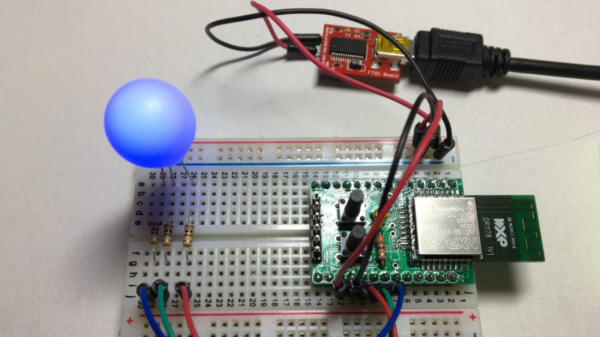
 Finally, we have [Ansaf Ahmad] with BeagleBone Black Home Automation. The idea for this project came from a calculus class on optimization. [Ansaf] is putting mathematical theorems to use in the real world by monitoring usage patterns and current demands of a device. With that data, he can optimize the usage to make things greener. So far, [Ansaf] has been experimenting with a lamp. The system has a web front end which uses PHP. The GPIO pins on the board are controlled using Python and Flask. As an early project, BeagleBone Home Automation is doing great – it’s already earned [Ansaf] high grades in his computer engineering class!
If you want more smart home goodness, check out our updated home automation projects list! Did I miss your project? Don’t be shy, just drop me a message on Hackaday.io. That’s it for this week’s Hacklet, As always, see you next week. Same hack time, same hack channel, bringing you the best of Hackaday.io!