3D Printing Watertight Containers

Most normal 3D prints are not watertight. There are a few reasons for this, but primarily it is little gaps between layers that is the culprit. [Mikey77] was determined to come up with a process for creating watertight objects and he shared his results.

The trick is to make the printer over extrude slightly. This causes the plastic from adjacent layers to merge together. He also makes sure there are several layers around the perimeters.

Continue reading “3D Printing Watertight Containers”

Beeping The Enemy Into Submission

In July 1940 the German airforce began bombing Britain. This was met with polite disagreement on the British side — and with high technology, ingenuity, and improvisation. The defeat of the Germans is associated with anti-aircraft guns and fighter planes, but a significant amount of potential damage had been averted by the use of radio.

Night bombing was a relatively new idea at that time and everybody agreed that it was hard. Navigating a plane in the dark while travelling at two hundred miles per hour and possibly being shot at just wasn’t effective with traditional means. So the Germans invented non-traditional means. This was the start of a technological competition where each side worked to implement new and novel radio technology to guide bombing runs, and to disrupt those guidance systems.

Continue reading “Beeping The Enemy Into Submission”

Fail Of The Week: An Electric Bicycle, Powered By AA Batteries

Very slowly, some very cool parts are coming out on the market that will make for some awesome builds. Supercapacitors are becoming a thing, and every year, the price of these high power supercaps go a little lower, and the capacity gets a little higher. It’s really only a matter of time before someone hacks some supercaps into an application that’s never been seen before. The Navy is doing it with railguns, and [David] is building an electric bike, powered by AA batteries. While [David]’s bike technically works with the most liberal interpretation of ‘technically’, it’s the journey that counts here.

This project began as an investigation into using supercapacitors in an electric bicycle. Supercaps have an energy density very much above regular capacitors, but far behind lithium cells. Like lithium cells, they need a charge balancer, but if you manage to get everything right you can trickle charge them while still being able to dump all that power in seconds. It’s the perfect application for a rail gun, or for slightly more pedestrian applications, an electric bike with a hill assist button. The idea for this build would be to charge supercaps from a bank of regular ‘ol batteries, and zoom up a hill with about fifteen seconds of assistance.

The design of the pulsed power DC supply is fairly straightforward, with a mouthful of batteries feeding the supercap array through boost regulators, and finally going out to the motor through another set of regulators. Unfortunately, this project never quite worked out. Everything worked; it’s just this isn’t the application for the current generation of supercapacitors. There’s not enough energy density in [David]’s 100F supercaps, and the charging speed from a bunch of AA batteries is slow. For fifteen minutes of charging, [David] gets about fifteen seconds of boost on his bike. That’s great if you only ever have one hill to climb, but really useless in the real world.

That doesn’t mean this project was a complete failure. [David] now has a handy, extremely resilient array of supercaps that will charge off of anything and provide a steady 24V for a surprising amount of time. Right now, he’s using this scrapped project as a backup power supply for his 3D printer. That 100 Watt heated bed slurps down the electrons, but with this repurposed supercap bank, it can survive a 20 second power outage.

It’s a great project, and even if the technology behind supercaps isn’t quite ready to be used as a boost button on an electric bike, it’s still a great example of DIY ingenuity. You can check out [David]’s demo of the supercap bank in action below.

Continue reading “Fail Of The Week: An Electric Bicycle, Powered By AA Batteries”

Build Your Own Supercomputer With ESP32s

If the computer you have isn’t particularly fast, there’s a well-documented way to get more out of it. You just need more of the same computer, and you can run your tasks on them all at the same time. Building computer clusters is an effective way of decreasing the time it takes for computers to solve certain problems, even if the computers themselves aren’t top-of-the-line hardware. Of course, with cheap enough hardware, people will build clusters out of just about anything, including the ESP32.

For this project, [Wei Lin] admits that this isn’t really a serious attempt at building speedy hardware, but rather an interesting exercise in creating a cluster as a sort of learning experience. ESP32 boards can be found for around $10 so building an experimental cluster with these is even more feasible than using the Raspberry Pi. [Wei Lin] goes into a great amount of detail on his GitHub page about all of his goals with the project, most of which involve exploring the functionality of the new cluster and its underpinnings.

While this might seem like little more than a thought experiment, it does have the advantage of being a great solution for problems that involve gathering data from points that are physically very far from one another. If you’ve ever been interested in parallel computing or computing clusters, this is a great project to check out. If you have more Raspberry Pis on hand than ESP32s and still want to build a cluster, check out this project that used a mere 750 of them for one.


Motion-Controlled KVM Switch

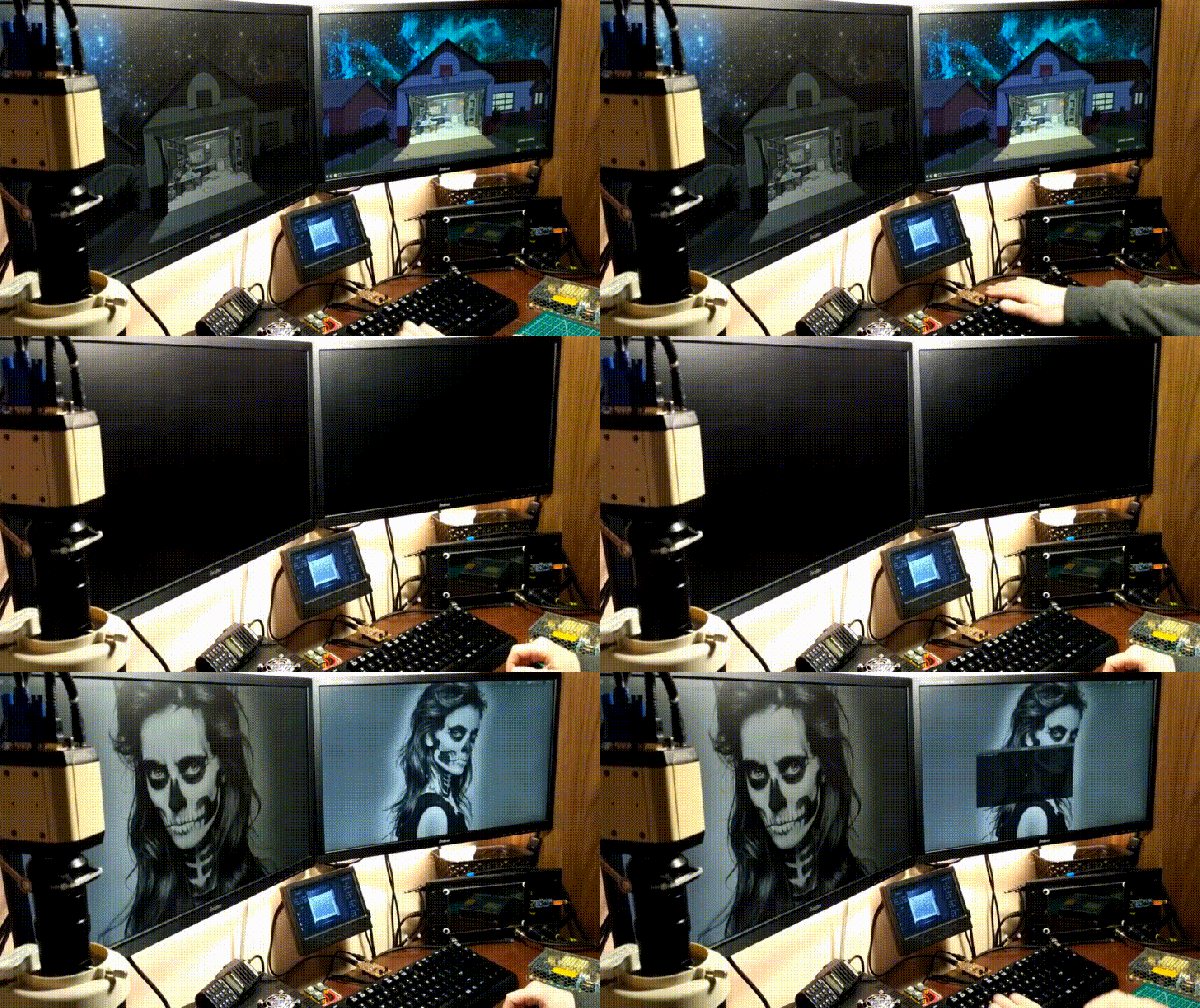
Once upon a time, [hardwarecoder] acquired a Gen8 HP microserver that he began to toy around with. It started with ‘trying out’ some visualization before spiraling off the rails and fully setting up FreeBSD with ZFS as a QEMU-KVM virtual machine. While wondering what to do next, he happened to be lamenting how he couldn’t also fit his laptop on his desk, so he built himself a slick, motion-sensing KVM switch to solve his space problem.

At its heart, this device injects DCC code via the I2C pins on his monitors’ VGA cables to swap inputs while a relay ‘replugs’ the keyboard and mouse from the server to the laptop — and vice-versa — at the same time. On the completely custom PCB are a pair of infrared diodes and a receiver that detects Jedi-like hand waves which activate the swap. It’s a little more complex than some methods, but arguably much cooler.

Using an adapter, the pcb plugs into his keyboard, and the monitor data connections and keyboard/mouse output to the laptop and server stream out from there. There is a slight potential issue with cables torquing on the PCB, but with it being so conveniently close, [hardwarecoder] doesn’t need to handle it much.

Continue reading “Motion-Controlled KVM Switch”

Learning Software In A Soft Exosuit

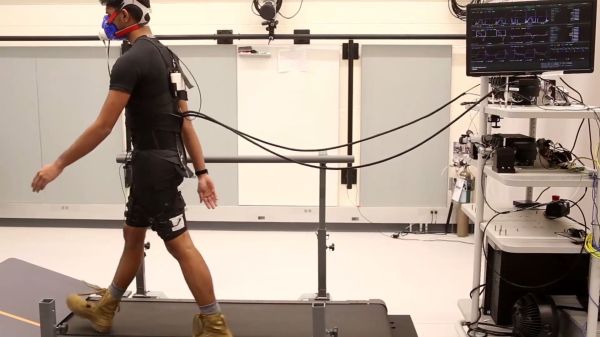
Wearables and robots don’t often intersect, because most robots rely on rigid bodies and programming while we don’t. Exoskeletons are an instance where robots interact with our bodies, and a soft exosuit is even closer to our physiology. Machine learning is closer to our minds than a simple state machine. The combination of machine learning software and a soft exosuit is a match made in heaven for the Harvard Biodesign Lab and Agile Robotics Lab.

Machine learning studies a walker’s steady gait for twenty periods while vitals are monitored to assess how much energy is being expended. After watching, the taught machine assists instead of assessing. This type of personalization has been done in the past, but the addition of machine learning shows that the necessary customization can be programmed into each machine without a team of humans.

Exoskeletons are no stranger to these pages, our 2017 Hackaday Prize gave $1000 to an open-source set of robotic legs and reported on an exoskeleton to keep seniors safe.

Continue reading “Learning Software In A Soft Exosuit”

Polaroid Gets Thermal Printer And Raspberry Pi

Despite what you may have read in the comments, we here at Hackaday are not unaware that there’s something of a “Pi Fatigue” brewing. Similar to how “Arduino” was once a dirty word around these parts, projects that are built around the world’s most popular Linux SBC are occasionally getting dismissed as lazy. Hacker crams Raspberry Pi into an old electronic device, applies hot glue liberally, posts a gallery on Imgur, and boom! Lather, rinse, repeat.
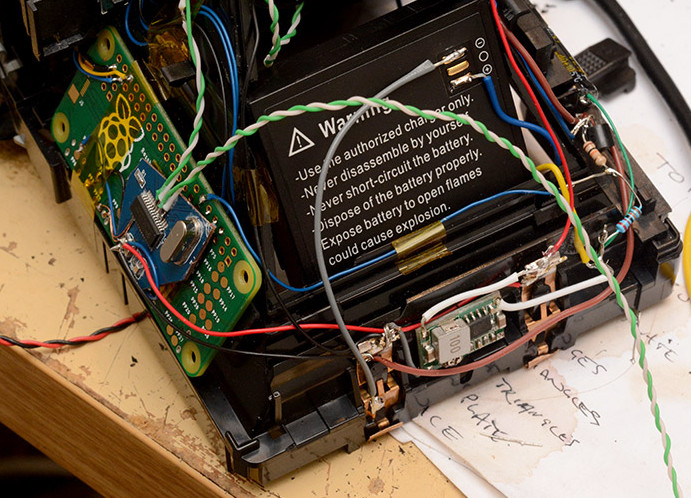
We only mention this because the following project, despite featuring the Raspberry Pi Zero grafted into a vintage Polaroid camera, is anything but lazy. In the impeccably detailed and photographed write-up, [mitxela] explains how the Pi Zero and a thermal camera recreated the classic Polaroid experience of going from shutter button to physical picture in seconds. The workmanship and attention to detail on this build is simply phenomenal, and should quell any doubts our Dear Readers may have about Raspberry Pi projects. For now, anyway.

The video after the break will show you the modded camera in operation and goes over a few highlights of the build, but for this one you really should take the time to read the entire process start to finish. [mitxela] starts off by disassembling the Polaroid camera, complete with plenty of fantastic pictures that show how this legendary piece of consumer electronics was put together. If you’ve never seen the inside of one of these cameras, you might be surprised to see what kind of interesting hardware is lurking underneath that rather unassuming exterior. From the screw-less construction to the circuits with paper substrate, a lot of fascinating engineering went into getting this camera to a mass-market price. Frankly, the teardown alone is worth checking out.
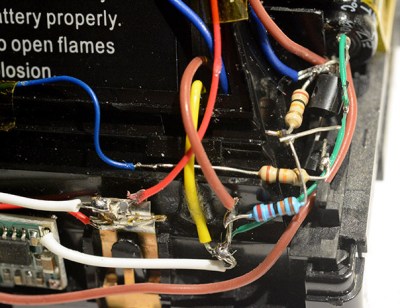
But once the camera has been stripped down to the bare frame, the real fun begins. At the conceptual level, [mitxela] replaces the camera optics with a cheap webcam, the “brains” with a Raspberry Pi Zero, and the film mechanism with the type of thermal printer used for receipts. But how he got it all connected is why this project is so impressive. Nearly every decision made during the design and construction of this camera was for the purposes of reducing boot-time. Nobody wants a camera that takes 30, 15, or even 10 seconds to boot. It has to be available as soon as you need it.

Getting this Linux-powered camera boot up in as little as 2 seconds took a lot of clever software hacks that you’ll absolutely want to check out if you’ve ever considered building an embedded Linux device. You can’t just throw a stock Raspbian image on an SD card and hope for the best. [mitxela] used buildroot to craft a custom Linux image containing only what was needed for the camera to operate, plus a bunch of esoteric tweaks that the Junior Penguin Wrangler would likely never consider. Like shaving a full second off of the boot time by disabling dumping kernel messages to the serial port during startup.

[mitxela] brought his camera to show off at the recent Hackaday London meetup, but it was far from the first time we’ve come across his handiwork. From his servo-powered music box earlier this year to his penchant for tiny MIDI devices, he’s consistently impressed our cold robot hearts.

Continue reading “Polaroid Gets Thermal Printer And Raspberry Pi”