For those who don’t mind constantly adding tiny but measurable amounts of microplastics to their landscaping, string trimmers are an excellent way of maintaining edging around garden beds, trimming weeds, or maintaining ground covers on a steep hill. One problem with them, though, is that not only is the string consumable but it can be expensive. Plus, if you have a trimmer with a proprietary spool you need to hope the company never goes out of business. Or, you can simply refill your string spool with this handy tool.
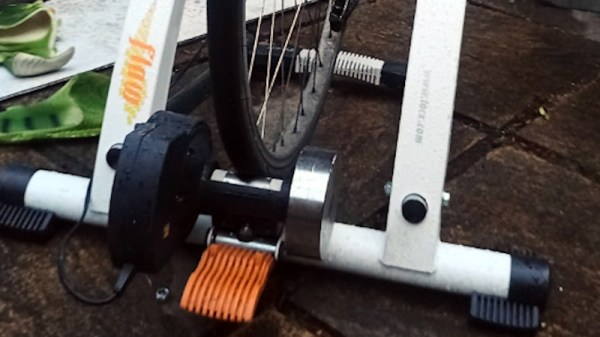
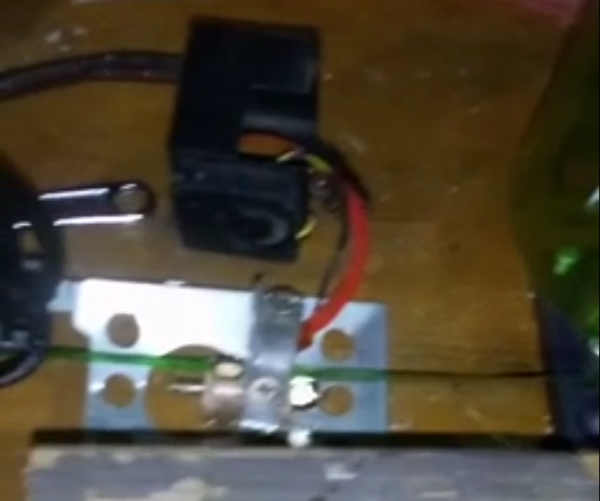
The build uses plastic bottles to create the string from what would likely become garbage anyway. First, a sharp roller-style knife slices the plastic into a long thin strip. Once cut, it is fed through a heater similar to a hot end on a 3D printer which allows the plastic to be deformed or forged into a cylinder. From there the plastic is added onto a spool, which also has the motor in it that drives the entire mechanism. In this case it is using an old variable-speed drill.
From the comments on the video, there is some discussion about the economics of using this string in a weed eater. It’s likely the plastic won’t last as long as specialty string trimmer string, and the time and expense of making the plastic may never save much money. But we have to give credit to the ingenuity nonetheless. And, if you’re really into recycling plastic just for the sake of keeping it out of the landfill, there are plenty of other ways to go about accomplishing that goal.