The Great American Eclipse was a solar eclipse that passed nearly the entire continental United States back in 2017. While it might sound like a once-in-a-lifetime event to experience a total solar eclipse, the stars have aligned to bring another total solar eclipse to North America although with a slightly different path stretching from the west coast of Mexico and ending off the cost of Newfoundland in Canada. Plenty of people near the path of totality have already made plans to view the event, but [Stephen] and a team of volunteers have done a little bit of extra preparation and plan to launch a high-altitude balloon during the event.
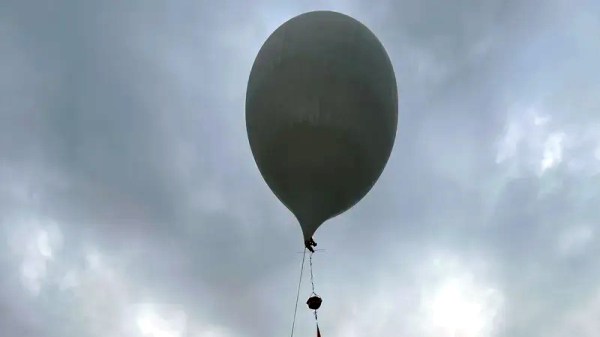
The unmanned balloon will primarily be carrying a solar telescope with the required systems onboard to stream its images live during its flight. The balloon will make its way to the stratosphere, hopefully above any clouds that are common in New Brunswick during the early spring, flying up to 30,000 meters before returning its payload safely to Earth. The telescope will return magnified images of the solar eclipse live to viewers on the ground and has been in development for over two years at this point. The team believes it to be the first time a non-governmental organization has imaged an eclipse by balloon.
For those who have never experienced a total solar eclipse before, it’s definitely something worth traveling for if you’re not already in its path. For this one, Canadians will need to find themselves in the Maritimes or Newfoundland or head south to the eastern half of the United States with the Americans, while anyone in Mexico needs to be in the central part of the mainland. Eclipses happen in places other than North America too, and are generally rare enough that you’ll hear about a total eclipse well in advance. There’s more to eclipses than watching the moon’s shadow pass by, though. NASA expects changes in the ionosphere and is asking ham radio operators for help for the 2024 eclipse.