Those of us hardware types that spend a lot of time designing PCBs will often look at other peoples’ designs with interest, and in some cases, considerable admiration. Some of their boards just look so good. But are aesthetics important? After all, for most products, the delicate electronic components on that PCB are tucked safely inside a protective enclosure. But, as [Phil’s Lab] explains, aesthetic PCB designs can lead to functional improvements, such that better-looking designs are also better performing, in terms of manufacturability (and therefore yield), electromagnetic compatibility (EMC), and several other factors that can be important.
First off, making a PCB easy to read and using sane placement of components and connections will speed up debugging by reducing errors. Keeping a consistent and not too-tight placement grid can give the pick and place machine an easier task, and reduce solder issues during reflow. But there are also more serious concerns, such as the enforcement of design partitionings — such as keeping analog circuits together and away from noisy power and digital areas — which can make the difference between functioning within specification, and failure.
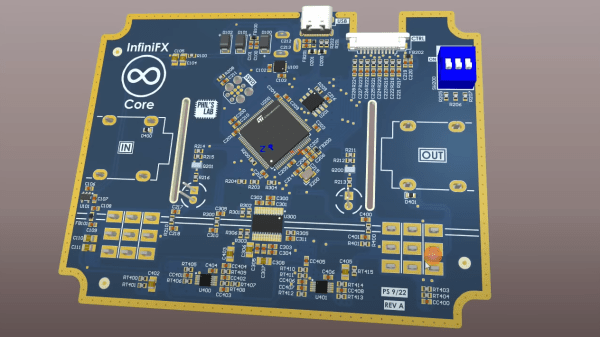
The video goes into a few other interesting tips, one highlight is using a ground-tied PCB perimeter zone, with wavelength-of-interest via stitching. This will reduce EMC side emissions from the power plane, but also if you select an appropriate surface finish, and keep the solder mask open, you’ve got a free, full perimeter contact to ground your scope probe. Oh, and it looks good too.
Hackaday is no stranger to beautiful artistic PCBs, like the work of [Saar Drimer] and many others. But if one PCB doesn’t cut it for your needs, there’s always the ‘Oreo’ construction to consider.
Continue reading “Aesthetic PCB Design Tips For Improved Functionality”
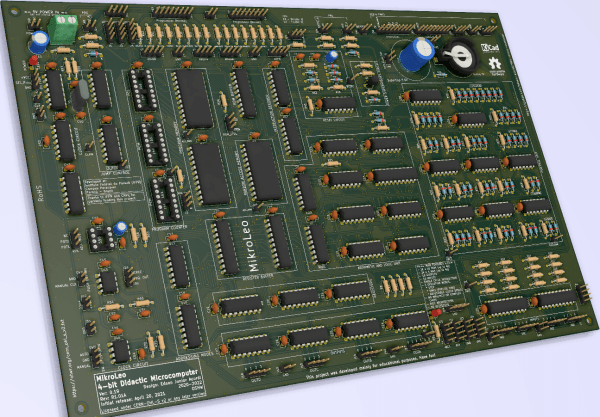
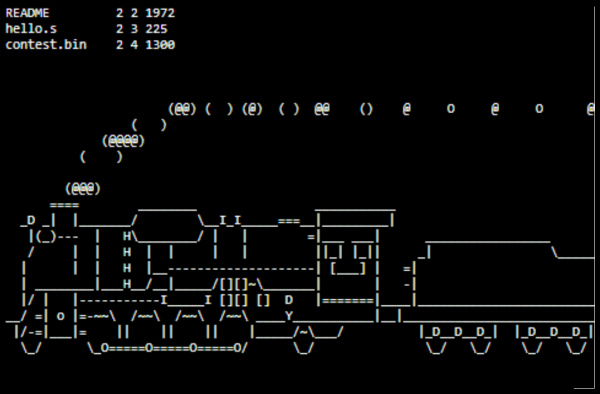
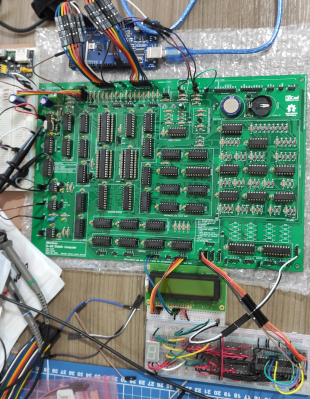 Harvard RISC architecture built entirely from 74HCT series logic