VR headsets are more and more common, but they aren’t perfect devices. That meant [Douglas Lanman] had a choice of problems to address when he joined Facebook Reality Labs several years ago. Right from the start, he perceived an issue no one seemed to be working on: the fact that the closer an object in VR is to one’s face, the less “real” it seems. There are several reasons for this, but the general way it presents is that the closer a virtual object is to the viewer, the more blurred and out of focus it appears to be. [Douglas] talks all about it and related issues in a great presentation from earlier this year (YouTube video) at the Electronic Imaging Symposium that sums up the state of the art for VR display technology while giving a peek at the kind of hard scientific work that goes into identifying and solving new problems.
[Douglas] chose to address seemingly-minor aspects of how the human eye and brain perceive objects and infer depth, and did so for two reasons: one was that no good solutions existed for it, and the other was that it was important because these cues play a large role in close-range VR interactions. Things within touching or throwing distance are a sweet spot for interactive VR content, and the state of the art wasn’t really delivering what human eyes and brain were expecting to see. This led to years of work on designing and testing varifocal and multi-focal displays which, among other things, were capable of presenting images in a variety of realistic focal planes instead of a single flat one. Not only that, but since the human eye expects things that are not in the correct focal plane to appear blurred (which is itself a depth cue), simulating that accurately was part of things, too.
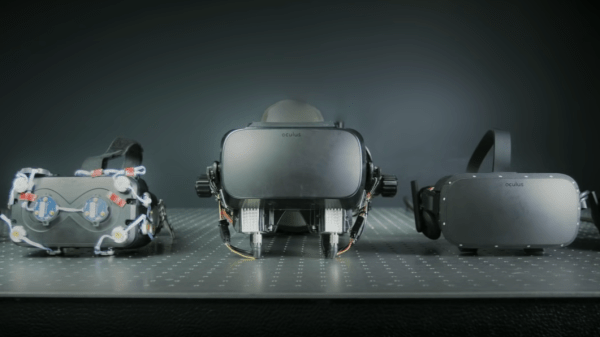
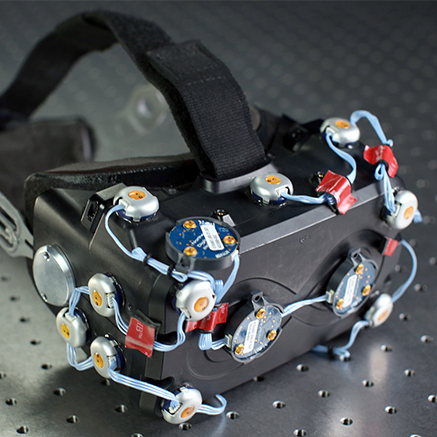
The entire talk is packed full of interesting details and prototypes. If you have any interest in VR imaging and headset design and have a spare hour, watch it in the video embedded below.
Continue reading “See The Science Behind VR Display Design, And What Makes A Problem Important”