Truth be told, we generally find speed sports to be a little boring. Whether it’s cars going around in circles for hours on end or swimmers competing to be a few milliseconds faster than everyone else, we just don’t feel the need for speed. Unless, of course, you’re talking about speedy 3D printers like “The 100”, which claims to produce high-quality prints in a tenth the time of an ordinary printer. In that case, you’ve got our full attention.
What makes [Matt the Printing Nerd]’s high-speed printer interesting isn’t the fact that it can do a “Speedboat Run” — printing a standard Benchy model — in less than six minutes. Plenty of printers can do the same thing much, much faster. The impressive part is that The 100 does it with a 3D-printed frame. In fact, most of the printer’s parts are 3d printed, a significant departure from most speed printer builds, which generally shy away from printed structural elements. [Matt]’s design also aims to keep the center of gravity of all the printer’s components within a very small area, which helps manage frame vibrations that limit print quality. The result is that the CoreXY gantry is capable of a speed of 400 mm/s and an eye-popping 100,000 mm/s² acceleration. What also sets [Matt]’s printer apart is that The 100 is designed to be a daily driver. It has a generous 165 mm x 165 mm print bed, which is far more useful than a bed that’s barely bigger than a standard Benchy.
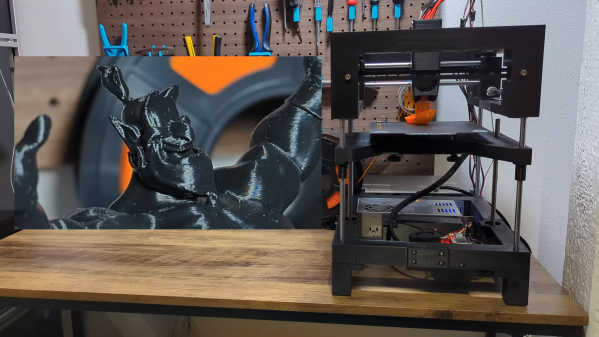
The video below has much more details on the open-source build, plus some nice footage of some speed runs. The quality of the prints, even done at speed, is pretty impressive. Perhaps there is a point to speed sports after all.
Continue reading “3D-Printed Parts Don’t Slow Down This Speedy Printer”