Hackaday Visits World’s Oldest Computer Festival: TCF 43

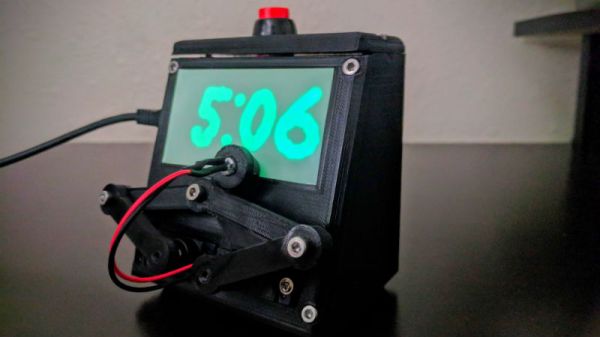
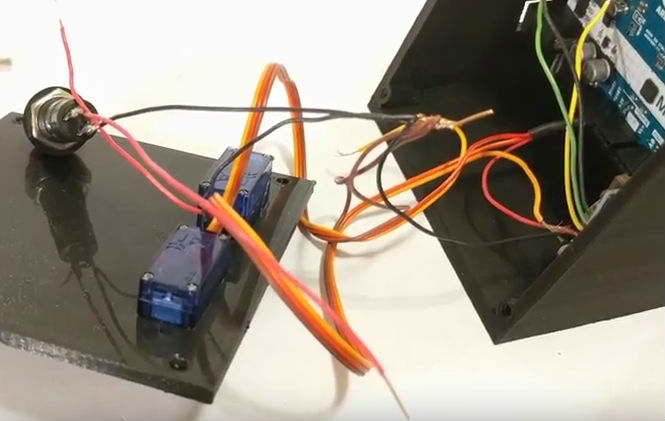
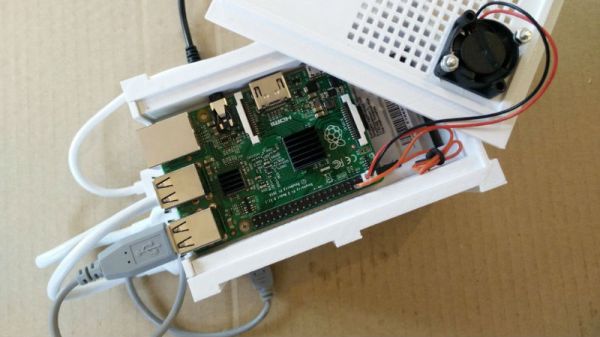
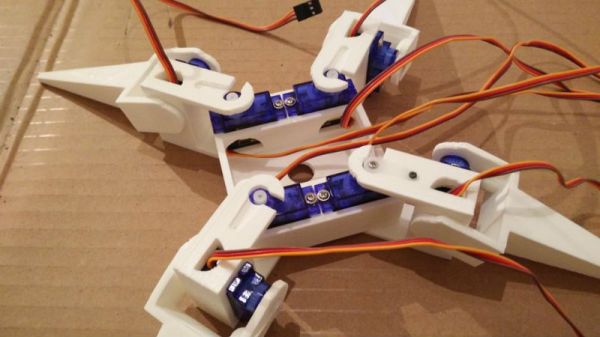
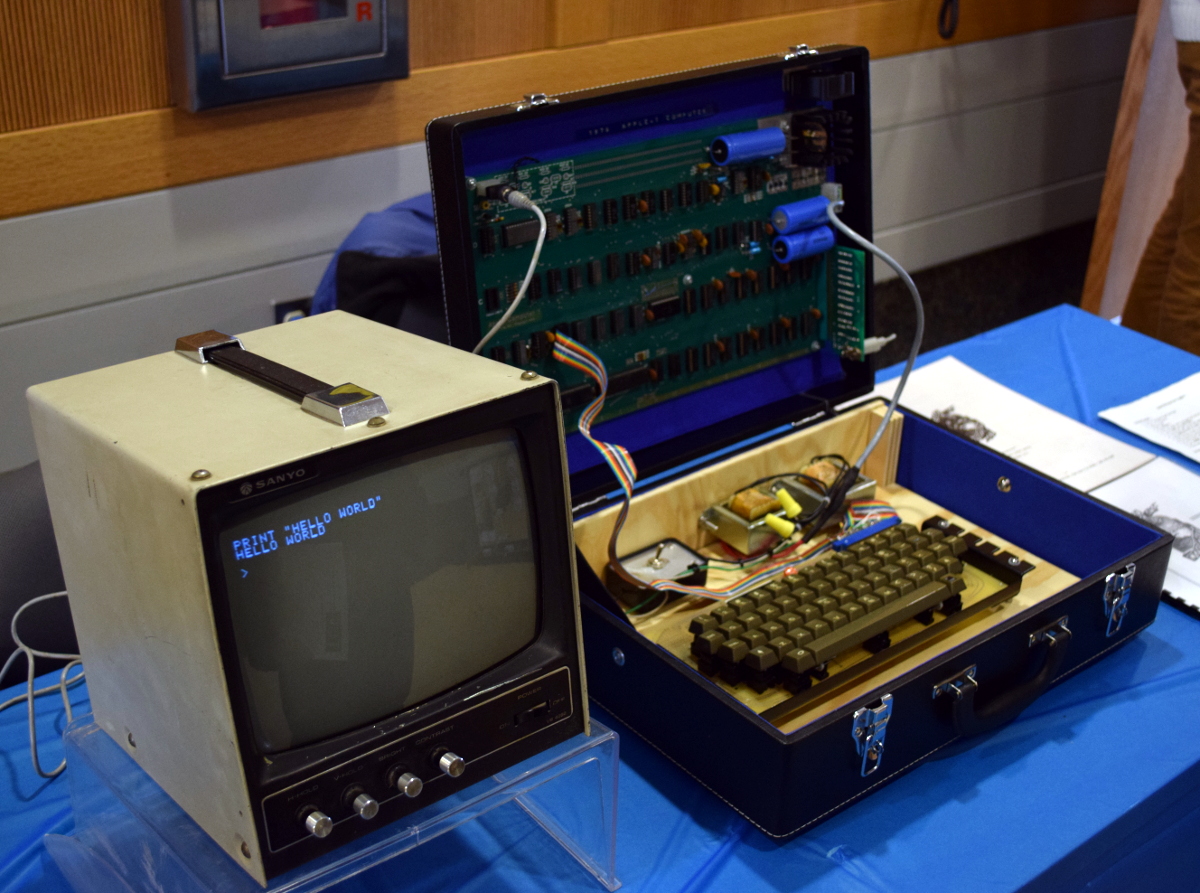
I was fortunate enough to visit the Trenton Computer Festival last weekend. The show struck a very interesting mix of new and old, commercial and educational. Attendees were writing programs in BASIC on an Apple I (courtesy of the Vintage Computer Federation) not more than five feet from where students were demonstrating their FIRST robot.

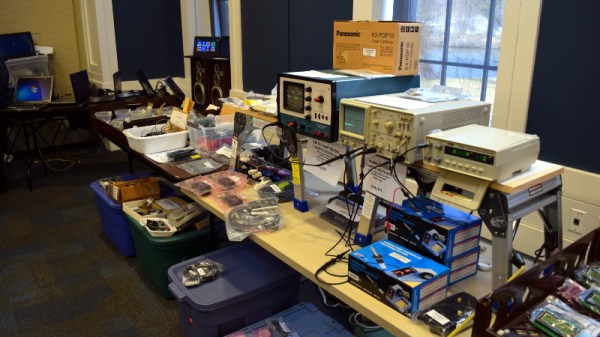
The one-day event featured over fifty demonstrations, talks, and workshops on topics ranging from a crash course in lock picking to the latest advancements in quantum computing. In the vendor room you could buy a refurbished laptop while just down the hall talks were being given on heady topics such as using neural networks and genetic algorithms for day trading on the stock market.

Recent years have seen a widening of the content presented, but TCF’s longevity means there is a distinct “vintage” vibe to the show and the culture surrounding it. Many of the attendees, and even some of the presenters, can proudly say they’ve been attending since the very first show in 1976.

There was simply too much going on to see everything. At any given time, there were eleven talks happening simultaneously, and that doesn’t include the demonstrations and workshops which ran all day. I documented as many highlights from this year’s TCF as I could for those who haven’t had a chance to visit what might be the most low-key, and certainly oldest, celebration of computing technology on the planet. Join me after the break for the whirlwind tour.

Continue reading “Hackaday Visits World’s Oldest Computer Festival: TCF 43”

Arduino Clock Jots Down The Time, In UV

We’re big fans of the impractical around here at Hackaday. Sure there’s a certain appeal to coming up with the most efficient method to accomplish your goal, the method that does exactly what it needs to do without any superfluous elements. But it’s just not as much fun. If at least one person doesn’t ask “But why?”, then you probably left something on the table, design wise.

So when we saw this delightfully complex clock designed by [Tucker Shannon], we instantly fell in love. Powered by an Arduino, the clock uses an articulated arm with a UV LED to write out the current time on a piece of glow-in-the-dark material. The time doesn’t stay up for long depending on the lighting in the room, but at least it only takes a second or two to write out once you press the button.

Things are pretty straightforward inside the 3D printed case. There’s an Arduino coupled with an RTC module to keep the time, which is connected to the two standard hobby servos mounted in the front panel. A UV LED and simple push button round out the rest of the Bill of Materials. The source code is provided, so you won’t have to figure out the kinematics involved in getting the two servos to play nicely together if you want to try this one at home.

We’ve seen many clocks powered by Arduinos over the years, occasionally they even have hands. But few can boast their own robotic arm.

Continue reading “Arduino Clock Jots Down The Time, In UV”

3D Printed Raspberry Pi NAS With Dual Drive Bays

While it might not pack the computational punch you’d usually be looking for in a server platform, you can’t beat how cheap the Raspberry Pi is. As such, it’s at the heart of many a home LAN, serving up files as a network attached storage (NAS) device. But the biggest problem with using the Pi in a NAS is that it doesn’t have any onboard hard drive interface, forcing you to use USB. Not only is this much slower, but doesn’t leave you a lot of options for cleanly hooking up your drives.

This 3D printable NAS enclosure designed by [Paul-Louis Ageneau] helps address the issue by integrating two drive bays which can accommodate 2.25 inch laptop hard disk drives and their associated IB-AC6033-U3 USB adapters. The drives simply slide into the “rails” designed into the case without the need for additional hardware. There’s even space in the bottom of the case for a USB hub to connect the drives, and a fan on the top of the case to help keep the whole stack cool. It still isn’t perfect, but it’s compact and doesn’t look half bad.

The design is especially impressive as it doesn’t require any supports, an admirable goal to shoot for whenever designing for 3D printing. As an added bonus, the entire case is designed in OpenSCAD and licensed under the GPL v3; making modification easy if you want to tweak it for your specific purposes.

This certainly isn’t the strongest Raspberry Pi enclosure we’ve ever seen, that title would have to go to the ammo case that does double duty as a media streamer, but looks like it would make a great home for that new 3 B+ you’ve got on order.

Look Upon Eyepot, And Weep For Mercy

Hope you weren’t looking forward to a night of sleep untroubled by nightmares. Doing his part to make sure Lovecraftian mechanized horrors have lease in your subconscious, [Paul-Louis Ageneau] has recently unleashed the horror that is Eyepot upon an unsuspecting world. This Cycloptic four legged robotic teapot takes inspiration from an enemy in the game Alice: Madness Returns, and seems to exist for no reason other than to creep people out.

Even if you aren’t physically manifesting nightmares, there’s plenty to learn from this project. [Paul-Louis Ageneau] has done a fantastic job of documenting the build, from the OpenSCAD-designed 3D printed components to the Raspberry Pi Zero and Arduino Pro Mini combo that control the eight servos in the legs. If you want to play along at home all the information and code is here, though feel free to skip the whole teapot with an eyeball thing.

A second post explains how the code is written for both the Arduino and Pi, making for some very illuminating reading. A Python script on the Pi breaks down the kinematics and passes on the appropriate servo angles to the Arduino over a serial link. Combined with a web interface for control and a stream from the teapot’s Raspberry Pi Camera module, and you’ve got the makings of the world’s creepiest telepresence robot. We’d love to see this one stomping up and down a boardroom table.

Seems we are on a roll recently with creepy robot pals. Seeing a collaboration between Eyepot and JARVIS might be too much for us to handle. Though we have a pretty good idea how we’d want to control them.

Making Pictures Worth 1000 Words In Python

In a previous post, I showed how you could upload images into a Discord server from Python; leveraging the popular chat platform to simplify things like remote monitoring and push notifications on mobile devices. As an example, I showed an automatically generated image containing the statistics for my Battlefield 1 platoon which gets pushed to member’s devices on a weekly basis.

Automatically generated stats posted to Discord

The generation of that image was outside the scope of the original post, but I think it’s a technique worth discussing on its own. After all, they say that a picture is worth 1000 words. So that means a picture that actually contains words must be worth way more. Like, at least 2000, easy.

Being able to create images from your textual data can lend a bit of flair to your projects without the need to create an entire graphical user interface. By putting a text overlay on a pre-rendered image, you can pull off some very slick visuals with a minimum amount of system resources. So long as you have a way of displaying an image file, you’re good to go.

In this post I’ll quickly demonstrate how to load an image, overlay it with text, and then save the resulting image to a new file. This technique is ideal in situations where a display doesn’t need to be updated in real-time; visuals can be generated at regular intervals and simply displayed as static images. Possible uses include weather displays, “magic” mirrors, public signage, etc. Continue reading “Making Pictures Worth 1000 Words In Python”

Building A Static Grass Applicator

A “Static Grass Applicator” is very specialized tool used by model makers to create realistic grass. Don’t feel bad if you didn’t know that, neither did we. Anyway, the idea is that you distribute a fine filament over the surface, and then use static electricity to make the “blades” of grass stand up vertically. This is a huge improvement over the old school method of manually placing the grass on the model, but the tool itself is somewhat expensive, at least for a decent one.

But thanks to avid modeler [Luke Towan], those looking to up their diorama game without breaking the bank now have a fantastically detailed guide on building their own grass applicator that is not only fairly cheap (as little as $20 USD depending on what your part bins look like), but is robust enough to last for years of service.

The heart of the device, and probably the only part you’d need to go out and buy especially for this project, is a small 12V negative ion generator. This is used to setup an electric charge between the grid of the applicator and a long wire that gets attached to the piece you’re working on. What little wiring there is simply provides a switch and some status LEDs. The design [Luke] has come up with lets the user switch between and internal 9V battery for portability, or an external 12V wall adapter for larger projects.

Building the chamber to hold the grass filament as well as the handle which houses the electronics will take longer than anything else, and even that seems pretty straightforward. Given the impressive results shown in the video after the break, it’s actually pretty surprising how simple the device is.

The setup used here reminds us of the DIY powder coating we covered a few years back.

Continue reading “Building A Static Grass Applicator”

Building A Tricorder Prop Worthy Of Mr Spock

We’ve all been there. You want to assemble a proper Star Trek: The Original Series landing party prop set, but the TOS tricorders you can find on the market are little more than overpriced toys. Imagine the embarrassment of beaming down to Cestus III with a plastic tricorder. The Metrons wouldn’t have even bothered with the trial by combat with such a sorry showing.

Unhappy with the state of Star Trek props, [Dean O] decided to take matters into his own hands. He purchased a TOS tricorder from Diamond Select Toys and set out to modify it into something a bit closer to Starfleet standards. Anything painted metallic silver on the toy was replaced with a machined aluminum duplicate, adding some much needed heft. He even spruced up the controls and display.

To start, [Dean] stripped the tricorder down, separating all of the silver plastic parts and finding aluminum stock that was close enough to the desired dimensions. This ended up being .125″ plate for the sides, and .500″ bars for the horizontal dividers. To make the side panels he placed the original plastic parts over the aluminum, marked the mounting holes with a punch, and used the belt sander to shape them.

[Dean] then put in a more screen accurate Moire disc, and went as far as to get real watch crowns for the buttons (just like the prop used in the show). In a particularly bold move, he even drilled out the center of watch crowns to install plastic light pipes for LED illumination.

Last year we saw a build that crammed a Raspberry Pi into the same Diamond Select tricorder toy to excellent effect. Now somebody just needs to combine both projects and they’ll have the slickest tricorder in the Alpha Quadrant.