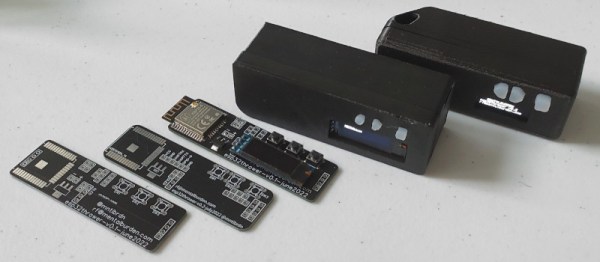
Looking to expand their hardware design experience, [mentalburden] recently put together a low-cost handheld gadget that can be used for various security-related tasks such as logging WiFi traffic, operating as a dead drop, and performing deauthentication attacks.
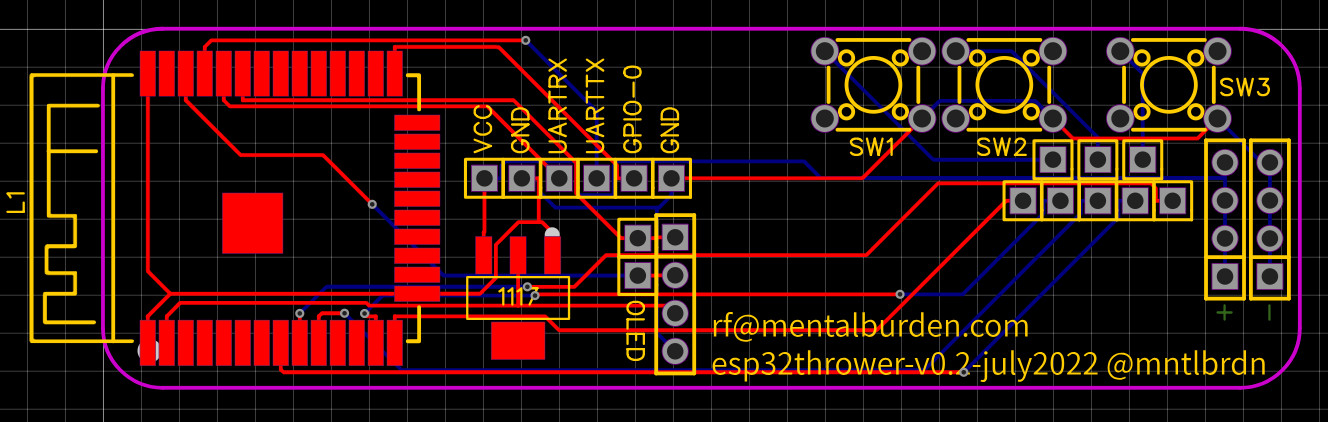
The custom PCB plays host to the essentials — an ESP32-S microcontroller, AMS1117 3.3 V regulator, a SSD1306 OLED, and a couple of buttons. This lets the user navigate through a simple menu system and select whatever function they wish to enable. During testing, a pair of 18650 cells kept the electronics running for an impressive 22 hours.
A second version of the PCB fixed a few bodges that were required to get the original prototype working, and given how energy efficient the hardware ended up being, [mentalburden] decided to drop the power supply down to a single 18650 for a total runtime of around 15 hours. A 3D printed case and some silicone buttons, produced with a simple clay mold, completed the package.
There’s still some improvements that could be made, namely integrating a battery charging circuit into the PCB and switching over to USB-C, but overall its a solid prototype with an impressive per-unit cost of less than $10 USD. Though if you’re looking for something even cheaper, we’ve seen an even more simplistic approach based on the ESP-01.