The average person’s perception of a ham radio operator, assuming they even know what that means, is more than likely some graybeard huddled over the knobs of a war-surplus transmitter in the wee small hours of the morning. It’s a mental image that, admittedly, isn’t entirely off the mark in some cases. But it’s also a gross over-simplification, and a generalization that isn’t doing the hobby any favors when it comes to bringing in new blood.
 In reality, a modern ham’s toolkit includes a wide array of technologies that are about as far away from your grandfather’s kit-built rig as could be — and there’s exciting new protocols and tools on the horizon. To ensure a bright future for amateur radio, these technologies need to be nurtured the word needs to be spread about what they can do. Along the way, we’ll also need to push back against stereotypes that can hinder younger operators from signing on.
On the forefront of these efforts is Amateur Radio Digital Communications (ARDC), a private foundation dedicated to supporting amateur radio and digital communication by providing grants to scholarships, educational programs, and promising open source technical projects. For this week’s Hack Chat, ARDC Executive Director Rosy Schechter (KJ7RYV) and Staff Lead John Hays (K7VE) dropped by to talk about the future of radio and digital communications.
Rosy kicked things off with a brief overview of ARDC’s fascinating history. The story starts in 1981, when Hank Magnuski had the incredible foresight to realize that amateur radio packet networks could benefit from having a dedicated block of IP addresses. In those early days, running out of addresses was all but unimaginable, so he had no trouble securing 16.7 million IPs for use by licensed amateur radio operators. This block of addresses, known as AMPRNet and then later 44Net, was administered by volunteers until ARDC was formed in 2011 and took over ownership. In 2019, the decision was made to sell off about four million of the remaining IP addresses — the proceeds of which went into an endowment that now funds the foundation’s grant programs.
 So where does the money go? The ARDC maintains a list of recipients, which provides for some interesting reading. The foundation has helped fund development of GNU Radio, supported the development of an open hardware CubeSat frame by the Radio Amateur Satellite Corporation (AMSAT), and cut a check to the San Francisco Wireless Emergency Mesh to improve communications in wildfire-prone areas. They even provided $1.6 million towards the restoration of the MIT Radio Society’s radome and 18-foot dish.
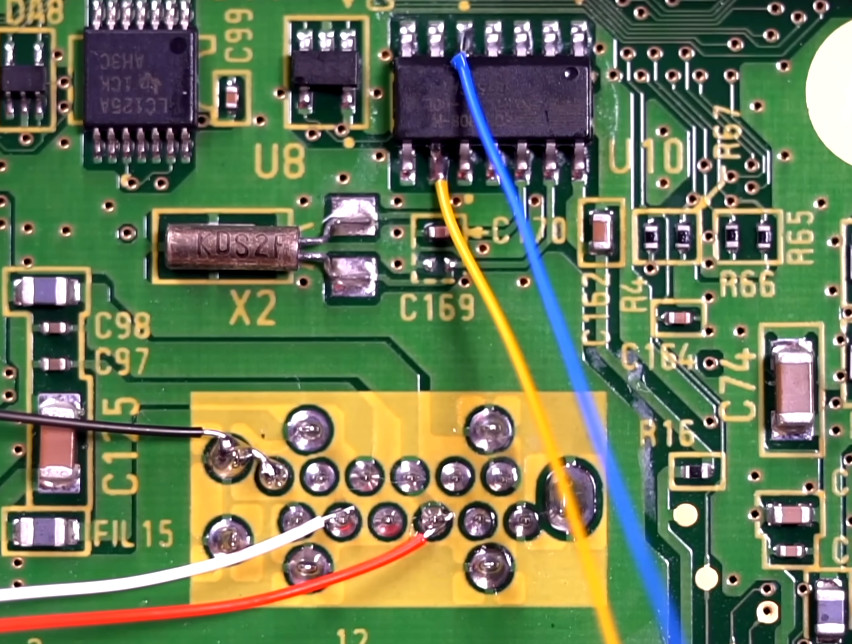
Of all the recipients of ARDC grants, the M17 project garnered the most interest during the Chat. This community of open source developers and radio enthusiasts is developing a next-generation digital radio protocol for data and voice that’s unencumbered by patents and royalties. In their own words, M17 is focused on “radio hardware designs that can be copied and built by anyone, software that anyone has the freedom to modify and share to suit their own needs, and other open systems that respect your freedom to tinker.” They’re definitely our kind of folks — we first covered the project in 2020, and are keen to see it develop further.
John says the foundation has approximately $6 million each year they can dole out, and that while there’s certainly no shortage of worthwhile projects to support as it is, they’re always looking for new applicants. The instructions and guides for grant applications are still being refined, but there’s at least one hard requirement for any project that wants to be funded by the ARDC: it must be open source and available to the general amateur population.
Of course, all this new technology is moot if there’s nobody to use it. It’s no secret that getting young people interested in amateur radio has been a challenge, and frankly, it’s little surprise. When a teenager can already contact anyone on the planet using the smartphone in their pocket, getting a ham license doesn’t hold quite the same allure as it did to earlier generations.
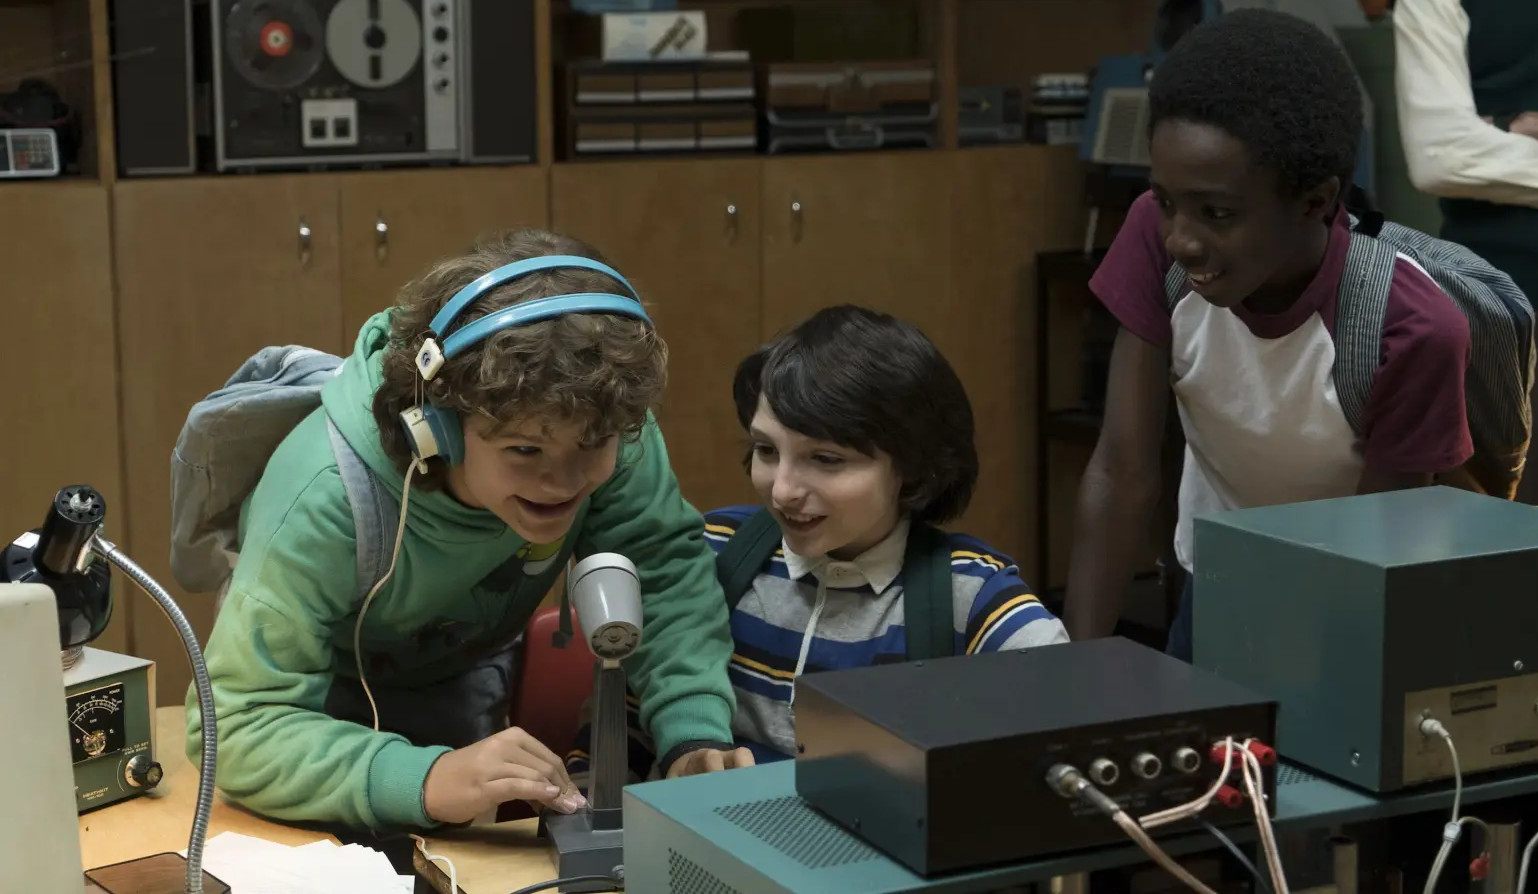
The end result is that awareness among youth is low. During the Chat, one participant recounted how he had to put Netflix’s Stranger Things on pause so he could explain to his teenage son how the characters in the 1980s set show were able to communicate across long distances using a homemade radio. Think about that for a minute — in a show about nightmarish creatures invading our world from an alternate dimension, the hardest thing for this young man to wrap his head around was the fact a group of teenagers would be able to keep in touch with each other without the Internet or phone lines to connect them.
So its no surprise that John says the ARDC is actively looking for programs which can help improve the demographics of amateur radio. The foundation is looking to not only bring younger people onboard, but also reach out to groups that have been traditionally underrepresented in the hobby. As an example, he points to a grant awarded to the Bridgerland Amateur Radio Club (BARC) last year to bolster their youth engagement program. Funds went towards putting together a portable rig that would allow students to communicate with the International Space Station, and the development of hands-on workshops where teens will be able to launch, track, and recover payloads on a high altitude balloon. Let’s see them do that on their fancy new smartphone.
We want to not only thank Rosy Schechter and John Hays for taking part in this week’s Hack Chat, but everyone else at Amateur Radio Digital Communications for their efforts to support the present and future of amateur radio and digital communication.
The Hack Chat is a weekly online chat session hosted by leading experts from all corners of the hardware hacking universe. It’s a great way for hackers connect in a fun and informal way, but if you can’t make it live, these overview posts as well as the transcripts posted to Hackaday.io make sure you don’t miss out.