If you have multiple microphones in known locations, and can determine the time a sound arrives at each one, you can actually determine the location that sound is coming from. This technique is referred to as sound localization via time difference of arrival. [Kim Hendrikse] decided to put the technique to good use to track down the location of illicit fireworks launches.
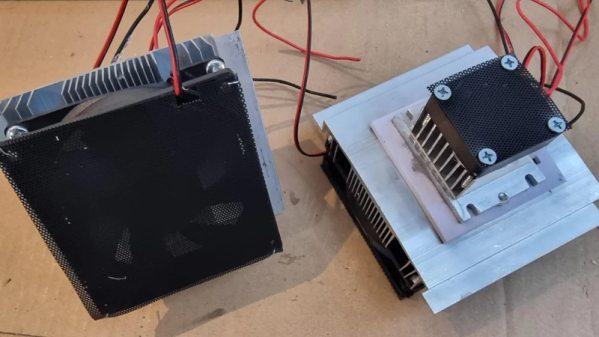
The build is based on the Raspberry Pi, with [Kim] developing an “autonomous recording unit” complete with GPS module for determining their location and keeping everything time synchronized. By deploying a number of these units, spread out over some distance, it’s possible to localize loud sounds based on the time stamps they show up in the recording on each unit.
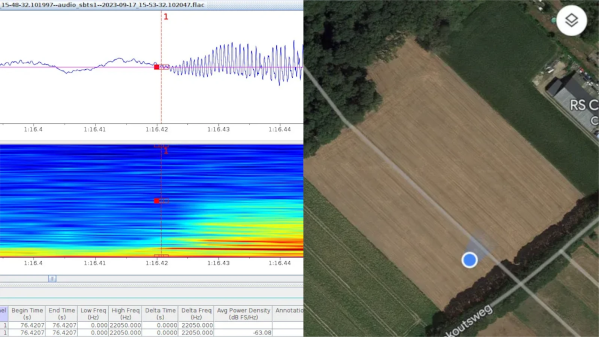
Early testing took place with an air horn and four recording units. [Kim] found that the technique works best for sounds made within the polygon. Determining the location was achieved with a sound investigation tool called Raven Lite, developed by Cornell University. The process is very manual, involving hunting for peaks in sound files, but we’d love to see a version that automated comparing sound peaks across many disparate recording units. In any case, it worked incredibly well for [Kim] in practice. Later testing with friends and a network of six recorders spread over Limburg, Netherlands, [Kim] was later able to localize fireworks launches with an accuracy down to a few meters.
Similar techniques are used to locate gunshots, and can work well with pretty much any loud noise that’s heard over a great distance. If you’ve been using your hacker skills to do similar investigative work, don’t hesitate to let us know on the tipsline!