We’re always looking for interesting biohacks here on Hackaday, and this new research article describing a calibrated pulse oximeter for different skin tones really caught our attention.
Pulse oximeters are handy little instruments that measure your blood oxygen saturation using photoplethysmography (PPG) and are a topic we’re no strangers to here at Hackaday. Given PPG is an optical technique, it stands to reason that its accuracy could be significantly affected by skin tone and that has been a major topic of discussion recently in the medical field. Given the noted issues with pulse oximeter accuracy, these researchers endeavored to create a better pulse oximeter by quantifying skin pigmentation and using that data to offset errors in the pulse oximeter measurements. A slick idea, but we think their results leave a lot to be desired.
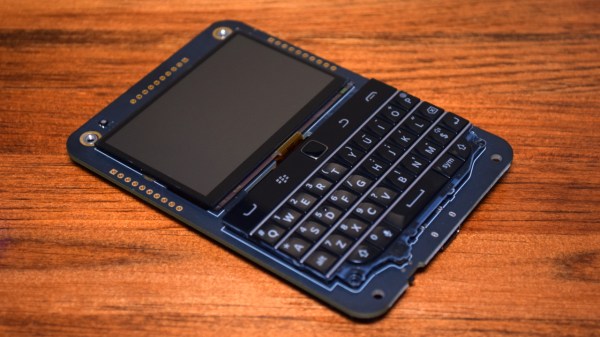
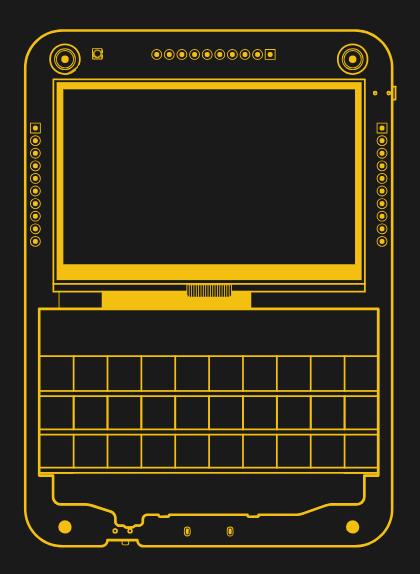
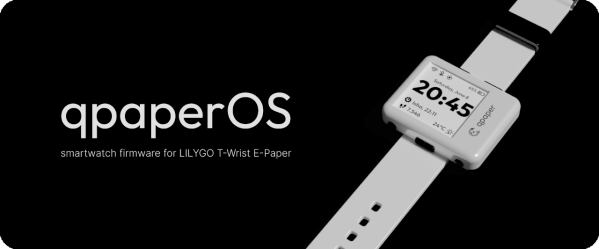
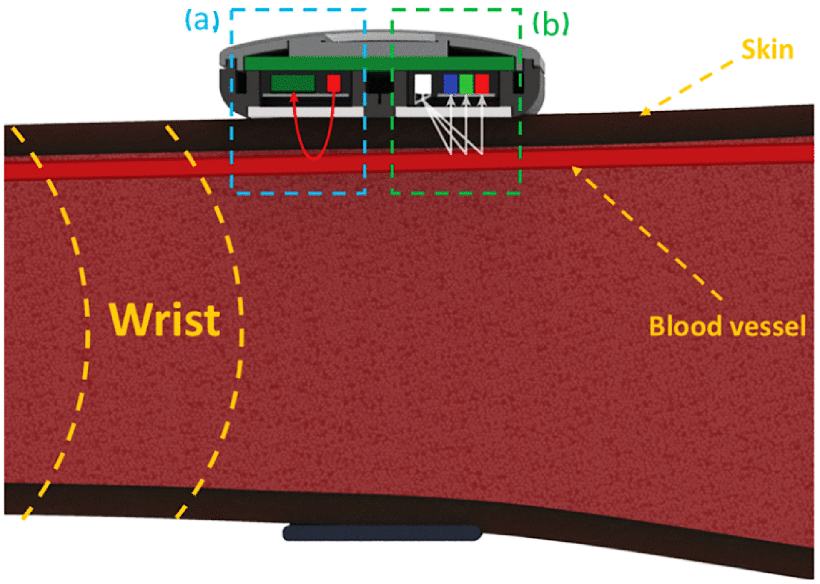 Their idea sounds pretty straightforward enough. They created their own hardware to measure blood oxygen saturation, a smartwatch that includes red and infrared (IR) light-emitting diodes (LED) to illuminate the tissue just below the surface of the skin, and a photosensor for measuring the amount of light that reflects off the skin. But in addition to the standard pulse oximeter hardware, they also include a TCS34725 color sensor to quantify the user’s skin tone.
So what’s the issue? Well, the researchers mentioned calibrating their color sensor to a standard commercially-available dermatology instrument just to make sure their skin pigmentation values match a gold standard, but we can’t find that data, making it a bit hard to evaluate how accurate their color sensor actually is. That’s pretty crucial to their entire premise. And ultimately, their corrected blood oxygen values don’t really seem terribly promising either. For one individual, they reduced their error from 5.44% to 0.82% which seems great! But for another user, their error actually increases from 0.99% to 6.41%. Not so great. Is the problem in their color sensor calibration? Could be.
We know from personal experience that pulse oximeters are hard, so we applaud their efforts in tackling a major problem. Maybe the Hackaday community could help them out?