When it was released back in 2012, the Basis B1 fitness tracker was in many ways ahead of its time. In fact, the early smartwatch was so impressive that Intel quickly snapped up the company and made it the cornerstone of their wearable division. Unfortunately a flaw in their next watch, the Basis Peak, ended up literally burning some wearers. Intel was forced to recall the whole product line, and a year later dissolved their entire wearable division.
Given their rocky history, it’s probably no surprise that these gadgets can be had quite cheaply on the second hand market. But can you do anything with them? That’s what [Ben Jabituya] recently decided to find out, and the results of his experiments certainly look very promising. So far he hasn’t found a way to activate a brand-new Basis watch, but assuming you can get your hands on one that was actively being used when Intel pulled the plug, his hacks can be used to get it back up and running.
The Basis Android application has long since been removed from the Play Store, but [Ben] said it wasn’t too hard to find an old version floating around on the web. After decompiling the application he discovered the developers included a backdoor that lets you configure advanced options that would normally be hidden.
How do you access it? As a reminder of the era in which the product was developed, you simply need to log into the application using Jersey and Shore as the username and password, respectively.
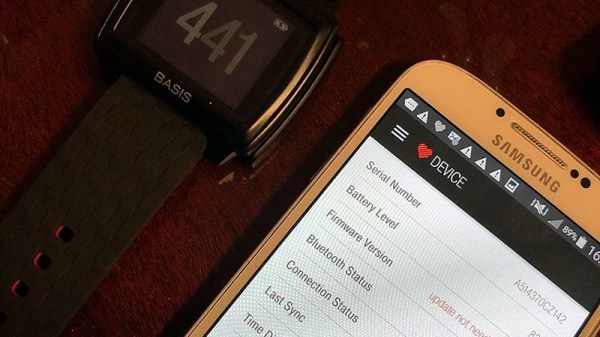
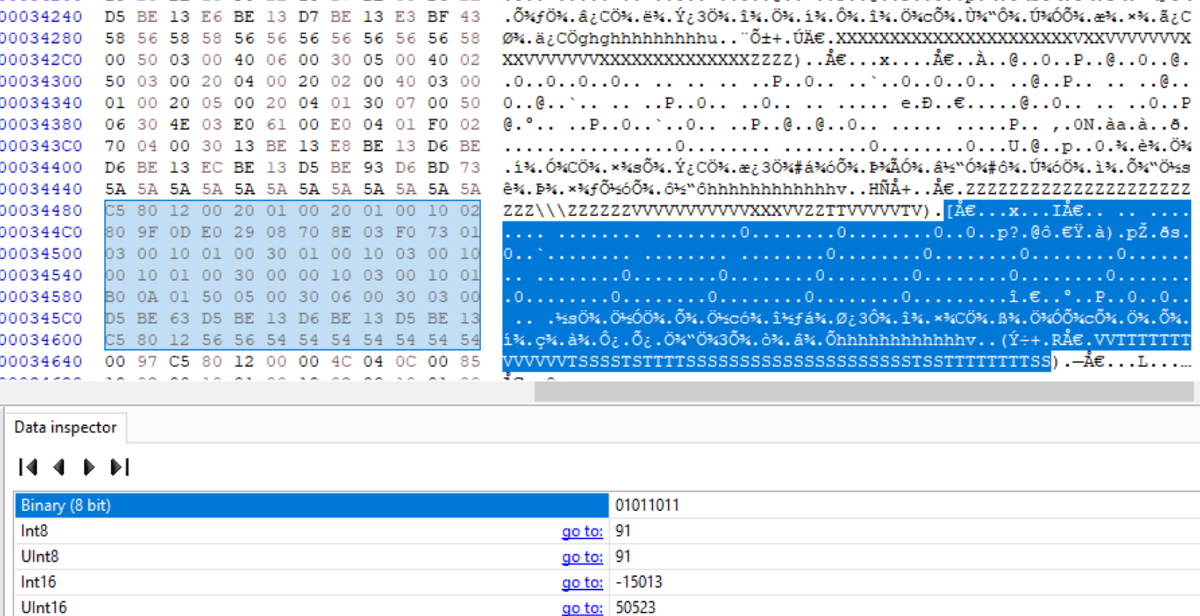
Between the developer options and API information he gleaned from the decompiled code, [Ben] was able to create a faux Basis authentication server and point the application to it. That let him get past the login screen, after which he was able to sync with the watch and download its stored data. Between examinations with a hex editor and some open source code that was already available online, he was able to write a Python script for parsing the data which he’s been kind enough to share with the world.
We’re very pleased to see an open source solution that not only gets these “bricked” smartwatches back online, but allows the user to keep all of the generated data under their own control. If you’d like to do something similar with a device that doesn’t have a history of releasing the Magic Smoke, the development of an open source firmware for more modern fitness trackers might be of interest.
Continue reading “Giving Recalled Fitness Trackers A Second Chance”