Let’s face it, those touchpads on laptops are awful, and were never meant to be the primary mouse for all-day use. Not that external mice are much better on your shoulder and neck in the long term — especially if you’re reaching past a 10-key and back to use it. So what’s the answer? What does a comfortable, portable mousing solution look like? Is such a thing even possible?
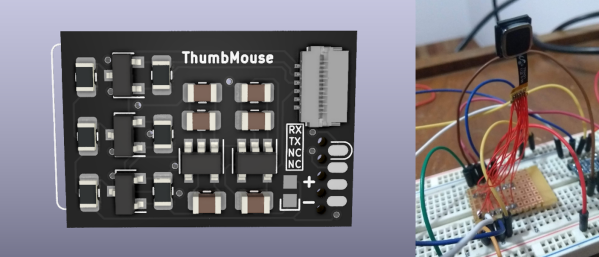
[Matias N.] has an idea: make the mouse an extension of your hand. The idea is that by wearing a battery-powered Bluetooth pointer on your thumb or index finger, you have a seamless back and forth transition with less overall stress. The trackpad includes a button that would be used to cover left clicks. To make it a full mouse, [Matias] plans to have extra buttons for right click and middle click, and a joystick for scrolling.
[Matias] started designing thumbMouse with a Blackberry 9900 trackball module in mind, but found it was way too slow for modern mousing needs. Turns out the trackpad module is much better suited: it’s a lot more responsive, and the movement is surprisingly sensitive.
Of course the standard mouse still has its place, but it can always be improved. As far as those go, this completely modular mouse might be the endgame critter.