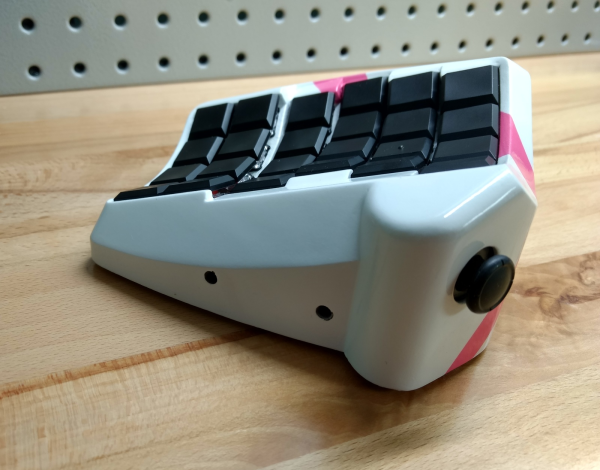
When [Billiam]’s beloved Logitech G13 game pad went to that great spectate room in the sky, he decided to pay homage by designing a custom, more ergonomic replacement from the desk up. Grab a spoon and dig into the story of [Billiam]’s journey toward Sherbet, because it’s a sweet ride.
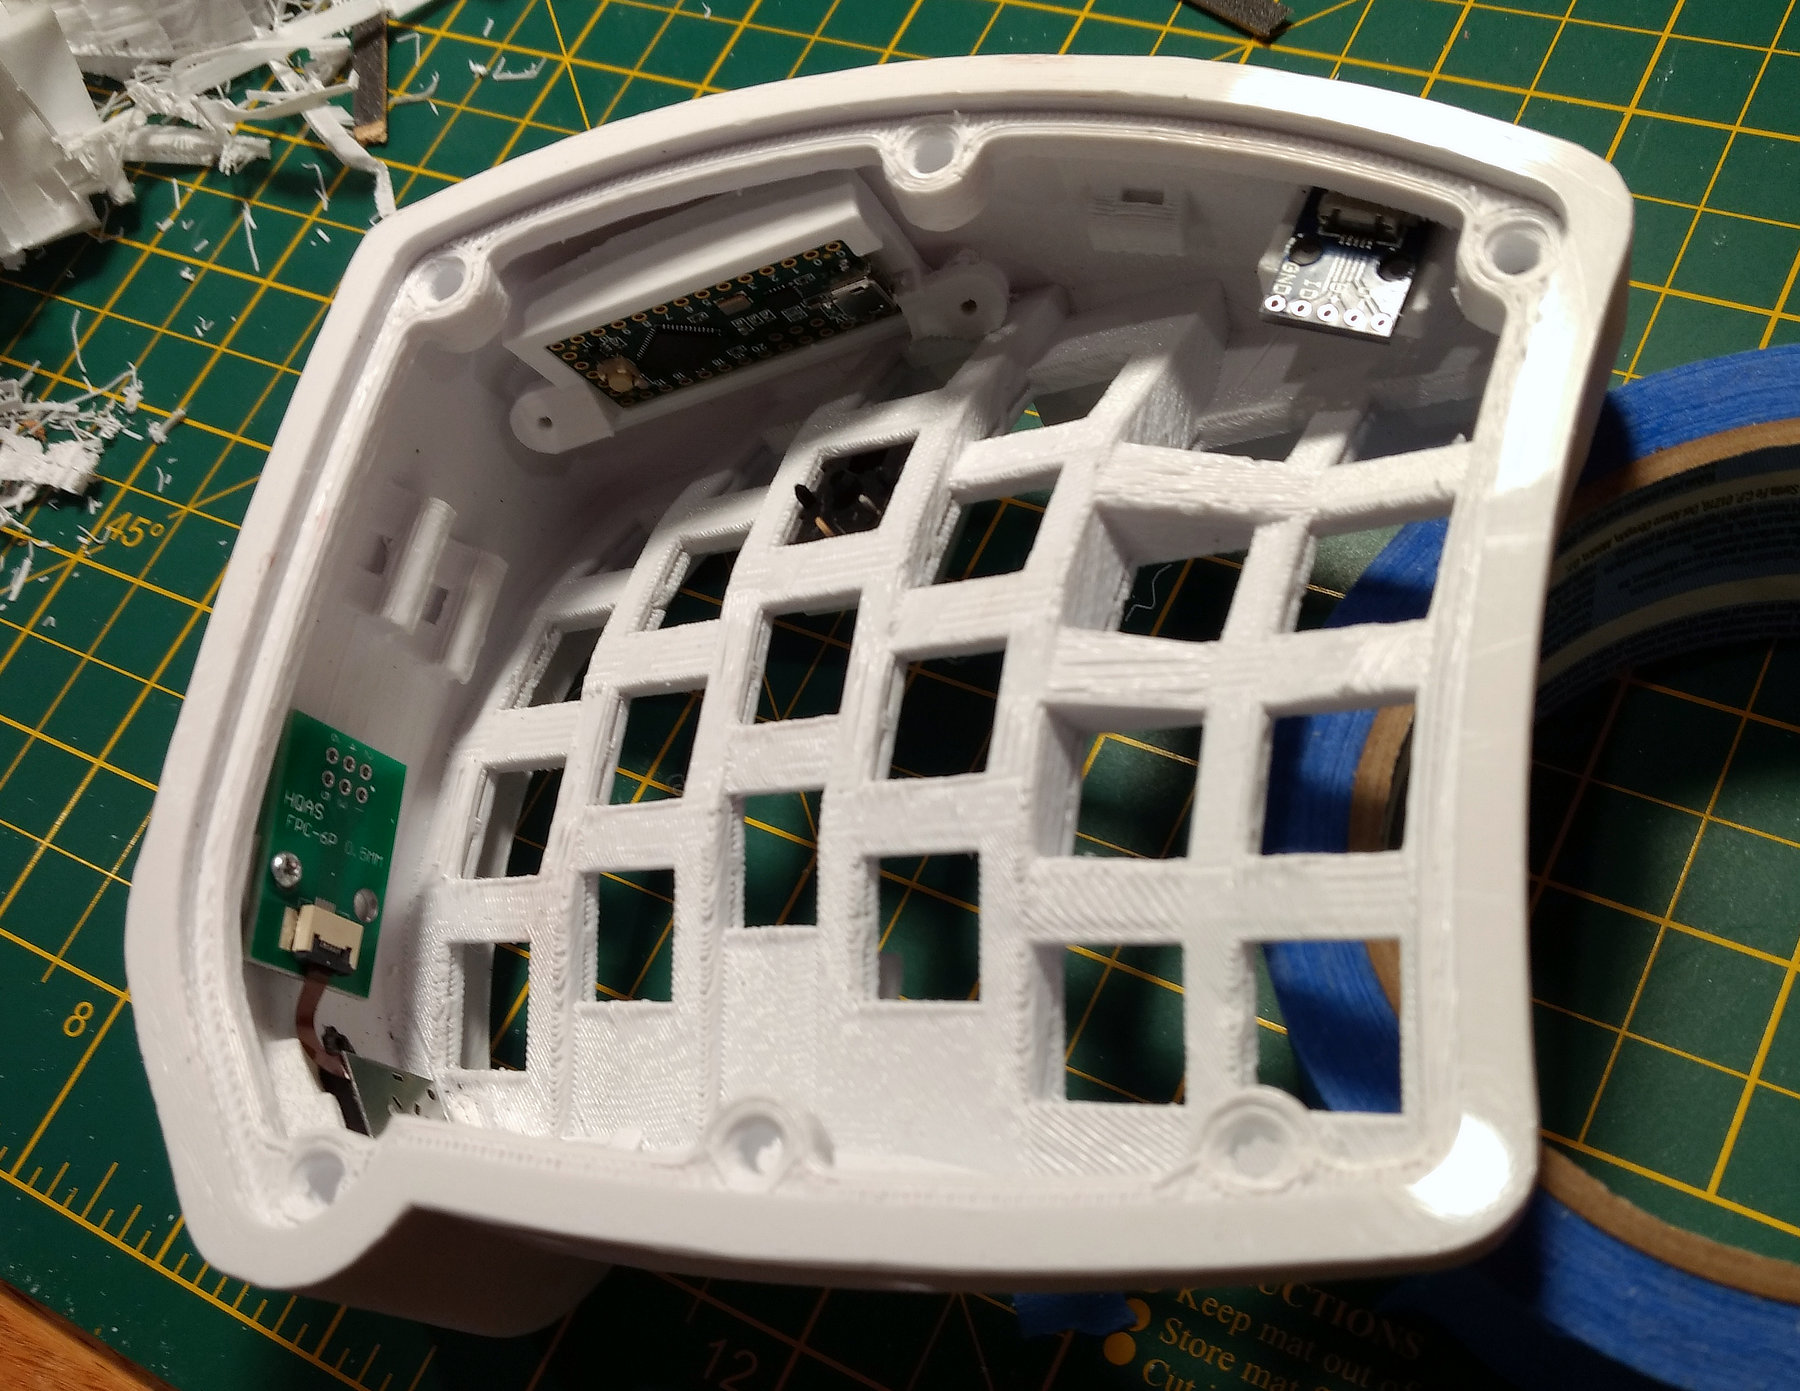 Here’s the scoop: like a lot of DIY game pads and keyboards, Sherbet is based on the Teensy. We often see the micro USB coming straight off the Teensy, especially in clear acrylic builds, but [Billiam] added a USB breakout board so there’s no direct stress on the Teensy itself.
One of [Billiam]’s design challenges comes from the game pad placement — he has a tall desk and uses a keyboard tray, so it has to fit the space and leave enough room for his hand. Fortunately, there are low-profile mechanical switches out there, although the keycap options are strongly limited. We love that [Billiam] embedded a tiny ceramic bearing into one of them to use as a homing bump, because that’s a great idea.
If you want to take a crack at this project, [Billiam] has all the goodies laid out. [Billiam] wanted to use QMK firmware, but they didn’t have joystick support yet, so he’s got an Arduino sketch running in the meantime.
We love a good custom game pad around here, especially if they can reprogram themselves.