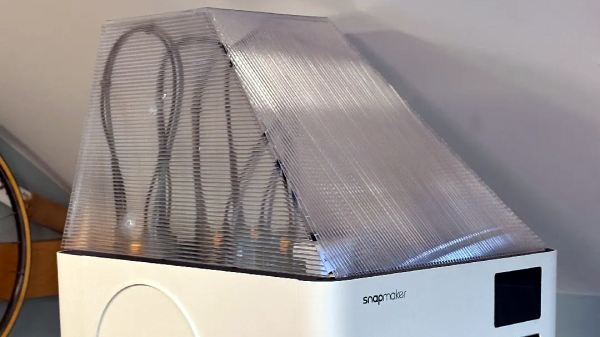
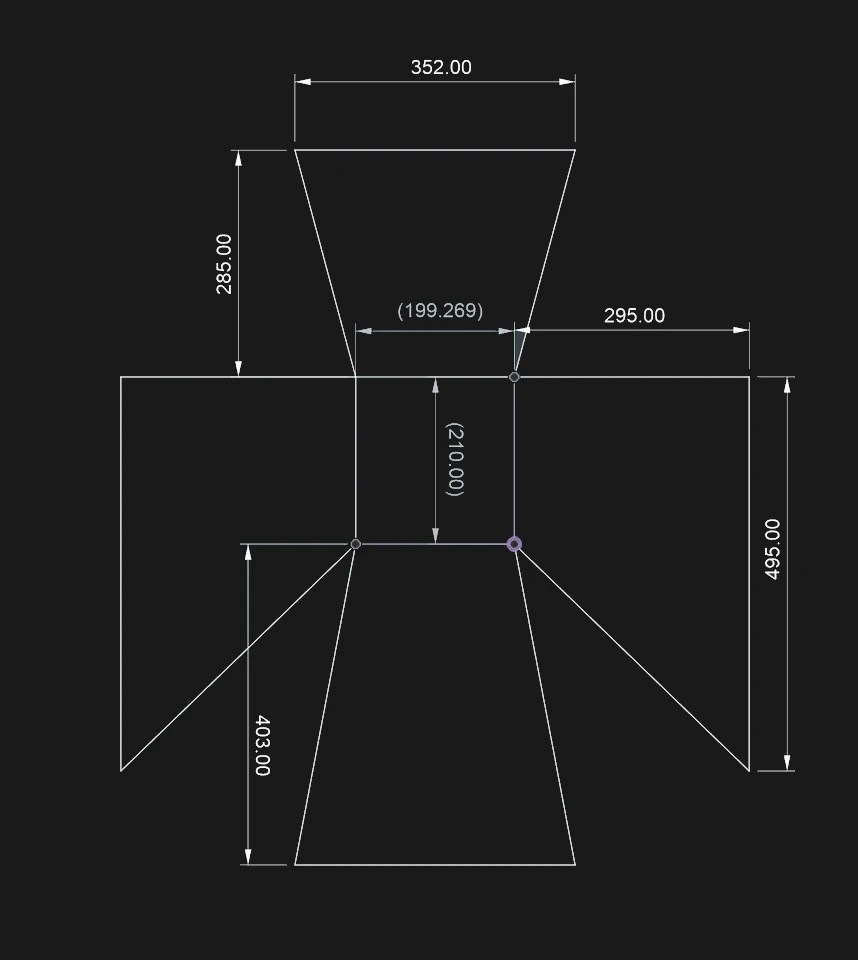
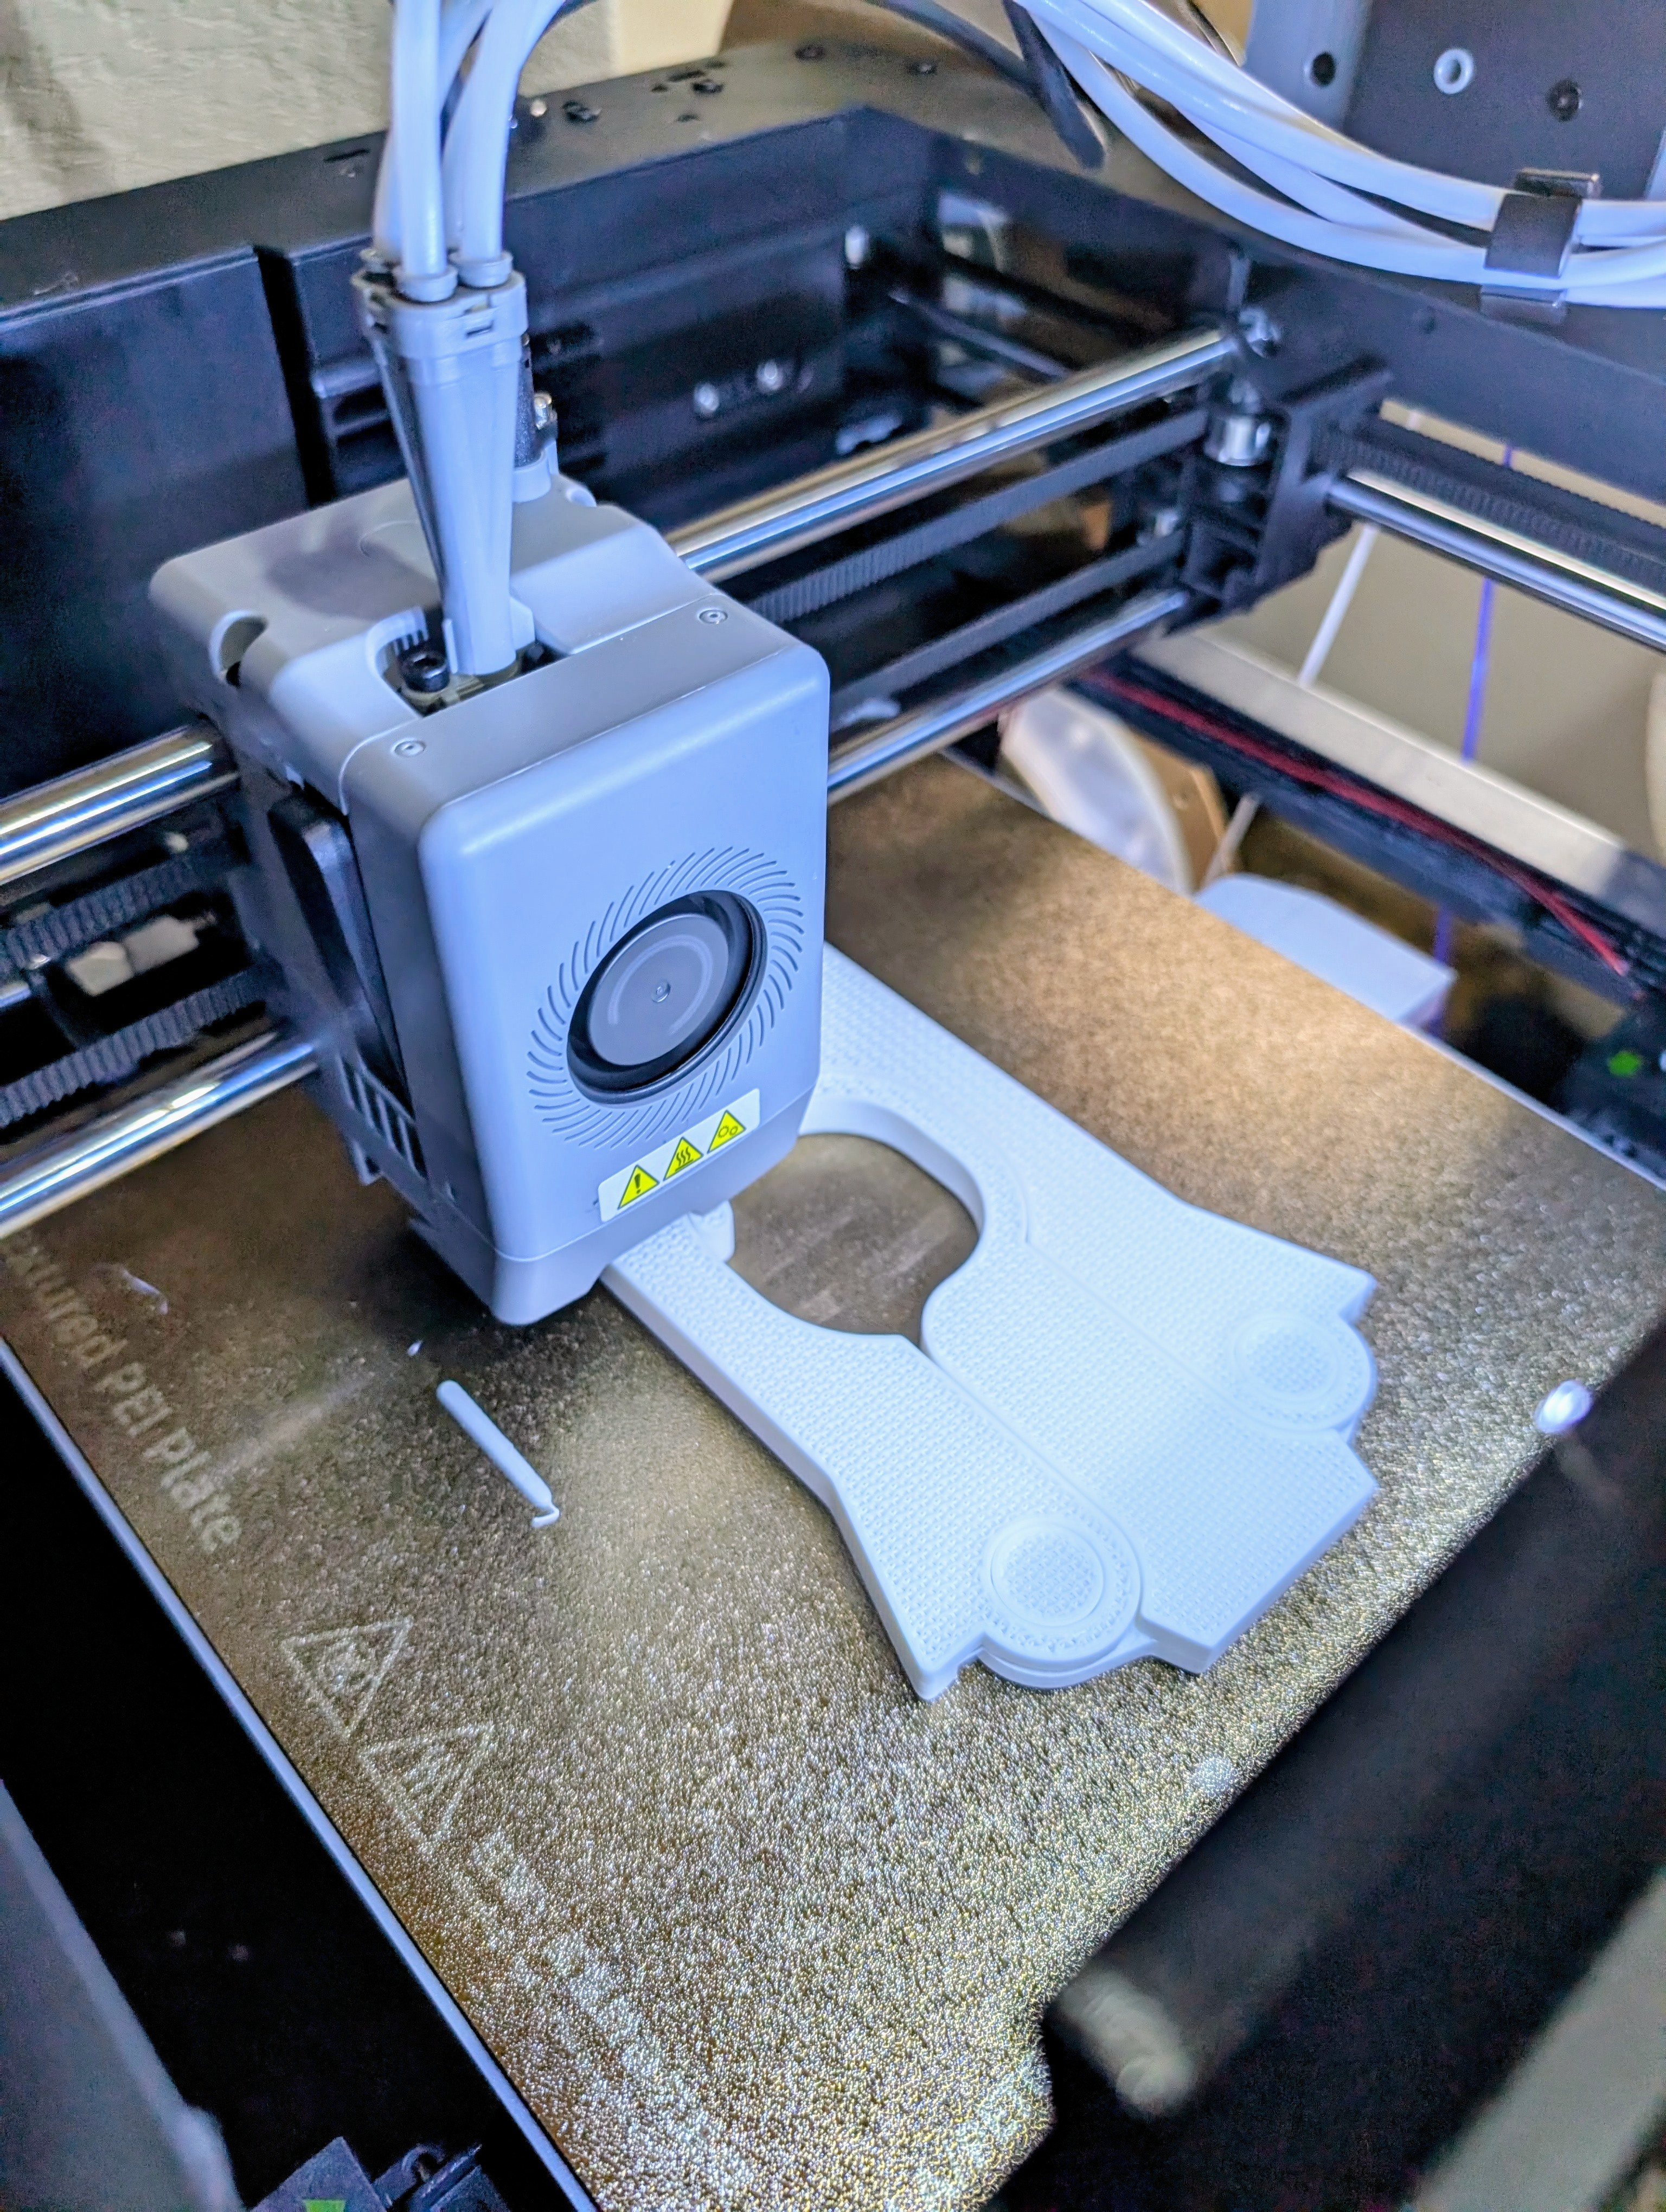
[cmh]’s ultra-simple top cover for the Snapmaker U1 3D printer has a 3D model, but don’t let that fool you. There’s no 3D printing at all involved in this project. Rather, the model is a reference shape for making an effective top cover out of cardboard or corrugated plastic sheet (also known as Coroplast) which is what [cmh] used.
The pattern can be cut from a single sheet, or from multiple pieces taped together.
Corrugated plastic is a versatile option for things like printer enclosures. It’s cheap, a good insulator, easy to cut, and available from just about any plastics supplier. We’ve made the case that they’re a good alternative to acrylic sheets for printer enclosures, but [cmh] goes even further with a design that requires no additional hardware whatsoever. Assembly doesn’t even require more than tape, really.
He provides a cutout diagram for pieces that, when assembled, make a sort of hat that is just right to cover the top of the Snapmaker U1 without obstructing the extruders. One can even lift the front panel to access the inside without removing the cover, which is a nice touch. Should one wish to add a viewing window anywhere, just cut out a square and tape a sheet of clear plastic over the hole.
For a 3D printer, an enclosure and top cover helps retain heat, block drafts, and keep dust (or curious fingers) away from the printer’s build area. The cover doesn’t need to be completely sealed to deliver those benefits, but if you do prefer your covers completely enclosed, a carefully-chosen IKEA storage box makes a conveniently great cover for the U1.
This week Jonathan chats with Nariman Jelveh about Puter! It’s the project that takes the idea of the Browser-as-the-OS seriously. Why did a simulated desktop on the web take off, what the story of making it Open Source, and what’s coming next? Watch to find out!
Launched in 2014, Japan’s Hayabusa2 spacecraft completed its primary asteroid sample return mission all the way back in 2020. But with the main spacecraft still healthy, the intrepid little probe was assigned new missions — such as its future investigation of asteroid 1998 KY26, a rather unassuming 11 meter diameter rock.
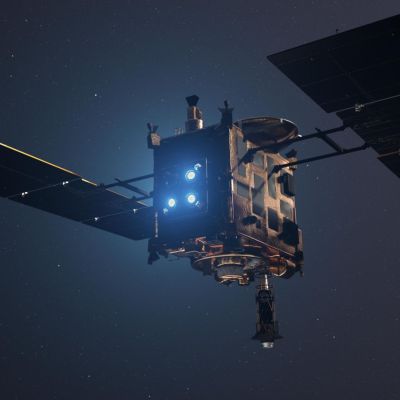
Artist impression of Hayabusa2 firing its ion thrusters. (Credit: DLR, Wikimedia)
Earlier this month Hayabusa2 flew by the 450 meter 98943 Torifune at a distance of 800 meters, close enough to get an up-close look of its surface of mostly silicate minerals. With the spacecraft flying past at around 5 km/s, this posed some challenges with tracking, especially since its systems and instruments were not designed for high-speed tracking.
With that mission now complete, 1998 KY26 – first discovered in 1998 – is next on the menu, though this will have to wait a while. Currently it’s estimated that the two will not meet until July 2031.
Once they do meet up, after Hayabusa2 zips twice more past Earth, it’ll be another major challenge for the by now rather degraded spacecraft. Its sensors have suffered radiation and other types of damage, while its ion engines are quite depleted. The goal at this target asteroid is to enter orbit, deploy its last target marker and projectile, before attempting a landing, probably at one of its poles.
As likely the final mission for this spacecraft it’ll be very educational in many ways, not the least of which is that of planetary defense, but also that of deepening our understanding of these asteroids and the many varieties that we share space with.
Having Linux on so many devices is both a blessing and a curse. Sure, it is great that you can hack on things and modify them or even totally repurpose them. But it also means you have a fleet of Linux devices you have to manage and keep track of.
My current “main” 3D printer is a Flashforge AD5X: a nice, cheap machine that does four colors with the purge/exchange method. It sort of runs Klipper. I say sort of because Flashforge has Klipper running on a Linux host in the box, but it is massively crippled and modified. I’m sure it works for most folks. I’m also sure that if you know nothing about Linux, Klipper, or 3D printing, the experience is probably better thanks to all the cloud point-and-click interfaces. But, of course, I check none of those boxes.
I’ve had the printer for probably a year or more. Almost immediately, I put a “mod” on the printer to give it a more true Klipper interface and gave me things like shell access. There are several that I think will do this, but I used Zmod, which doesn’t totally replace the printer’s firmware; it just sort of patches it and extends it. You can easily bypass or even remove it and go back to the stock printer, although I would not want to.
In my case, the issue was a printer, but the same idea might apply to any embedded Linux system, from a router to a thermostat. Sure, it runs Linux, but is it Linux you can change?
The Problem
The AD5X runs Linux… sort of.
The Flashforge firmware and Zmod both will run on the AD5X’s little sister, the AD5M. However, the AD5M has a significantly less capable processor board than the AD5X. That means that Linux on the boxes is very stripped down. From Flashforge’s point of view, no one should be in the Linux OS anyway, and the author of Zmod probably figures every byte used is a byte taken away from the user or other advanced Zmod features.
It may seem like a first-world problem, but there were two things that irked me about the printer’s Linux. There was no less or more command for poking around files. There was also only vi as an editor. I did a few hacks to make myself happy. I wrote a pager in shell script, for example. I would try to remember to use my desktop emacs and tramp to edit files on the box. But it was a shame that there were some very basic tools lacking. Besides that, even the tools that were there like ls lacked help commands in case you want some strange option you can’t remember.
No Install
To save space, the printer doesn’t really have programs like ls, cat, and grep. Instead, it has a single busybox executable. This is common on small systems. You get one copy of the libraries and a single executable that will do all the work you need. You can invoke, for example, grep by running “busybox grep” or, if you make a symlink to busybox named grep, the user may never realize that you don’t really have grep installed.
However, busybox has to be built. You can’t easily install packages to it. So I couldn’t just run some package manager and install less or anything else. My plan was to produce a new busybox package myself to supply at least the missing commands and maybe some of the more basic ones, too. How hard could it be?
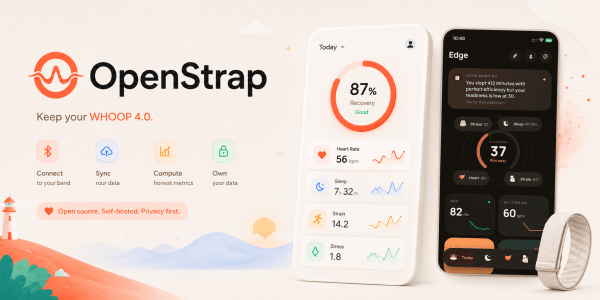
WHOOP does not have the presence in the wearable space as other brands, but in certain circles, it’s a household name. Their business model requires you to have a yearly app subscription to use their fitness tracker, but here at Hackaday, we are big fans of actually owning the devices you buy — which is why we were happy to hear about an open source and subscription free WHOOP compatible app!
The goal of the so-called OpenStrap project is not to re-create the WHOOP app. Rather, the algorithms and processing methods are developed from scratch, based on public research. It’s all calculated locally on a 1 Hz interval, based on the data the WHOOP 4.0 device feeds the app. As such, the health data collected from the watch, never leaves the phone. While not the main goal of the project, the privacy improvement of the app’s serverless nature cannot be overstated. However, to display metrics, you first need to get data off the WHOOP to begin with.
The crux of the issue with making the WHOOP 4.0 work without the official app is the reliance on proprietary Bluetooth protocols. Fortunately, the protocol itself ended up being relatively simple. The WHOOP 4.0 amounts to little more than a series of sensors that sit on the user’s wrist. As such, the app can subscribe to the Bluetooth feed and decode the data, right? Well, the devil is always in the details with such things, and the protocol came with its fair share of quirks. The hardware clock needs to be synchronized, or it simply defaults to zero Unix time. Moreover, the analog sensors like, ambient temperature are given in relative ADC values, and are not terribly useful without calibration. Regardless, the result of the reverse engineering effort speaks for itself with the OpenStrap app able to recreate much of the functionality in WHOOP’s official app.
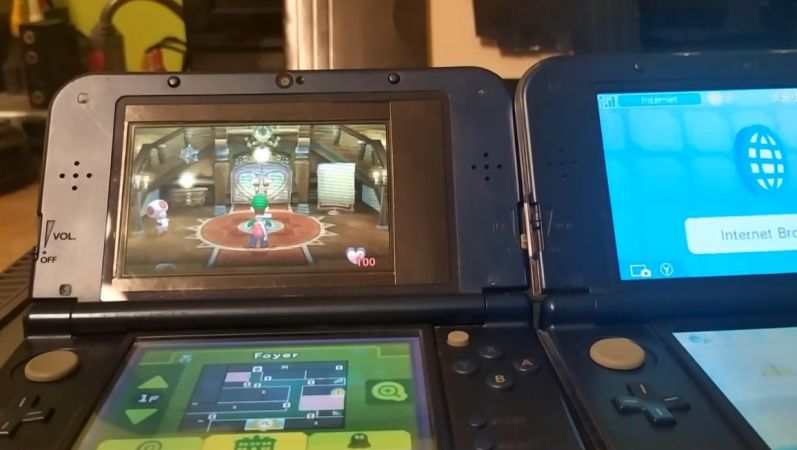
With Nintendo’s 3DS experiencing a bit of a renaissance lately, prices for functioning systems have shot through the roof. Getting a busted one with a broken screen is a lot cheaper, but then you run into the eye-watering price difference between a replacement top screen for the regular version and the larger XL variant. The latter costs about the same as a whole new used 3DS, while the former goes for peanuts. Here the solution is obvious, with [Skawo] demonstrating how they hacked the cheaper, smaller top screen into a New 3DS XL.
The price difference on AliExpress as shown in the video is on the order of $120, with the smaller screen going for less than $10. Since they both use the same connector pin-out and display technology, you can plug either display into the New 3DS XL mainboard.
Where you’ll run into issues, other than the replacement display being obviously not XL, is the physically shorter flat flex cable for the controls that forces the display to be installed in an offset manner. You need jailbroken firmware like Luma3DS here to adjust for the screen offset. Filling in the missing screen real-estate is the other issue you have to patch over somehow, which was done here in barbaric fashion with some cardboard.
Beyond that it does work, and as a fix to at least get a broken New 3DS XL back into the game it’s worth considering. Do note that there’s a difference between regular 3DS and New 3DS (second generation) screens with neither being compatible, so be careful before you try such a fix.
Do you remember AIM? It may suprize you to hear that AOL’s instant messanger was actually supported all the way up to 2017– two years after Discord launched. Unlike Discord, AIM is a protocol, not a platform. Everything on your favourite Discord server is at the mercy of the corporate masters of said server; you can’t just spool up your own. Not so for AIM, as [Veronica] explains, both on her blog and in a YouTube video that we’ve embedded below.
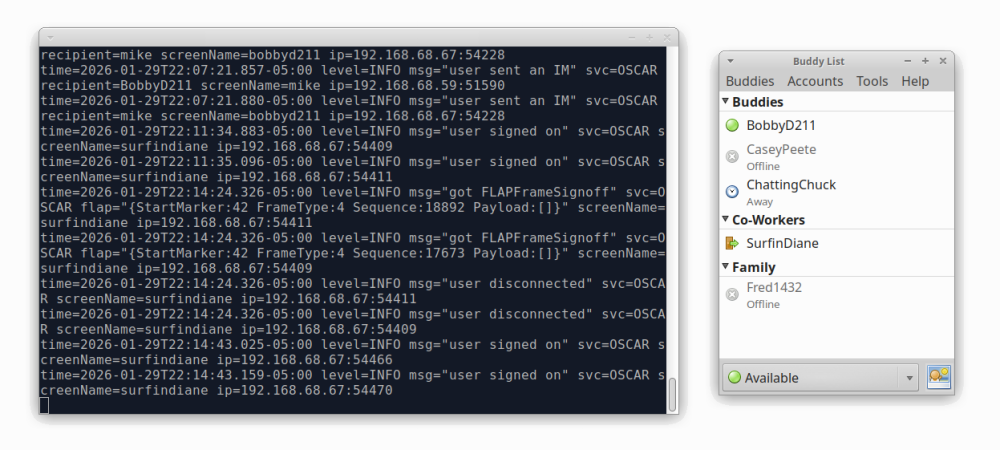
The key is the fact that the AIM protocol isn’t locked into AOL’s now-defunct servers; it was reverse engineered in its prime for open-source messengers like Pidgin. You can host your own server, too, using the OpenOscarServer by [mk6i]. Even better, it’s not just AIM, but ICQ! In the sort of irony you only get in real life, the OpenOscar community does all its support on a Discord server. But then, they couldn’t hardly do it over AIM or ICQ these days.
For those of you who were too old or too young to get sucked into the 90s instant messenger craze, these protocols don’t just create chat rooms, that would be the even older Internet Relay Chat protocol, but usually worked more like SMS text messages. You have a contact list, and you send messages to your contacts via a server that acts as a hub. Once upon a time, that server was AOL’s, but now thanks to the OpenOscar project, it can be anybody’s computer. Of course, like texting, you can rope all of your contacts into one big group chat, and the protocol does support images and VOIP. (Which is starting to sound a lot like Discord.)
If you’re tired of your friend-group being at the mercy of American tech companies, [Veronica]’s blog post serves as a good guide to get you started running OpenOscarServer on a Linux system; she used a virtual private server but figures a Raspberry Pi ought to have enough grunt if you don’t have a huge number of people signed up.
For completeness, we should mention that while AOL pulled the plug on AIM nearly a decade back, ICQ, the other protocol supported by OpenOscarServer, lasted straight through until 2024.
Thanks to Keith Olson for the tip! Our tipsline is based on decentralized “electronic mail” technology that anyone can access.