For home use IoT systems, getting sensor data from tons of physical locations centralized to a single Raspberry Pi can be a difficult job, especially when considering the power consumption that’s necessary for doing it all over WiFi. When you’re using an ESP8266, for instance, swapping out batteries and accounting for connectivity issues can be a major hassle for a long-term solution. The NoCAN platform, created by [Alain Pannetrat], solves this problem using a wired approach that improves the use of the CAN bus.
Since SPI and I2C only work for short distances, approaches like RS-485 and CAN bus are a better bet for this type of setup. For systems with one centralized point, RS-485 works best – thus, the CAN bus is the better approach when you’re considering using multiple masters in a single environment.
CAN devices typically need a static address, so messaging involves sending data to the known address of the destination device. With NoCAN, a dynamic address assignment scheme allows nodes to request an address from a node manager on boot-up (similar to DHCP). A command line application also allows users to send and receive message from nodes using a pub/sub implementation – a device sends messages to a channel, and every device subscribed to the channel receives the message.
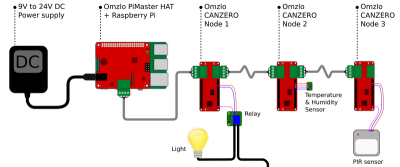
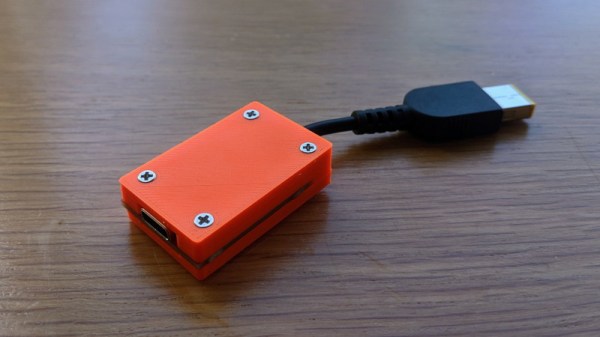
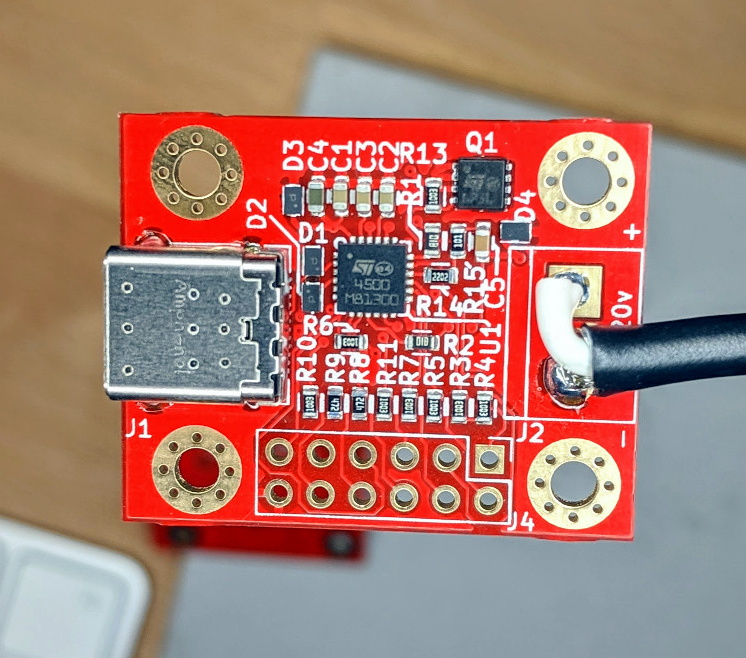
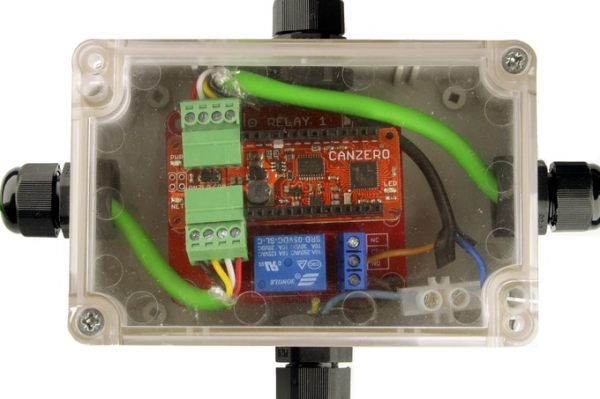
The hardware for the NoCAN platform consists of a Raspberry Pi with a “PiMaster” HAT and an Arduino-compatible CANZERO board. The PiMaster HAT uses an STM32F042 ARM Cortex M0 MCU, acting as an interface between the Pi and the CAN bus as well as preventing over-current events with a software-controlled smart switch. The CANZERO is based on the the SAMD21G18 ARM Cortex M0+ running at 48MHz, similar to the Arduino MKR Zero, with CAN bus networking using the STM32F042 ARM Cortex M0. The double MCU design allows the secondary MCU to reset the primary if it gets stuck due to a programming error, with the messages sent over the CAN bus.
To join the network together, a four-wire cable daisy-chains the nodes in the bus network, providing connectivity for up to 1000 feet. Either 12V or 24V DC power runs through the network, stepping down to 5V or 3.3V at each node. The approach is similar to PoE (power over Ethernet), although it is slower and lower in cost. Overall, it seems like a good solution for environments where wireless connectivity simply doesn’t cut it.