Sometimes the easiest advice can be the hardest to follow. For example: if you want to lose weight, you must eat right and exercise. You can avoid both and still lose weight by simply eating less, but that takes willpower.
Losing weight is one of the hardest things a person can do, because we have to eat to survive. That leaves the problem of stopping when we’re full. Here in the united states of high-fat foods and huge portions, that can be really, really difficult, as evidenced by the obesity statistics. But no matter where you live, it’s easy to ignore the ‘stomach full’ signal. It’s kind of slow, anyway. So how do you get yourself tuned into the signal? All it takes is a little classical conditioning.
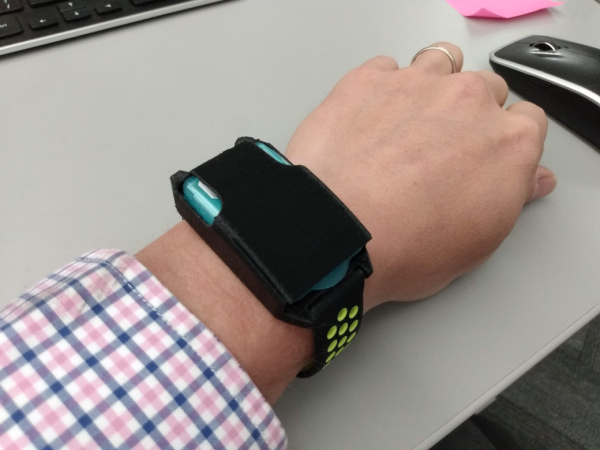
Slim Band is simple, but effective. Basically, it’s a pack of breath-freshening strips strapped to a timer PCB and set into a watchband. Set the five-minute timer when you start eating, and when it goes off, take out a strip and mintify your mouth. By the time the minty-ness wears off, you should feel full enough to push your plate away. The convenience factor is a big plus—there’s no getting the phone out to set an alarm, or digging for mints in your pocket or purse.
Though the idea began as a personal improvement project, [Chaz] would like to see it widely adopted as a way of fighting obesity and evening out the world’s food distribution in the longer term. We would, too.