The Domain Name System (DNS) is a major functional component of the modern Internet. We rely on it for just about everything! It’s responsible for translating human-friendly domain names into numerical IP addresses that get traffic where it needs to go. At the heart of the system are the top-level domains (TLDs)—these sit atop the whole domain name hierarchy.
You might think these TLDs are largely immutable—rock solid objects that seldom change. That’s mostly true, but the problem is that these TLDs are sometimes linked to real-world concepts that are changeable. Like the political status of various countries! Then, things get altogether more complex. The .io top level domain is the latest example of that.
Generally speaking, the Hackaday Supercon badge will always have a place for SAO (rebranded as “Supercon add-ons”), and that makes sense. We did originate them, after all. This year, though, we’ve gone all in on SAO, and, in particular, we’ve asked to see more SAOs with communication capabilities. The standard has always had an I2C bus, but few people use them. I decided I wanted to set an example and cook up a badge for Supercon. Was it hard? Yes and no. I’ll share with you a little about the board’s genesis and the issues I found. At the end, I’ll make you a special offer, if you are going to Supercon.
The Idea
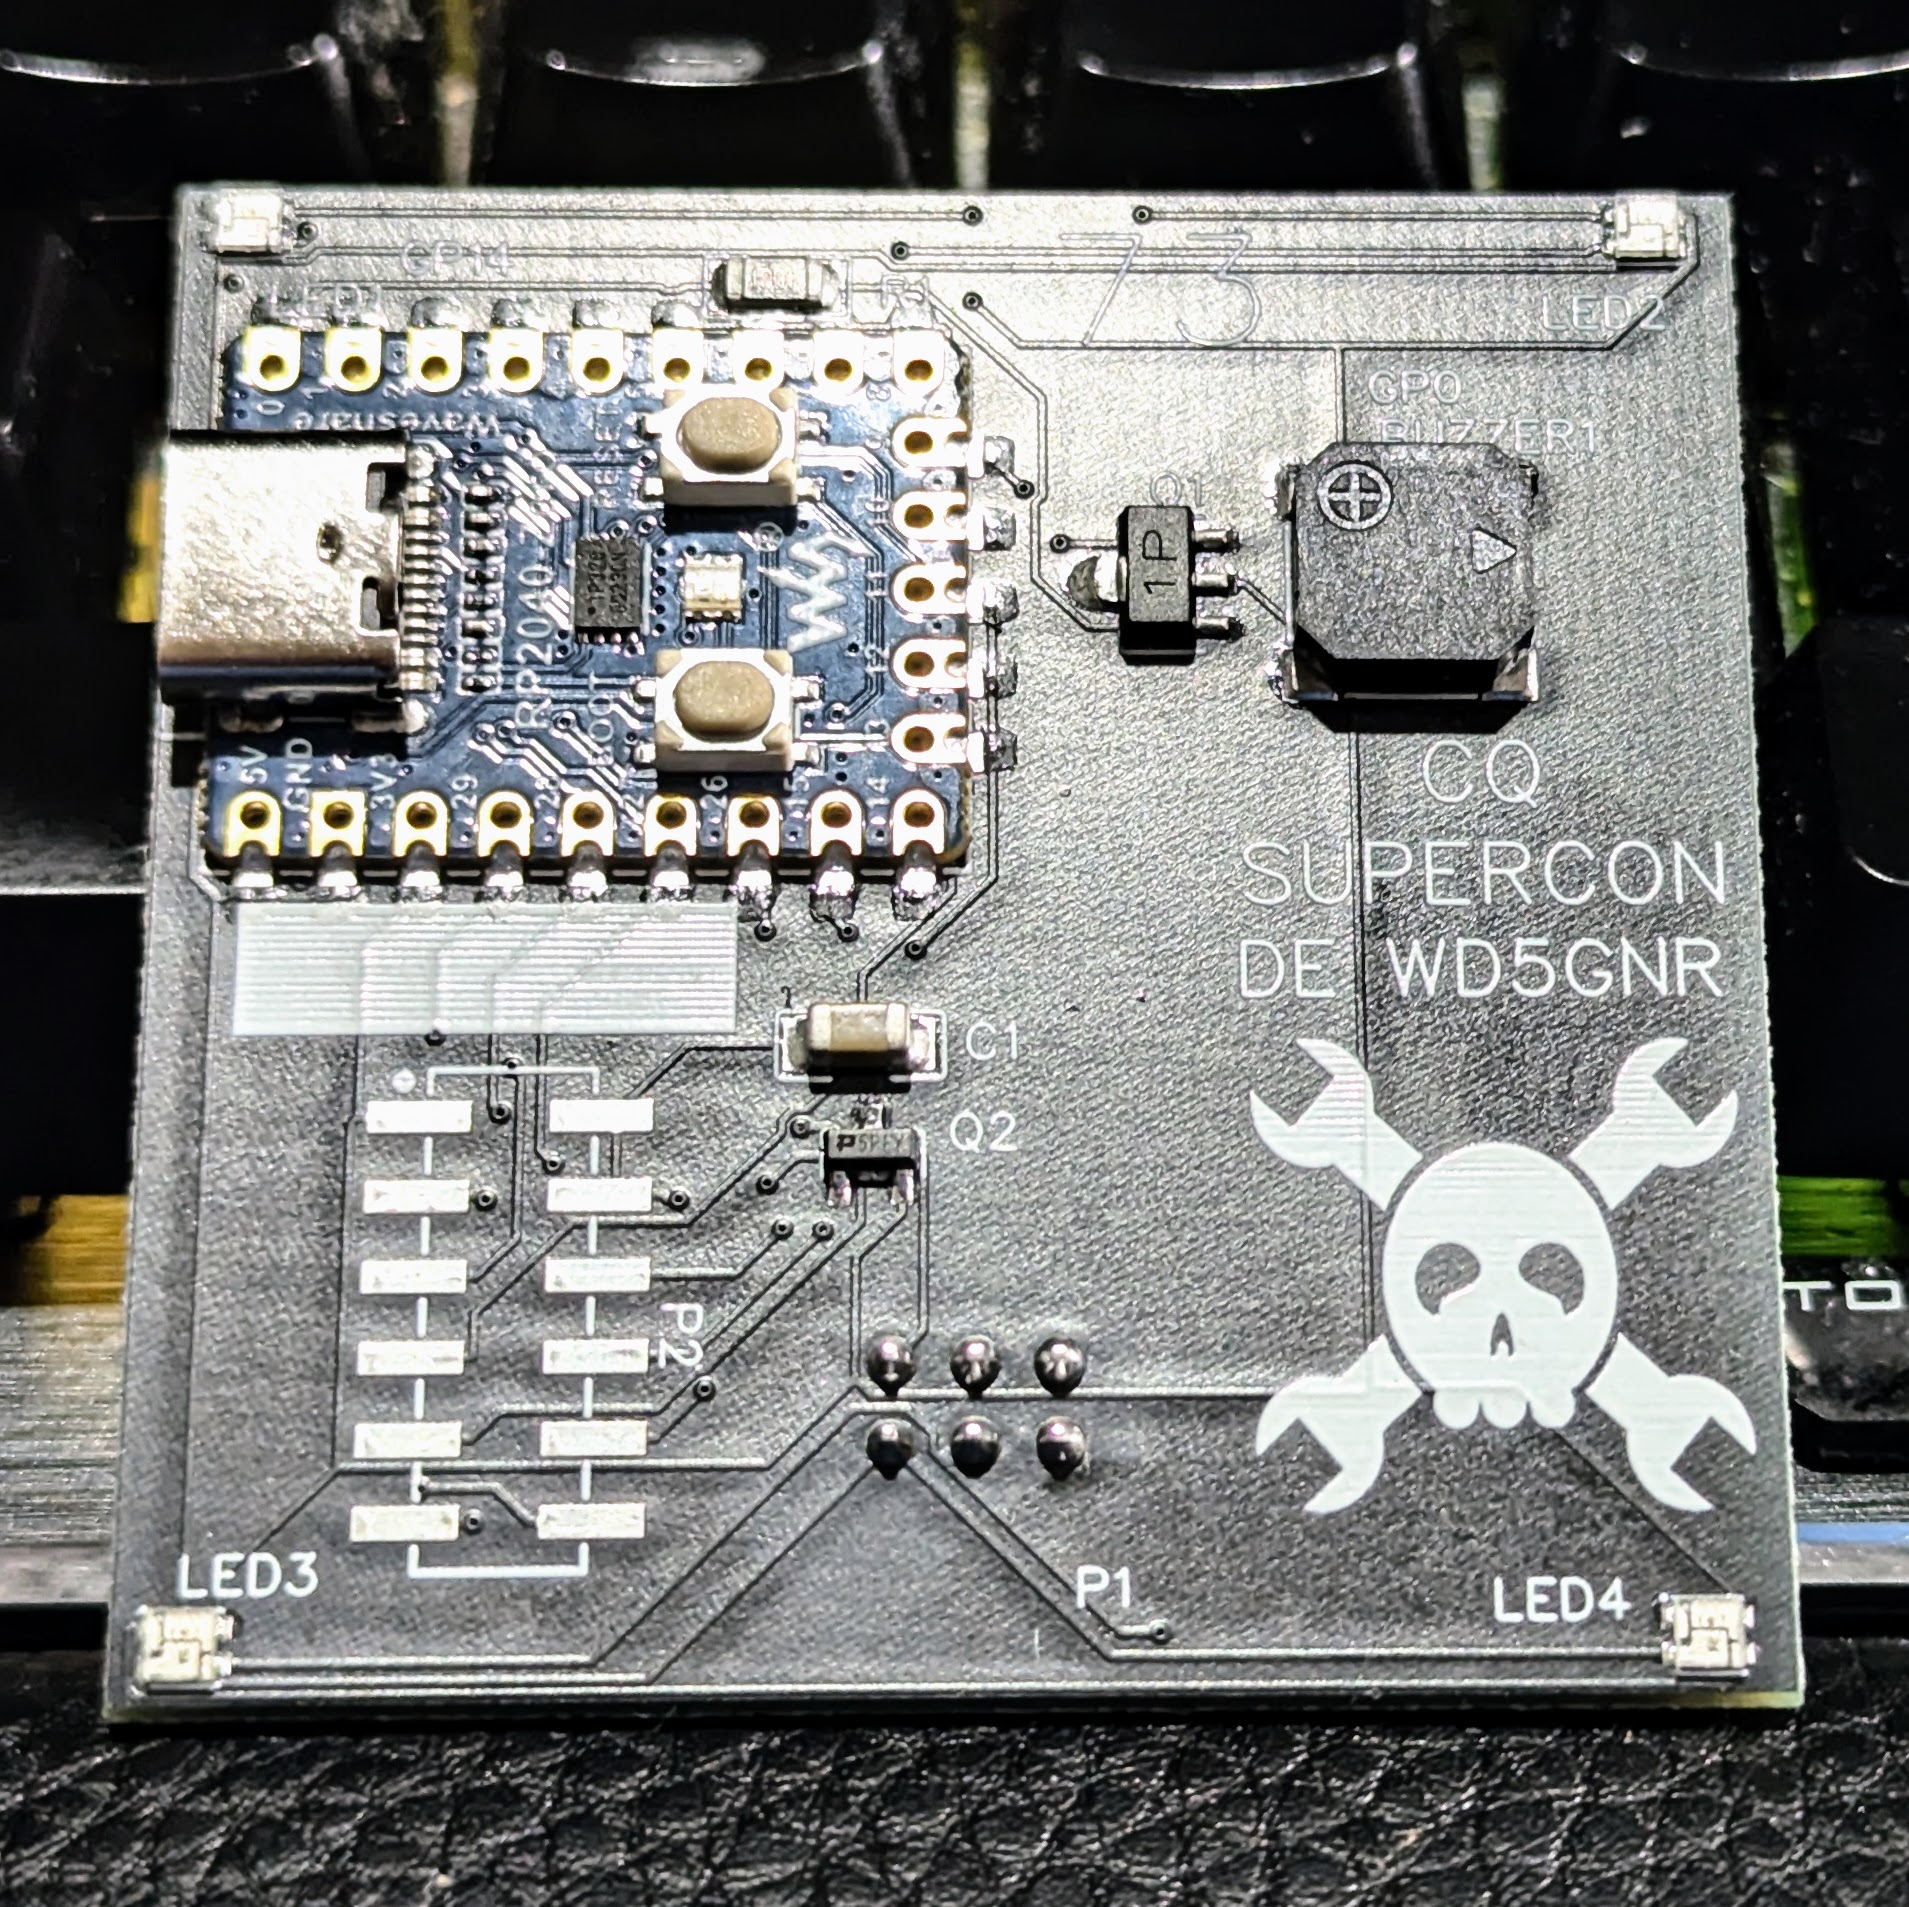
The front of the SAOGNR — the SAO connector is, of course, on the back
I’ve been a ham radio operator for a very long time. In fact, July was my 47th anniversary in the radio hobby. Well, that’s not true. It was my 47th year with a license. I had been listening to shortwave long before then. So, I wanted to do something with Morse code. You don’t have to know Morse code to get a license these days, but a lot of hams enjoy it.
I set out to do a simple board that would play some Morse code messages. But that’s just another blinking light LED with a buzzer on it, too. So, naturally, I decided it would also provide Morse code output for the I2C host. That is, the SAO could be used to convert ASCII to Morse code. Sounds simple, right? Sure.
Getting Started
I wanted to use a Raspberry Pi Pico but didn’t want to violate the SAO size requirements. Luckily, there’s an RP2040-Zero module that is quite tiny and looks more or less like a normal Pico. The two big differences are plusses: they have a reset button, and instead of a normal LED, they have a WS2812b-style LED.
[Igor] has an AS5600 magnetic rotary encoder chip on a breakout board. Normally, you’d think that was an easy device to work with since it has an I2C interface. But [Igor] wanted to do it the hard way. What’s the hard way? By hand. He directly manipulates the clock and data lines using some push buttons. You can see how it goes in the video below.
This is possible because the controlling device — in this case [Igor] — gets to set the clock rate, and there’s no reason it has to be regular. We have to admit that it never occurred to us to do this, but we have written “bit banged” I2C-like code before.
For some time now, Apple has developed a reputation for manufacturing computers and phones that are not particularly repairable or upgradable. While this reputation is somewhat deserved, especially in recent years, it seems less true for their older machines. With the second and perhaps most influential computer, the Apple II, being so upgradable that the machine had a production run of nearly two decades. Similarly, the Macintosh Plus of 1986 was surprisingly upgradable and repairable and [Hunter] demonstrates its capabilities by bringing one onto the modern Internet, albeit with a few tricks to adapt the old hardware and software to the modern era.
The Mac Plus was salvaged from a thrift store, and the first issue to solve was that it had some rotten capacitors that had to be replaced before the computer could be reliably powered on at all. [Hunter] then got to work bringing this computer online, with the only major hardware modification being a BlueSCSI hard drive emulator which allows using an SD card instead of an original hard disk. It can also emulate an original Macintosh Ethernet card, allowing it to fairly easily get online.
The original operating system and browser don’t support modern protocols such as HTTPS or scripting languages like Javascript or CSS, so a tool called MacProxy was used to bridge this gap. It serves simplified HTML from the Internet to the Mac Plus, but [Hunter] wanted it to work even better, adding modular domain-specific handling to allow the computer to more easily access sites like Reddit, YouTube, and even Hackaday, although he does call us out a bit for not maintaining our retro page perhaps as well as it ought to be.
[Hunter] has also built an extension to use the Wayback Machine to serve websites to the Mac from a specific date in the past, which really enhances the retro feel of using a computer like this to access the Internet. Of course, if you don’t have original Macintosh hardware but still want to have the same experience of the early Internet or retro hardware this replica Mac will get you there too.
I recently got one of the new RP2040-based Bus Pirate 5 (BP5), a multi-purpose interface debugging and testing tool. Scanning the various such tools in my toolbox already: an Analog Discovery 2, a new Glasgow Interface Explorer, and a couple of pyboards, I realized they all had a Python or MicroPython user interface. A few people on the BP5 forums had tossed around the idea of MicroPython, and it just so happened that I was experimenting with building beta versions of MicroPython for a RP2350 board at the time. Naturally, I started wondering, “just how hard can it be to get MicroPython running on the BP5?”
The Lazy Approach
Rather than duplicating the BP5 firmware functionality, I decided to ignore it completely and go with existing MicroPython capabilities. I planned to just make a simple set of board definition files — perhaps Board Support Package (BSP) is a better term? I’ve done this a dozen times before for development and custom boards. Then write a collection of MicroPython modules to conform to the unique aspects in the BP5 hardware. As user [torwag] over on the Bus Pirate forums said back in March:
Micropython comes already with some modules and enough functions to get some stuff out-of-the-box working. E.g. the infamous version of “hello world” for microcontrollers aka led-blinking.
In a recent video, [Chris Edwards] delves into the past, showing how he turned a Commodore Amiga 3000T into a wireless-capable machine. But forget modern Wi-Fi dongles—this hack involves an old-school D-Link DWL-G810 wireless Ethernet bridge. You can see the Amiga in action in the video below.
[Chris] has a quirky approach to retrofitting. He connects an Ethernet adapter to his Amiga, bridges it to the D-Link, and sets up an open Wi-Fi network—complete with a retro 11 Mbps speed. Then again, the old wired connection was usually 10 Mbps in the old days.
To make it work, he even revived an old Apple AirPort Extreme as a supporting router since the old bridge didn’t support modern security protocols. Ultimately, the Amiga gets online wirelessly, albeit at a leisurely pace compared to today’s standards. He later demonstrates an upgraded bridge that lets him connect to his normal network.
We’ve used these wireless bridges to put oscilloscopes and similar things on wireless, but newer equipment usually requires less work even if it doesn’t already have wireless. We’ve also seen our share of strange wireless setups like this one. If you are going to put your Amgia on old-school networking, you might as well get Java running, too.
Of all nature’s miraculous gifts, few can compare to the experience of witnessing a new hacker con grow. If you’re in the Philadelphia area this weekend, you can get a front-row seat to this rare spectacle as JawnCon moves into its second year.
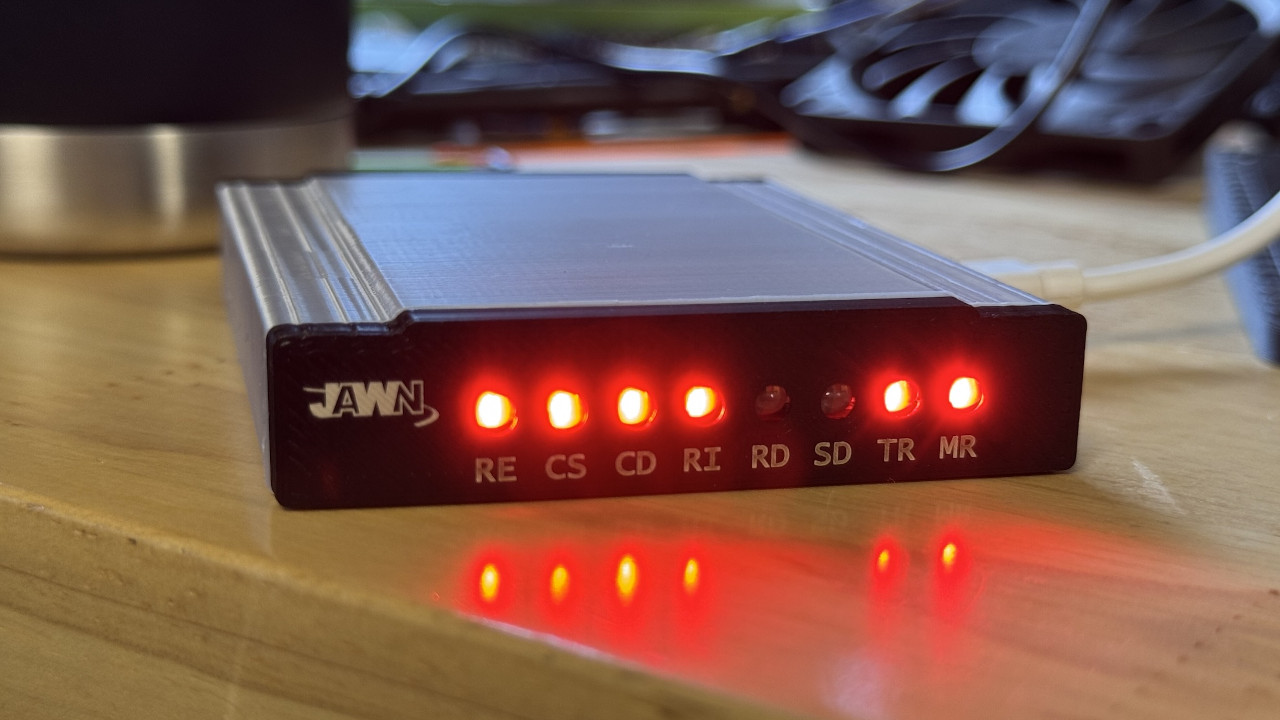
Running Friday into Saturday at Arcadia University, JawnCon 0x1 promises to be a celebration of technology, with a unique bend towards the glory days of the 80s and 90s — back when screeching noises coming out of the back of your computer was nothing to worry about. With talks that cover resurrecting payphones and spinning up your own AIM (AOL Instant Messenger), to a badge that will let attendees literally dial into an array of early Internet services, hackers of a certain vintage should feel right at home.
JawnCon Modem Badge
No gray beard? No problem. The early Internet theme certainly isn’t meant to exclude the younger players. In fact, quite the opposite. There’s an undeniable benefit to studying the fundamentals of any topic, and just as the 4-bit badge from Supercon 2022 gave many attendees their first taste of programming bare metal, JawnCon 0x1 ticket holders will get the opportunity to study protocols and techniques which you don’t often get a chance to work with these days. How you gonna keep ’em down on the farm after they’ve seen pppd?
As of this writing there are still tickets available, but it’s getting down to the wire so we wouldn’t recommending sitting on that fence for too much longer. Judging by what this team managed to pull off in their first year, we’re confident that JawnCon 0x1 (and beyond) are going to be well worth the trip.