While we’re certainly not denying that smoke detectors are useful, there’s a certain kind of tragedy to the fact that most of them will never realize their true purpose of detecting smoke, and alerting us to a dangerous fire. On the other hand, [Ben] really unlocks the potential hidden deep in every smoke detector with his latest project which uses the smoke-detecting parts of a smoke detector to turn on the exhaust fan over his stove.
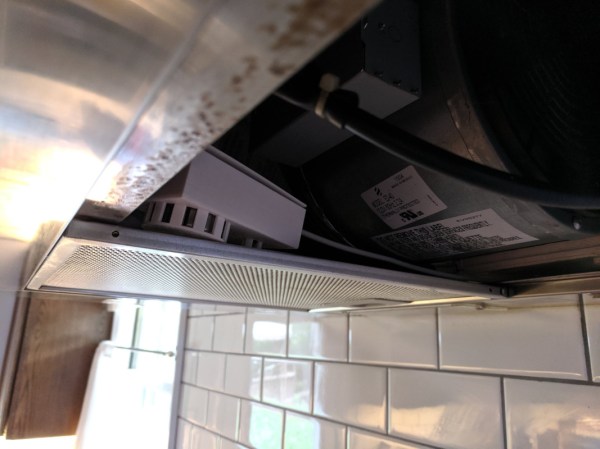
The project didn’t start with the noble aim of realizing the hidden and underutilized quiescent nature of a smoke alarm, though. He wanted his range exhaust fan to turn on automatically when it was needed during his (and his family’s) cooking activities. The particular range has four speeds so he wired up four relays to each of the switches in the range and programmed a Particle Photon to turn them on based on readings from an MQ-2 gas-detecting sensor.
The sensor didn’t work as well as he had hoped. It was overly sensitive to some gasses like LPG which would turn the range on full blast any time he used his cooking spray. Meanwhile, it would drift and not work properly during normal cooking. He tried disabling it and using only a temperature sensor, which didn’t work well either. Finally, he got the idea to tear apart a smoke detector and use its sensor’s analog output to inform the microcontroller of the current need for an exhaust fan. Now that that’s done, [Ben] might want to add some additional safety features to his stovetop too.