RC cars are a great way to have fun hooning around. There’s plenty of laughs to be had racing your friends in the local grocery store carpark, ideally after hours. [Ivan Miranda] wanted to go in a different direction, however – and that direction was up. (Video embedded after the break.)
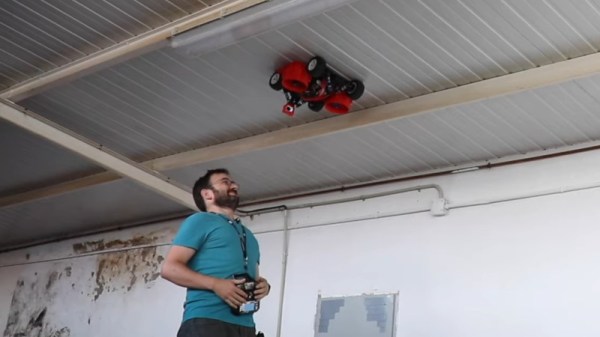
There are existing toys that can pull off a wall-riding feat, but they’re normally on a fairly small scale. [Ivan] wanted to go big, and so outfitted some seriously powerful brushless fans on to his 1/8th Rattler buggy from Hobbyking. After initial failure, a smaller scale model was successfully built and tested, before it was realised the full-sized build had the propellers on backwards.
With this oversight fixed, the car was able to drive on the ceiling, albeit in the limited space between the roof beams. It was somewhat less viable on the wall, struggling to stay stuck and having issues with suspension flex.
Overall, it’s a great application of mass brushless power to fight gravity – the same principle behind the multirotors we all love so much. [Ivan]’s put the same trick to use for getting around on a skateboard, too. Video after the break.