Lots of us get to take home a little e-waste from work once in a while to feed our hacking habits. But some guys have all the luck and score the really good stuff, which is how these robotic surgical tools came to be gesture controlled.
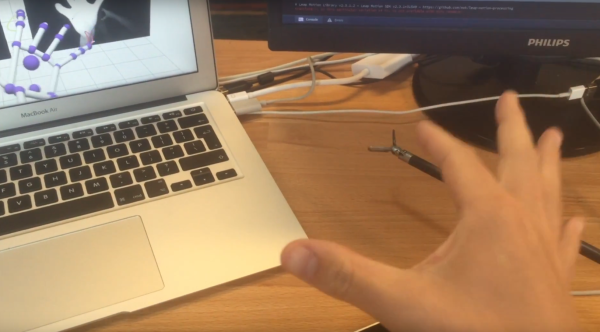
The lucky and resourceful hacker in this case is one [Julien Schuermans], who managed to take home pieces of a multi-million dollar da Vinci Si surgical robot. Before anyone cries “larcency”, [Julien] appears to have come by the hardware legitimately – the wrist units of these robots are consumable parts costing about $2500 each, and are disposed of after 10 procedures. The video below makes it clear how they interface with the robot arm, and how [Julien] brought them to life in his shop. A quartet of Arduino-controlled servos engages drive pins on the wrist and rotates pulleys that move the cables that drive the instruments. A neat trick by itself, but when coupled with the Leap Motion controller, the instruments become gesture controlled. We’re very sure we’d prefer the surgeon’s hands on a physical controller, but the virtual control is surprisingly responsive and looks like a lot of fun.
When we talk about da Vinci around here, it’s usually in reference to 3D printers or a Renaissance-style cryptex build. Unsurprisingly, we haven’t featured many surgical robot hacks – maybe it’s time we started.
Continue reading “Arduino Meets Da Vinci In A Gesture-controlled Surgical Robot”