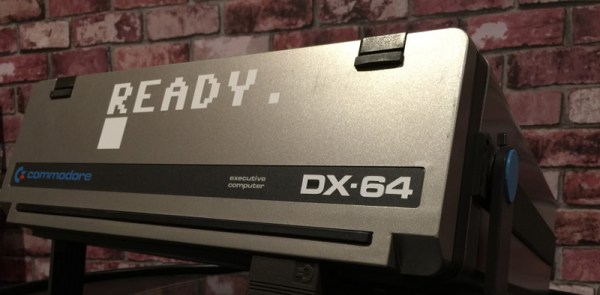
Commodore would never release a laptop, or really much of anything resembling the chunky luggable portable computers of the 1980s. This doesn’t mean a ‘Commodore LCD’ wasn’t designed – it’s sitting in [Bil Herd]’s basement. Of the entire Commodore lineup, the only computer that could remotely be called ‘portable’ is the SX-64, the ‘executive’ version that came with a built-in 5″ monitor, the usual C64 circuitry, one floppy drive, and an empty hole that could obviously hold a second floppy drive. Something must be done about that missing floppy drive, and it only took thirty years for someone to do something about it.
While the conversion requires mucking around in an already tight enclosure, the parts for this conversion are readily available thanks to a few people trying to repair an SX-64, giving up, and parting the whole thing out on eBay. These parts include the 1541 controller relabeled as the ‘FDD’ board in the SX-64, and of course the floppy drive itself. With the right teardown guide, putting the new drive in this old computer isn’t that hard; just remember to cut a jumper to assign the new drive a number other than 8.
The missing floppy drive of the SX-64 is what happens when marketing is put in charge of engineering. There were a few of these dual drive Commodore luggables back in ’83, and we have the computer magazine clippings to prove it. The official story is the power supply wasn’t beefy enough to handle the second drive. This mod, though, seems to work well enough, albeit with a distinct lack of somewhere to store a few floppies.
Find yourself getting sentimental while reading about this great hardware? Keep those feelings going by listening to [Bil] recount some stories from his time at Commodore.

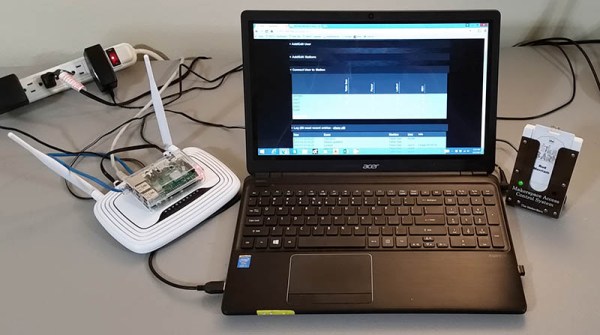
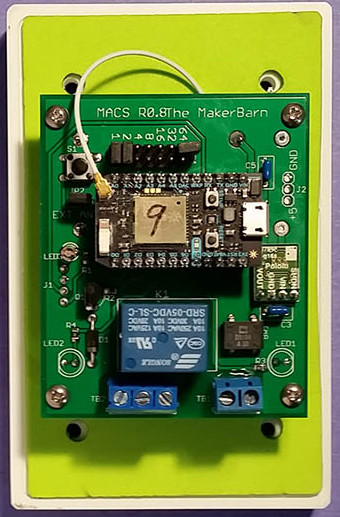 A control box, [George] calls them stations, controls the power to a machine. Member badges have an RFID tag that is read when inserted into the station’s reader. If the member is authorized to use the machine, the power is enabled. For safety, the member’s badge must remain in the reader to maintain power. The reader uses a Photon board from Particle with a WiFi link to a Raspberry Pi server.