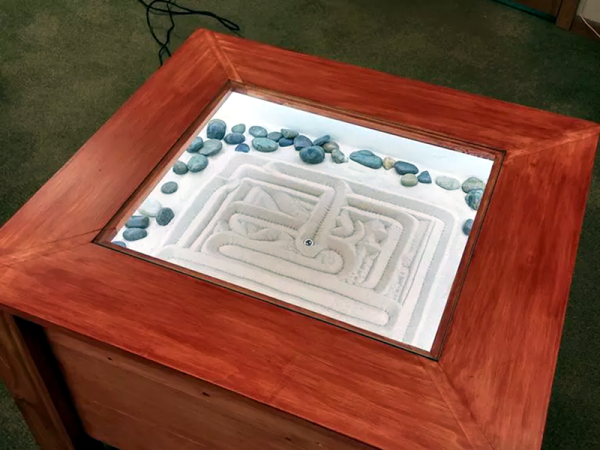
A zen garden should be a source of relaxation and escape from the everyday. The whole point should be to escape from–among other things–your electronics. Unless you are [MakrToolbox]. Then you’ll make a beautiful zen garden end table that allows you to make patterns in the sand using a ball bearing and an Arduino. You can see a video below.
Technically, the device is almost an upside down 3D printer with no Z axis. The mechanism moves a magnet which controls the steel ball and draws patterns in the sand. However, the really impressive parts of this project are the woodworking for the end table and the impressive documentation, should you want to reproduce this project yourself.
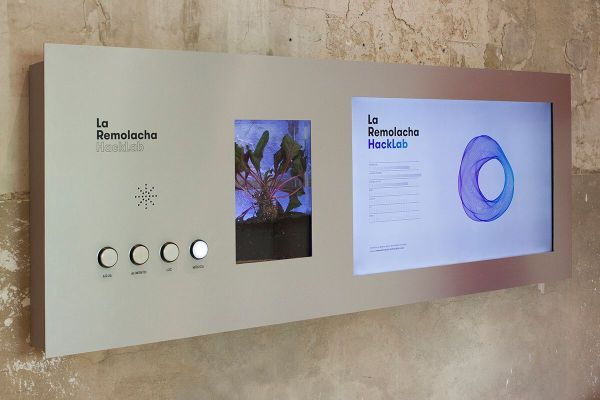
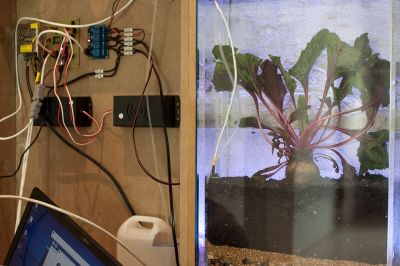 s to the sensors. The higher the temperature, the more folds in the shape. More distortions appear when there’s more humidity in the soil, while rotation speed increases with air humidity. Adding food increases the size of the visualization, and music triggers more vibrations.
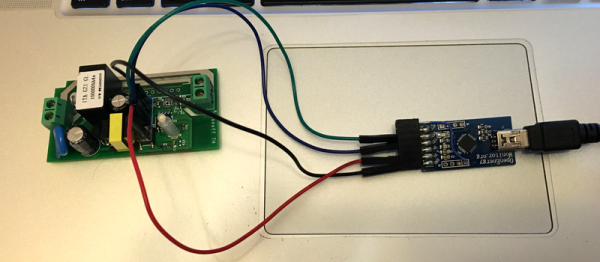

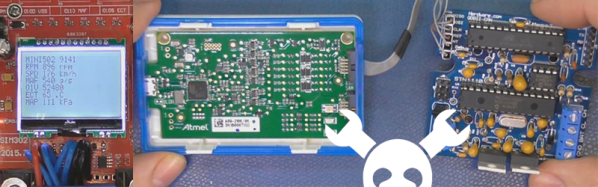
 The project consists of an Arduino connected to a color sensor as well as a SparkFun EasyDriver. The EasyDriver controls a stepper motor which rotates a disc of scent swatches so you sniff the swatch corresponding with the color. The students chose strawberry for red, and blue ended up being “ocean”-scented room spray.