Spectrum Display Uses Tiny CPU And Many LEDs

You would think the hard part about creating a spectrum analyzer using a pint-sized ATTiny85 would be the software. But for [tuenhidiy], we suspect the hard part was fabricating an array of 320 LEDs that the little processor can drive. The design does work though, as you can see in the video below.

The key is to use a TPIC6B595N which is an 8-bit shift register made to drive non-logic outputs. With all outputs on, the driving FETs can supply 150 mA per channel and the device can handle 500 mA per channel peak. At room temperature, the part can go over 1W of total power dissipation, although that goes down with temperature, of course. If you need higher power, there’s a DW-variant of the part that can handle a few hundred milliwatts more.

Continue reading “Spectrum Display Uses Tiny CPU And Many LEDs”

Big Spinning Disk Makes A Small Color Video Display

Believe it or not, the Mickey Mouse clip used for this demonstration is actually in the public domain.

The earliest televisions used a spinning disk technology called the Nipkow disk, which is exactly what [Science ‘n’ Stuff] recreated with their Arduino-based mechanical color television (video link, also embedded below.) The device reads video and audio from an SD card, and displays the video using a precisely-timed RGB LED visible through a perforated spinning disk. The persistence of vision effect results in a video that is small, relative to the size of the disk, but perfectly watchable. A twist is that the video is in color!

A Nipkow disk is a fairly simple and electromechanical device that relies on timing; something a modern microcontroller and RGB LED is perfectly capable of delivering. In this device, the holes in the disk create 32 vertical scanlines with 96 “pixels” making up each of those lines. Spinning disk technology was always limited to being monochromatic, but in this implementation, each “pixel” is given its own unique color by adjusting the RGB LED accordingly.

The first video shows off the device and demonstrates it working; note that it may look like there are multiple little screens, but the center one can be thought of as the “true” display with the others essentially being artifacts due to light leakage. If you’re interested in the nuts and bolts of exactly how a Nipkow disk works, then the second video is what you’ll be more interested in, because it goes through all the details of exactly how everything functions.

Another neat thing about Nipkow disks is that image acquisition is really not much more complex than image display.

[via Arduino Blog]

Continue reading “Big Spinning Disk Makes A Small Color Video Display”

Forget Smart Watch; Build A Smart Hat

Smart watches are pretty common today, but how many people do you know with a smart hat? [Oliver] built Wilson which he bills as “the IoT hat.” We wonder if the name was inspired by the Home Improvement character of the same name who only appeared as a hat above the fence line. You can see a video of the project, below.

The project is pretty straightforward for hardware. An LED strip, an Arduino, and a Bluetooth module. Oh. And a hat. The software, as you might expect, is a bit more complex. It allows you to display SMS messages to your hat.

Continue reading “Forget Smart Watch; Build A Smart Hat”

Arduino Nano Memory Upgrade With No Soldering

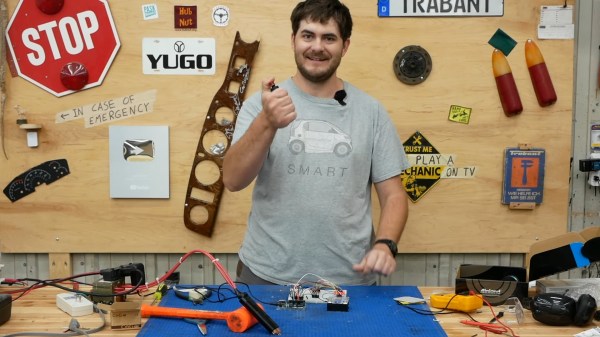
Ok, we’ll come clean. [Design Build Destroy] didn’t really add any memory to his Arduino Nano. But he did get about 1.5K more program space when compared to the stock setup. The trick? On some Nano boards and clones, the bootloader is set to use a large block of reserved memory, but Optiboot only requires a fraction of that reserved memory. By reprogramming the bootloader and changing the configuration fuses, you can reclaim that unused memory.

Of course, you can’t easily overwrite the bootloader and fuses over the serial port to prevent you from bricking your device. The video below shows how to connect another Arduino to do the programming. You could also use any dedicated AVR programmer you happen to have. Oddly, the Uno already uses Optiboot with the same processors, and is set correctly and the video shows the differences in the configuration between the two in their default state.

Of course, depending on where you get your Nano devices and their age, you may already have this set up at which point you won’t gain anything, but you should be able to easily tell if you need to go through the steps or not. The same trick will probably work with any older Arduino boards you have laying around if Optiboot supports them. What can you do with the extra memory? Maybe speech recognition?

Continue reading “Arduino Nano Memory Upgrade With No Soldering”

Compact M&M Sorter Goes Anywhere

Let’s face it — eating different colored candy like M&Ms or Skittles is just a little more fun if you sort your pile by color first. The not-fun part is having to do it by hand. [Jackofalltrades_] decided to tackle this time-worn problem for engineering class because it’s awesome and it satisfies the project’s requirement for sensing, actuation, and autonomous sequencing. We’d venture to guess that it satisfies [Jackofalltrades_]’ need for chocolate, too.

Here’s how it works: one by one, M&Ms are selected, pulled into a dark chamber for color inspection, and then dispensed into the proper cubby based on the result. [Jackofalltrades_] lived up to their handle and built a color-detecting setup out of an RGB LED and light-dependent resistor. The RGB LED shines red, then, green, then blue at full brightness, and takes a voltage reading from the photocell to figure out the candy’s color. At the beginning, the machine needs one of each color to read in and store as references. Then it can sort the whole bag, comparing each M&M to the reference values and updating them with each new M&M to create a sort of rolling average.

We love the beautiful and compact design of this machine, which was built to maximize the 3D printer as one of the few available tools. The mechanical design is particularly elegant. It cleverly uses stepper-driven rotation and only needs one part to do most of the entire process of isolating each one, passing it into the darkness chamber for color inspection, and then dispensing it into the right section of the jar below. Be sure to check out the demo after the break.

Need a next-level sorter? Here’s one that locates and separates the holy grail of candy-coated chocolate — peanut M&Ms that didn’t get a peanut.

Continue reading “Compact M&M Sorter Goes Anywhere”

Wood And Brass Drink Temperature Monitor Looks Good, Has Class

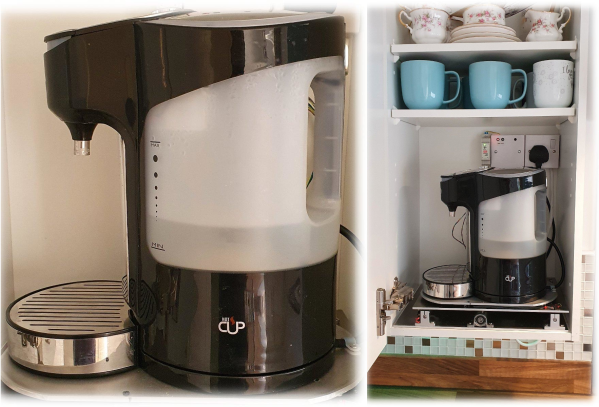
We’ve all been there. Your current project has hit a wall, or the next step will take days to complete, and you need something to do in the meantime. So you start a project that you envision will fit nicely in the gap, and then, inevitably, it doesn’t. Maybe it even takes so long that the original project gets finished first. So what? There’s nothing wrong with that, especially when the filler project turns out as well as this drink temperature monitor disguised as a circuit sculpture (video, embedded below). Just put your mug on the coaster, and the weight of it activates a hidden switch, which causes the sculpture to display its secret LEDs.

[MakeFunStuff] wanted to make something that looked less like a circuit and more like art, while building a tool that could determine the relative hotness of a beverage. Such a a useful circuit sculpture sounds like a tall order to us, but [MakeFunStuff] pulled it off with finesse and style.

The circuit is based around this Sputnik-looking standalone IR temperature sensor which, as [MakeFunStuff] aptly describes, is “a single-pixel infrared camera that picks up everything in a 90° cone starting at the sensor.”

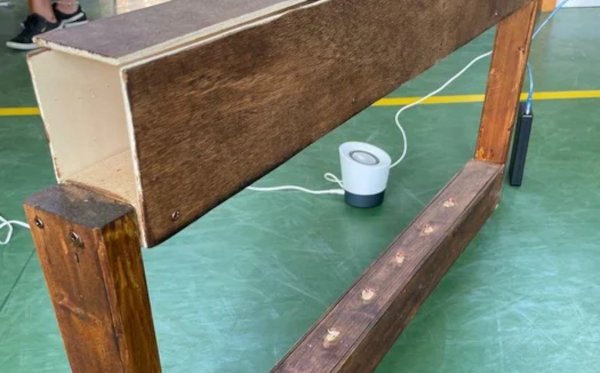
[MakeFunStuff] paired this easy-to-use sensor with an Arduino Nano and five LEDs that show how hot a beverage is on a scale from 1 to 5. The sensor is hidden in plain sight, suspended from the top of the brass rod sculpture and blending in perfectly. We love that the LEDs are hidden behind a thin layer of carefully-drilled wood and agree that a drill press would have been much easier.

The code is set up for just about every temperature scale from Celsius to Rømer, so that solves that argument. [MakeFunStuff] went with the Kelvin scale because science. Our favorite thing about this video is that [MakeFunStuff] shared their failures and fixes as they built their way toward answering the questions of how to suspend the sensor over the drink, and how best to display the heat level while hiding the electronics. Go grab a hot cup of something and check it out after the break while you let it cool off the normie way.

We admit that we would likely zone out while waiting for the LEDs to disappear. Here’s a smart coaster that uses an ESP8266 to send a message to Discord when your beverage has reached the perfect drinking temperature.

Continue reading “Wood And Brass Drink Temperature Monitor Looks Good, Has Class”

Sunlight-Based Life Clock Predicts Your Darkest Hour

The past year has been quite a ride for everyone on Earth. But you never know which day is going to be your last, so you might as well live a little, eh? This clock doesn’t actually know when you’ll kick off, either. But just for fun, it predicts the number of years remaining until you go to that hackerspace in the sky by hazarding a guess that’s based on your current age and the latest life expectancy tables. Don’t like the outcome? It’s completely randomized, so just push the button and get a set of numbers: the age you might die, and the percentage of life elapsed and remaining.

We love the design of this calculated doom clock, and it’s quite simple inside — an Arduino Pro Mini outputs the graph on an 2.9″ e-paper display, and both are powered with a 5.5 V solar panel. Just suction cup that puppy to the window and you’ll get automatic updates about your impending demise on sunny days, and none on cloudy days.

Want a more realistic picture of your mortality? Here’s a clock that counts down to your 80th birthday.