Hurricane season is rapidly approaching those of us who live in the northern hemisphere. While that does come with a good deal of stress for any homeowners who live in the potential paths of storms it also comes with some opportunities for treasure hunting. Storms tend to wash up all kinds of things from the sea, and if you are equipped with this DIY metal detector you could be unearthing all kinds of interesting tchotchkes from the depths this year.
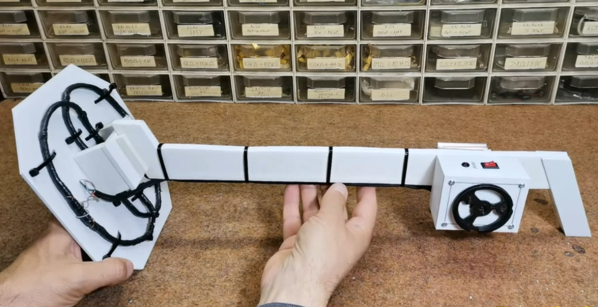
The metal detector comes to us from [mircemk] who is known for building simple yet effective metal detectors. Unlike his previous builds, this one uses only a single integrated circuit, the TL804 operational amplifier. It also works on the principle of beat-balance which is an amalgamation of two unique methods of detecting metal. When the wire coils detect a piece of metal in the ground, the information is fed to an earpiece through an audio jack which rounds out this straightforward build.
[mircemk] reports that this metal detector can detect small objects like coins up to 15 cm deep, and larger metal objects up to 50 cm. Of course, to build this you will also need the support components, wire, and time to tune the circuit. All things considered, though it’s a great entryway into the hobby.
Want to learn more about metal detecting? Check out this similar-looking build which works on the induction balance principle.
Continue reading “DIY Metal Detector Gives You The Mettle To Find Some Medals”