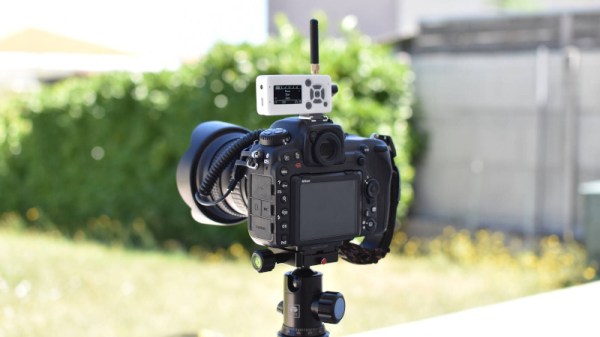
Camera traps are a very common tool in wildlife conservation and research, but placing and pointing them correctly can be a bit of a guessing game. Something very interesting could happen just out of frame and you’d be none the wiser. The [Andrew Quitmeyer] and [Danielle Hoogendijk] at DINALABS (Digital Naturalism Laboratories) in Panama are experimenting with hacked consumer 360° cameras to help solve problem.
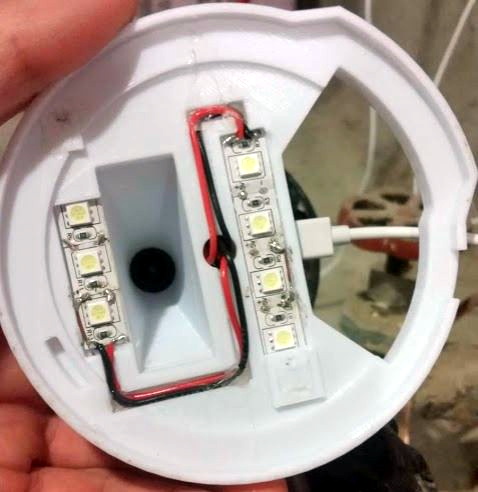
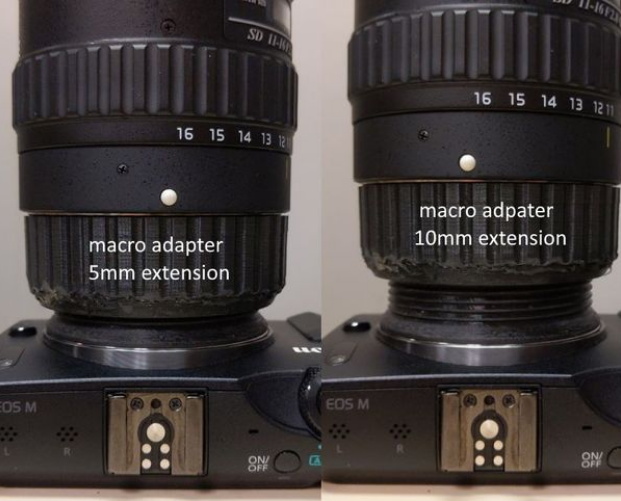
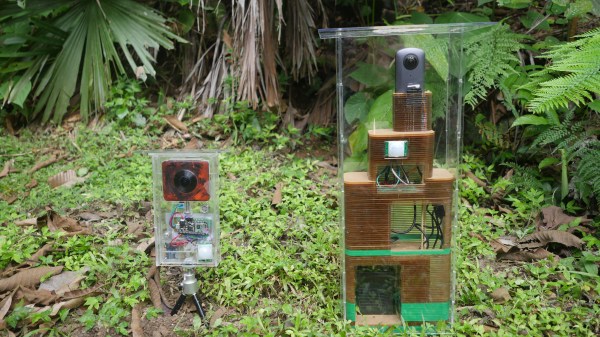
The project is called Panatrap and looks very promising. They’ve done very detailed testing with a number of different 360° cameras, and have built functional prototypes with the Xiaomi Misphere and Ricoh Theta V. The Xiaomi had some handy contacts on the bottom of the camera for its selfie stick interface (simply a resistor and button), which allowed full control of the camera. An Arduino compatible board waits for the motion detected signal from a PIR sensor which then sends the required command to the camera to wake-up and take footage. The Ricoh was slightly more challenging, but they discovered that the camera will wake up if an emulated keyboard command is received over it’s USB port from a Teensy. Triggering is then done by a servo pushing against the camera’s button. Everything is housed in a laser cut acrylic case to help it survive the wet jungle. If anyone knows how to hack the Samsung Gear camera to work, the team is keen to hear from you!
All the work is open sourced, with build details and hardware designs available on the project page and software up on Github. Check out some cool 360° test footage after the break with some local wildlife. We are looking forward to more footage! Continue reading “Miss Nothing With A Hacked 360 Degree Camera Trap”